
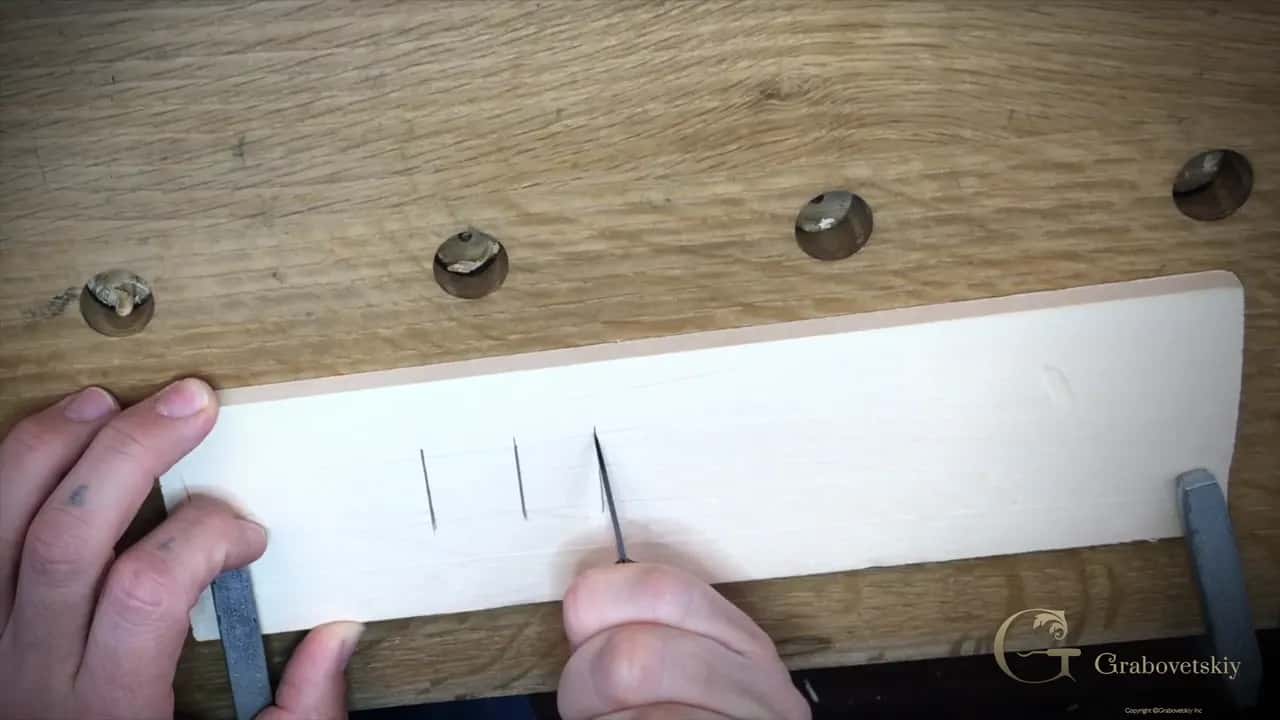
September 29, 2024 · Updated August 20, 2026
By Alexander Grabovetskiy — Master Woodcarver · Founder, School of Wood Carving · 19 min read
Can you teach yourself wood carving?
Teaching yourself is possible in this craft, and it carries you further than most people expect. I did it for ten years before anyone taught me. You can teach yourself wood carving right up to a wall, and the wall is always the same two things, sharpening and design.
So you carved something. A leaf, or a small panel, and you sanded it and oiled it and stood it on the shelf, and now your eye keeps snagging on one spot and you cannot say what is wrong with it. Nothing about that is a talent problem. I have carved since I was six years old and I still do that. Look at this one of mine. I set two hazelnuts so close together that the husk had no room left to wrap around either nut. It looked awful. I said so on camera and kept filming.
Two hands with no teacher carry you further than most beginners are told. Then they stop, in two exact places. One is sharpening. The other one is design, and nobody warns you about that.
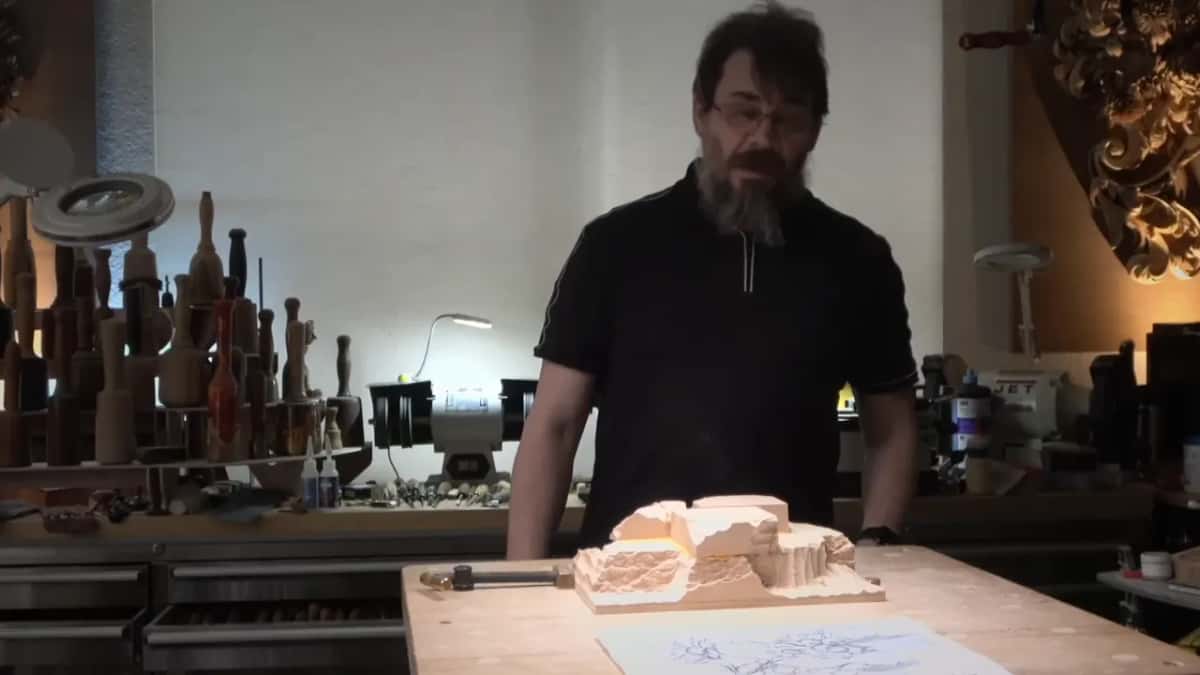
I had left about 24 millimeters of material on that blank, and that is the only reason the husk could still be saved.
- Your hands teach themselves. Grip, wrist, depth, all of it comes from hours at the bench.
- Grain teaches hard. A board splits once and you remember it for life.
- Most people quit at sharpening. One man in my class fought a single V tool for two hours, got frustrated, and set it down for good.
- You cannot see your own design.
- What moves you past that is watching somebody who already knows do the same slow job, up close, twice.
Can you teach yourself wood carving?
Alone gets you a long way, and I am the proof of that, but the ceiling sits lower than it looks from underneath.
Learning by yourself does a lot. It goes different the day you set your own work beside a master piece. My grandfather had a chisel, and at six years old I took it, and I took it to a brick, and I carved a face into that brick of somebody I could not name. I killed the chisel. Completely. He was not happy and he did not give me a hard time either.
Ten years went by with nobody teaching me one thing. Then at sixteen a carver from my town heard I was working and brought one of his own pieces over to show me. He taught fine art, and he carved, and he set that piece down in front of me until my jaw dropped. That was the day I learned what wood carving is supposed to look like, and ten years of my own practice had never once told me. He said I had talent and offered to teach me really how to carve.
So start alone. It is free, it will not hurt you, and it is the honest answer to where to start. My great grandfather worked mahogany in the Chippendale style and no college taught him either.

My teacher handed me one gouge, and this wall came later.
What can you really learn on your own?
Your hands are the part that teaches itself, and they are quicker at it than any teacher.
Grip. Wrist angle. How deep to go before the wood tells you to stop. Nobody hands you those, you buy them with hours. When I came to the United States I owned one gouge and one knife, and my teacher had given me the gouge and I had made the knife myself, and that was the whole kit for a working carver.
Wood teaches too. Carve basswood and the gouge slices. Move to butternut and it feels close, then soft in the wrong places. Try walnut and that same gouge skates and tears. Carve a 2x4 from the lumber yard and you will get so frustrated, and you will kill your tools. The Forest Products Laboratory prints density and shrinkage numbers for free in its Wood Handbook, and reading a number is a different thing from feeling it under an edge.
| What you learn | How far you get on your own | Real wall | What moves it past the wall |
|---|---|---|---|
| Holding the gouge right | Pretty far, because your own hands teach you fast | Wrist angle | Someone watching your actual hand for once |
| Reading the grain | Far, a split board teaches hard | End grain | A demonstration, then your board |
| Sharpening a gouge by yourself | Not far at all, most people give up here | V tool | Close video of the two facets |
| Designing your ornament | Almost nowhere, these laws stay hidden | Golden points | Four laws, drawn and explained |
| Calling it finished | Hard, because you stop too early or too late | Shadow depth | Watching a master carver decide when to stop |

Dividers on somebody else's leaf, which is the cheapest lesson in this whole craft.
Where does teaching yourself stop working?
Sharpening is the first wall, and the V tool is the brick in the middle of it.
In one class a man brought a brand new set. His V tool needed sharpening. He worked at it for a couple of hours and ended up really frustrated, because it is really, really hard to sharpen. Many people who try wood carving quit over that one tool. Outlining runs through the V tool, so quitting over it is quitting.
Now the part nobody prints. A quarter inch bevel and a 20 millimeter bevel feel like the same tool in your hand. One of them goes weak at the point and folds in white oak. The other makes you raise your elbow and your shoulder all day, and after a few hours you hurt. Rounding the heel fixes that. Nobody alone in a garage finds it, which is why sharpening has a course of its own here, and why the real wall in this craft is not the carving.
Buying more tools does not help. Twelve gouges from the Swiss brand run about half a thousand dollars. A Schaaf set of the same twelve, off Amazon, costs less than one and a half of those Swiss gouges, and I have carved with both. Neither one sharpens itself. There is a plainer answer about what to look for in a tool set if you want it.

The camera sits where my eye sits.
A filmed lesson does that better than a person standing behind me in a class, and it is also the honest limit of what a camera can show you.
The second wall is quieter. Knowing a carving is finished is a judgment call, and no book hands it over. Here I am arguing with myself about it out loud.
How can you tell whether your gouge is really sharp?
Ink the bevel black and it stops hiding, which is why I put a marker on mine before a camera ever sees it.
Three of my gouges are the same number and the same sweep. One carries a bevel about a quarter inch long. One runs out to 20 millimeters. The third has no heel at all, only a smooth rounding where the heel should sit. In the hand they feel like one tool. On the wood they behave like three, and only one of them suits the board in front of you.

Nobody argues with a black stripe.
A long bevel goes weak right at the point. Put that into red oak or cherry and you have asked a weak point to do heavy work. The short one is strong, and it makes you lift the handle high to reach the wood, and the elbow and shoulder come up with it. Four hours of that and you hurt. Rounding off the heel fixed both problems for me at once.

Same brand and same sweep, and once you look they are two different tools entirely.
None of that shows in a photograph of a finished panel. It shows in the fourth hour of a working day, in your shoulder, and by then the habit is already set. Working on improving your technique alone is slow for exactly that reason.

The jig holds the angle. Nothing holds your judgment.
Mine is a 60 degree V tool, which is what nine out of ten V tools in use are, and when I outline it is almost the first thing I pick up. So a V tool you cannot sharpen is a craft you cannot practice. It has two sides meeting at a keel, and it is the hardest tool in this whole craft to sharpen, which makes it the hard part of learning to carve. One student in my class fought his for two hours and set it down.

Both thumbs steady, and the corner still decides.
Watch where my fingers go before the tool ever touches the wheel. That knob sets the angle, and the angle is the whole argument. Nobody at home turns it for you. The tools course exists because of that knob.
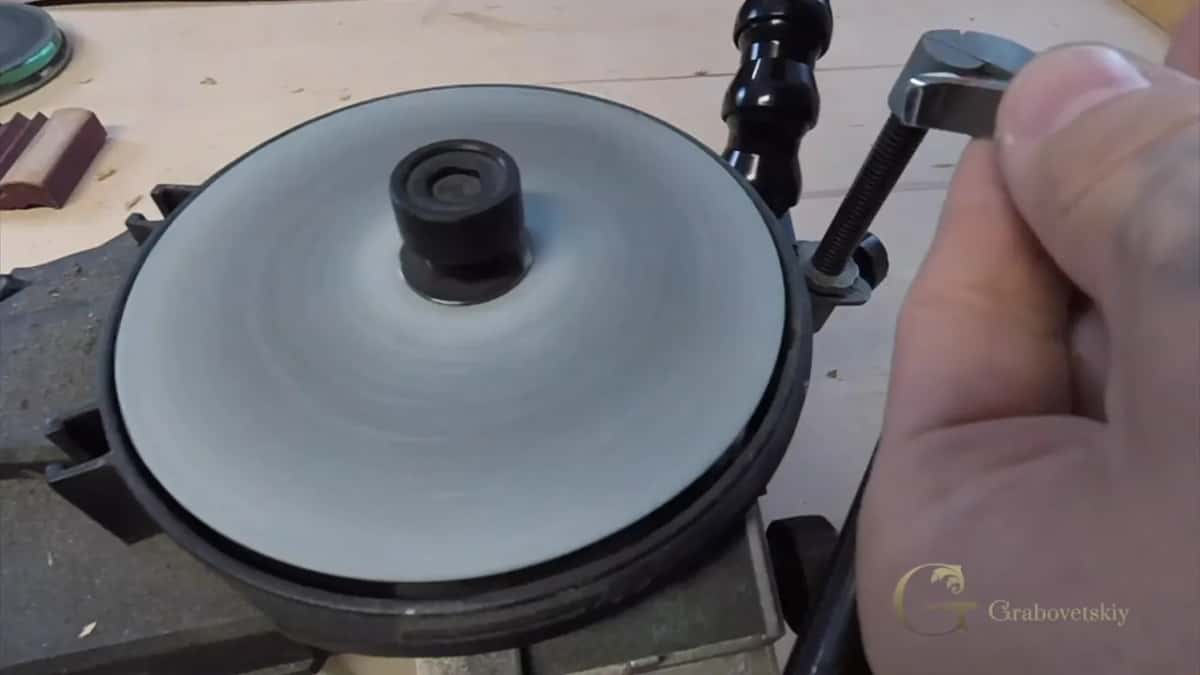
Turn it a little and the angle you get stops being the angle you meant.

Nobody is touching it. The angle is already right or wrong.
What should you do when you find a mistake in your own carving?
Repair it where it stands. Plenty of material was still left on that blank, so the husk had somewhere to grow.
Look at the frame below. The paper drawing is peeled back over the panel, and the two nuts in the wood sit closer together than the two on the paper. The drawing was right and the wood was wrong, and I had roughed it that way myself without noticing.

The drawing said one thing and the wood said another, and that gap is the whole lesson.
So I said it out loud on camera. It looked awful. Then I went back in with a number 11 veiner, outlined where the new husk had to run, and took the area down about three millimeters with a number 7 fishtail, seven millimeters wide, an antique one a little bigger than a quarter inch.

Fixing it. No video makes this part look good.
The nuts came out a little smaller than I drew them. I can live with that. Hopefully nobody who looks at the finished panel ever notices, and only I and only you will know it was there at all, which is a strange sort of privacy between a carver and whoever watched.

Three millimeters down, and the husk finally has room to wrap.
That repair taught me more in one afternoon than a clean panel teaches in a month, and it stayed in the lesson. Mistakes to avoid is a useful list. Watching somebody dig out of one is a different kind of teaching.
Why does carving tire a beginner out so fast?
Your brain is doing work it has never been asked to do, and in a class you can watch it land.
In person I go easy on the first day of a class. By Tuesday evening everybody in the room is finished, and it is not their arms. What tires them is the part of the mind that works in three dimensions, which most adults have never used for anything. Doctors told me new cells grow for it, and I am no doctor, but I can see what two days does to a room. It wears people out.
Your body pays too, and here the fix is small. Do not swing a mallet from your shoulder or even your whole arm. Use the palm. Swing from the shoulder all day and it reaches the arm, the elbow and the neck, and you get tired long before the wood does, which is half of why carving takes beginners so long. There is a reason workplace ergonomics people study exactly this motion.
My everyday mallet is a rubberized one at 32 ounces, and I bang with it hard. The rubber absorbs the stroke instead of sending it back into my hand, and it protects the edge of the tool, and it is quieter. A plain wood mallet sends every stroke straight into your palm. Mallets run from 12 ounces up to 32, and my two are the 12 and the 30. Maple makes a good head on a wood one. If you want the plain version there is whether you need a mallet and what a carving mallet is.
One more thing, and it is the cheapest fix on this page. Carving is lights and shadow, nearly the whole of it. A single lamp overhead dulls everything you do, because it throws no useful shadow and your work looks flat while you make it. I keep two magnifier lamps on the bench and move them until the shadow I want appears. Hollowing an eye, I excavate deeper than looks reasonable, because otherwise I do not see the shadow at all.
Why does design beat most self-taught carvers?
Design is not drawing, and that one misunderstanding costs people years.
My teacher started me with a pencil and a sheet of paper. Sit and draw something for carving, he said. I spent a whole day on acanthus movements and I thought what I drew was beautiful. He came over and said think. Think how you are going to carve it. What tools will you use, how will you get into that area. Then he handed me another sheet of paper.
Design runs far past the ability to take a pencil and draw something. He taught me laws. A law of space, a law of rhythm, a law of repetition, and there are more of them, and none of them arrive by feel. Euclid wrote the ratio down as extreme and mean ratio, so these laws are older than anybody teaching them. All of that sits in the laws of design, and it is the reason I tell people to draw it first.

Five across and three down. Not decoration. The grid is the reason the panel reads at all.

Grinling Gibbons worked like this with nothing in the shop that plugged into a wall.
Should you model the shape before you carve it?
Model it first. I did not for years, because I was young and ignorant, and I paid for that in wood.
Carving is the art of deduction. You are only ever taking away. Bang a little harder than you meant on the gouge and you have taken a little too much, and there is no putting it back. Wood differs there from almost every other material a person learns on.
Clay lets you add on, take out, add on again. Get it wrong and nothing is lost. So the thinking happens in a material that forgives, and the wood only sees a shape you have already solved. Even one acanthus leaf is worth modeling before it goes anywhere near limewood, especially a leaf that twists, because a twist is the thing beginners cannot picture.

Worked out flat, long before a gouge came near it.
Then it gets measured, not guessed at. Dividers walk the distance from the boss to the leaf and back again, and the number lives on the tool instead of in my memory. That habit is most of the gap between a self-taught panel and a professional one, and it is not talent. Anybody can lay out with dividers from the first week.
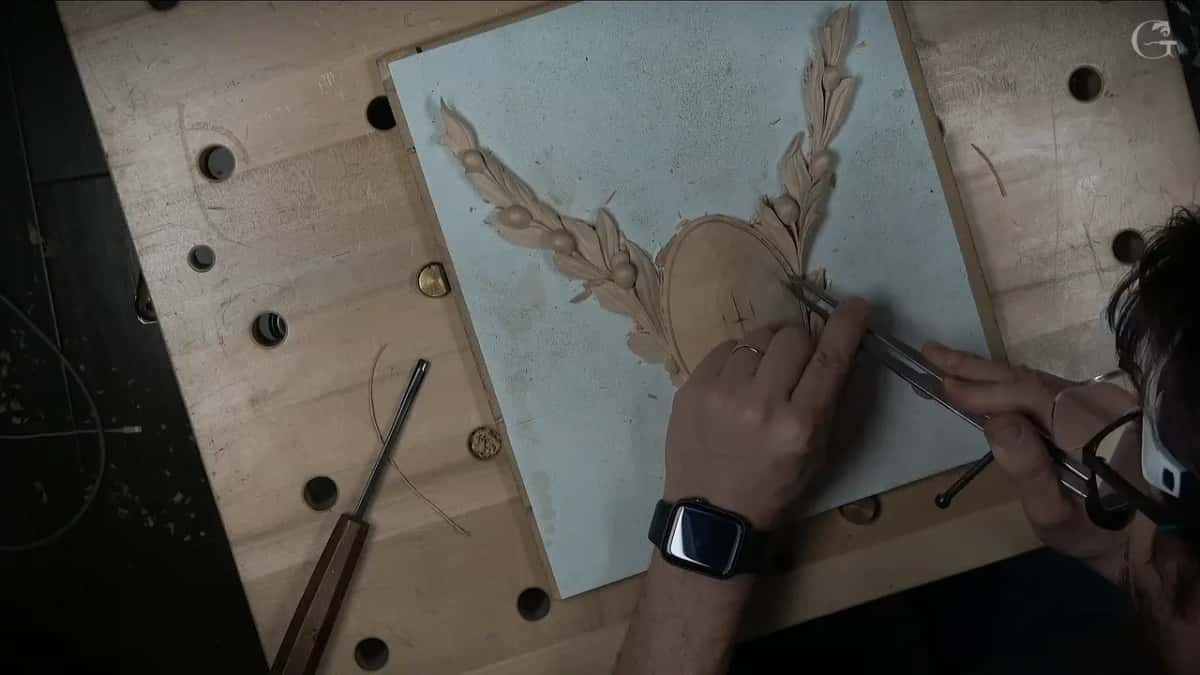
Measuring instead of guessing. Most of the difference sits right here.
I have never seen old ornament that was not laid out with dividers and a rule. Go through the Getty collection or any architectural preservation survey and it is all the same, made by people who had been shown how by somebody standing beside them.
How do you find the strong spot on a plain board?
Work it out on paper, and find the strong point before a gouge touches the wood.
Step 1, mark the four strong points
Take a plain board. Along the bottom edge, mark the golden ratio point at roughly 60 percent of the width. Mark the matching point coming back the other way, then repeat both of those on a vertical edge. Four lines, four crossings, four strong points. Your brain reads those spots whether you planned them or not.

Four of them. On an empty board.
Step 2, pick the hero and give it an antagonist
One of the four is the main guy. In my flower panel it is the peony, and the calipers land on it at 1.62 without me forcing anything. Every hero needs somebody pulling the other way, so a second strong point takes that pull. Miss the antagonist and the whole design goes flat, even when every leaf on it is carved well.

The one that pulls back against the peony.
Step 3, choose the diagonal
Every space has two main diagonals, one climbing and one dropping. The old names are baroque for the rising line and sinister for the falling one, and if you look at the fine art that survived, every piece sits on one or the other. So decide whether your flowers are growing or falling before you draw them. Inside a single acanthus leaf, one part grows while another part falls.

Both diagonals crossing near the middle.
Step 4, fill the space around it
I drew a boat on an empty board once and asked a room how big it was. Twenty five feet, one man said. Sixteen, said another. Both wrong, because a boat with nothing around it has no size at all. Put one small dot beside it and nobody says 25 anymore, they say 500 feet. What surrounds the main idea is what sets its size.

You cannot say yet, and that is exactly the point.
Step 5, size everything on the sequence
One, one, two, three, five, eight, thirteen, twenty one. Count the petals on a flower and you land on that list, five or eight or thirteen. Seeds in a sunflower land on it again, and they pack into diamonds, not squares. So the leaves around your hero are never all one size. Left eye smaller, right eye bigger. Carvers have a name for it, dynamic symmetry.

Diamonds, because a sunflower packs its seeds that way and nothing in nature packs them square.

I chalked 1.61 under the spiral. Fibonacci and the ratio come out of one place.
All five steps are one course, and I built it because the people asking me could not find it anywhere. Principles of design is where the drawings live, and the hazelnut project is where you watch me break my own rule and repair it.
How long does teaching yourself take?
Ten years alone got me to the door of this craft and did not get me through it.
I picked up a chisel at six. At sixteen a teacher found me. Those ten years were not wasted and they were not enough, and I want to be honest about both halves of that sentence. For the numbers by the hour there is how long it takes, and a list of the same mistakes almost everybody makes in year one.
Go look at what survived. The old carving in the Victoria and Albert Museum sits on the same laws, every piece of it, and none of it was carved by expressing anybody.

Control along a long curve arrives with years, never with a better gouge.
What happens when nobody teaches the laws?
People stop calling it a skill and start calling it self expression.
I paid good money for a fine art teacher for my daughter Jessica when she was small. She lasted about two weeks. Then she came home and I asked to see her work, and it was a couple of splashes on paper, and I asked what they teach you, and she told me the teacher said to express yourself. Put something on the paper. Express yourself.
Then a banana taped to a wall sells for 120,000 dollars. Meanwhile everything hanging in the Rijksmuseum was built on the ratio, down to the spacing between the letters. If you do not understand the ratio, you do not understand the act of creation. That is not a marketing line. It is the reason my whole design course exists.

Taped up and sold, and there is no law anywhere in it.
Frequently asked questions
Can I learn wood carving from free videos alone?
Free videos will carry you through a first year of hand work, and plenty of good carvers began exactly that way. What they rarely give you is a close, slow look at an edge being shaped, or somebody telling you plainly that your leaf is sitting in the weakest spot on the board.
Which skill is hardest to teach yourself?
Sharpening, and design right behind it. A bevel that is slightly wrong feels correct in your hand for months on end. Move to design and a bad layout looks fine on paper, then reads dead once it is carved. Both of those faults hide from whoever made them, which is the whole trouble.
Do I need to draw before I carve?
Drawing helps, though thinking like a tool matters more. The man who taught me made me redraw one acanthus until I could name which gouge would reach every part of it. Pretty lines that no gouge on your bench can reach are worth nothing at all.
How many tools does a beginner need?
Two or three good ones will do real work. A number 11 veiner, a number 7 fishtail around 7 millimeters, and a knife carried me through years of projects. Buy your sharpening stones before you buy a fourth gouge, and buy them the same week.
Is a bad spot worth fixing or should I start over?
Fix it, nearly always. When I crowded those two hazelnuts I kept the blank, lowered the area about 3 millimeters, and grew the husk into whatever space was left. The repair taught me more that afternoon than a clean panel ever has.
Do I need a sharpening machine to begin?
A machine buys speed, not sharpness. The jig holds whatever angle that knob was set to, so it repeats your judgment instead of supplying any. Decide what bevel the wood in front of you wants, get it right once by hand, then let a machine copy it faster than your wrists can.
Which mallet weight should I buy first?
Mine are a 12 ounce and a 30 ounce, and a 32 ounce rubberized one does my everyday work. Rubber soaks up the stroke instead of returning it to your palm, and it saves the edge of the tool as well. Pick something near the middle and swing from the palm.
Filed under
- beginner wood carving tools
- best wood for carving
- best woods for beginner carvers
- can you learn wood carving at home
- carving techniques for beginners
- different types of wood carving
- how to choose a carving project
- learning wood carving online
- needed tools for wood carving
- online resources for wood carving
- practicing wood carving skills
- self-taught wood carving tips
- simple wood carving projects
- where to find wood carving tutorials
- Wood Carving Basics
- wood carving classes vs self-teaching
- wood carving mistakes to avoid
- wood carving safety tips
- wood carving sharpening tips
- wood carving techniques for beginners
- wood carving terminology explained