
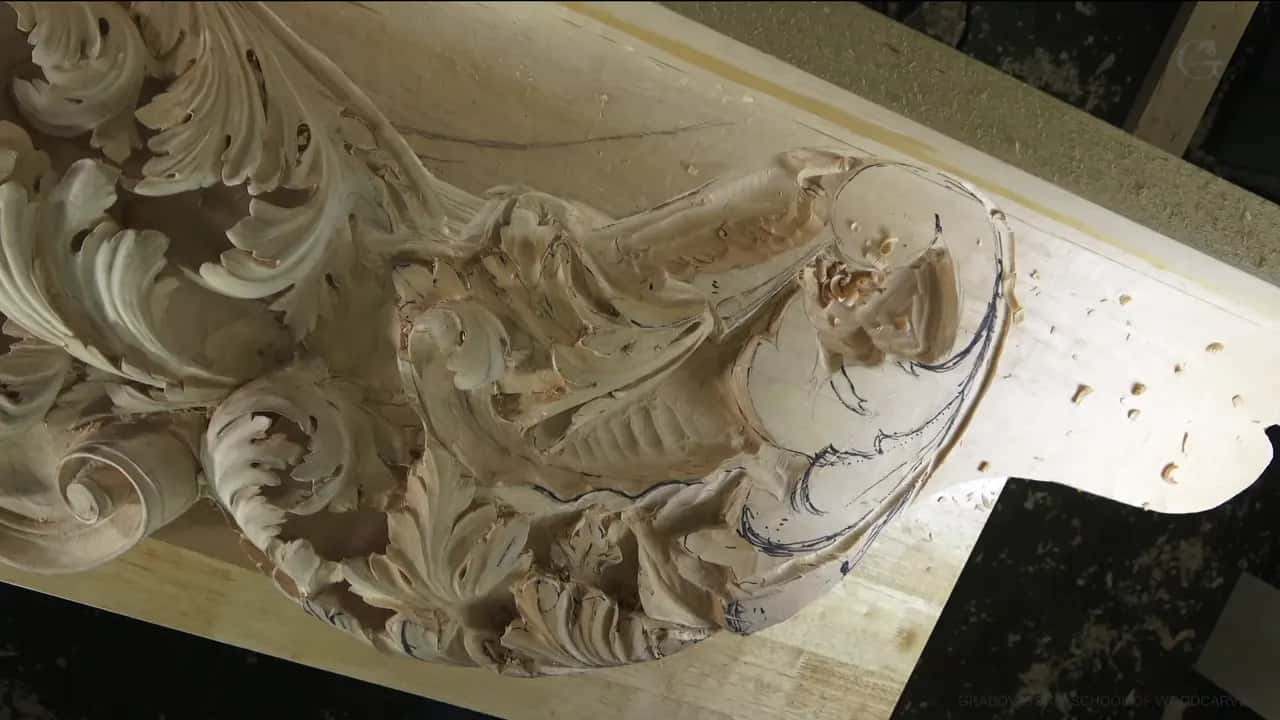
September 18, 2024 · Updated August 23, 2026
By Alexander Grabovetskiy — Master Woodcarver · Founder, School of Wood Carving · 20 min read
Sketch and Model my Carving Design?
A carving design is the plan you carve from, and a drawing on paper is only half of it. I model the hard part in plastilina first, then I put a gouge into the clay to find out whether my own tools can even reach the shape I drew.
Most of us start the same way. You draw something you like, you glue it down, you reach for a gouge, and the wood tells you the drawing was never going to work.
I did that as a boy. On paper I could draw a design that looked right to me, and it was right, as a drawing. I knew the laws of movement, and I knew rhythm, and I could put a leaf where the eye wanted it. Paper was the problem. A drawing holds you inside a flat world, and the thing you carve has depth, which is where every hard question lives.
This page is how I plan now. You will see what I draw on, why I push the shape into clay before I touch the wood, how the paper gets onto the block, and what I do when the drawing turns out wrong halfway through.
There is no software roundup down there. I name the one program I draw in, the others get a mention each in their own words, and the rest of this is paper, clay, a pencil and the tools already on your rack.
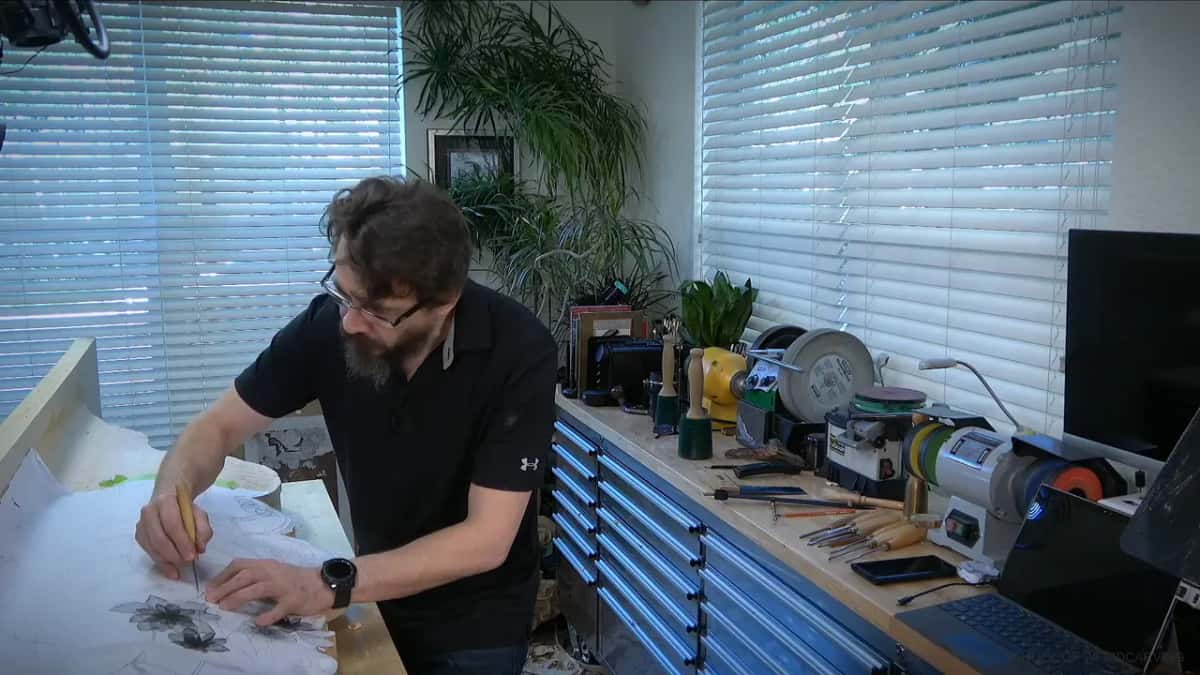
Here is what I would say to you before we start.
- Your drawing is a picture of a plan, and the plan itself is the shape you can put a tool into.
- Model whatever part you cannot picture.
- Plastilina holds a form, does not dry out, and I reuse the same lump.
- Shoot the clay model from every side, print it to scale, and saw the outline before you carve.
- Black dirt from carbon paper is why I move the big idea across and add small work later.
- Keep the drawing in front of you while you carve.
- Design comes first, then sharpening, then carving, and carving is the one that matters most.
Do I have to be good at drawing to carve?
You need enough drawing to think on paper, and that is a much lower bar than drawing well. My teacher did not ask me whether a drawing was beautiful.
He would look at my paper and say, think, how are you going to carve this, what tools are you going to use. Those two questions are the whole craft of design, and they are questions about your hands and your steel, not about your pencil.
As a boy I already knew a fair amount about design. Diagonals, armatures, the way movement runs through a panel, all of that was in my head before my hands were any good. What I could not answer was my teacher's question.
Drawing by hand is still worth your time, and I keep at it for one reason. It trains the hands.
Nobody carves well from a design they cannot picture in the round. Paper answers the eye and nothing else. It answers the eye and it says nothing at all about the gouge.
One page here answers whether you need drawing skill to carve, and another puts down the drawing skills you need to start. Neither page asks you to become a draughtsman. Both ask you to get honest about what your gouges can reach.
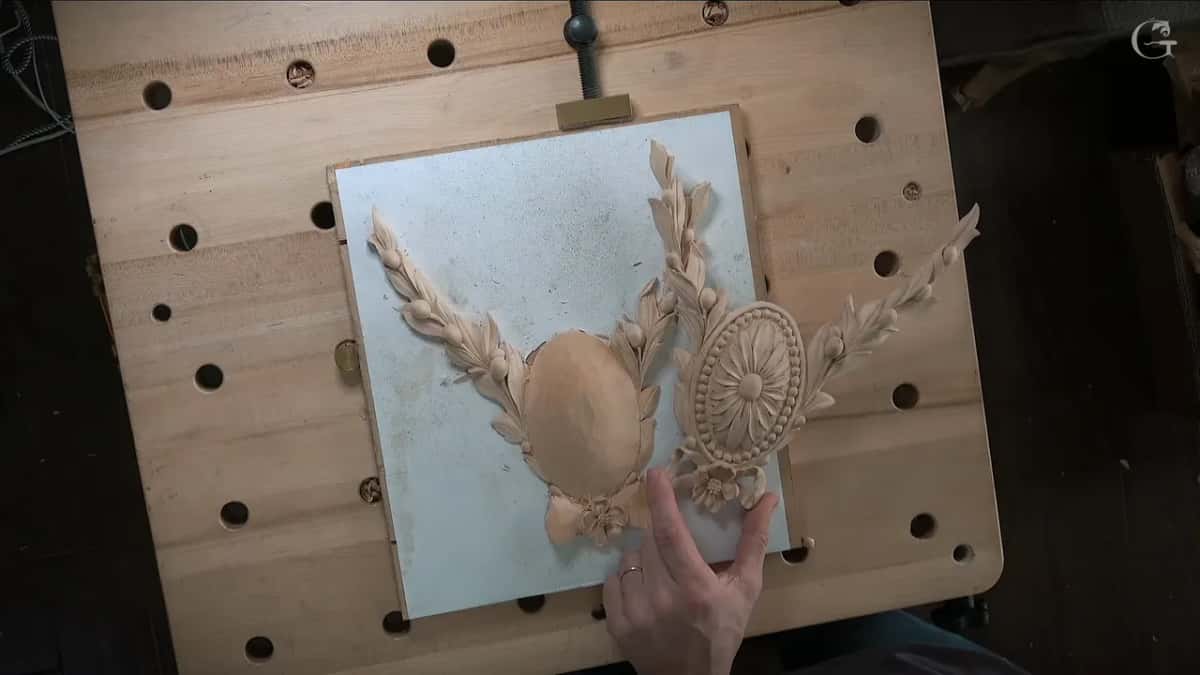
Two pieces tried together on the board.
Paper cannot tell you that. You find it out by holding the pieces up against each other, on the bench, in the light you will actually carve in.
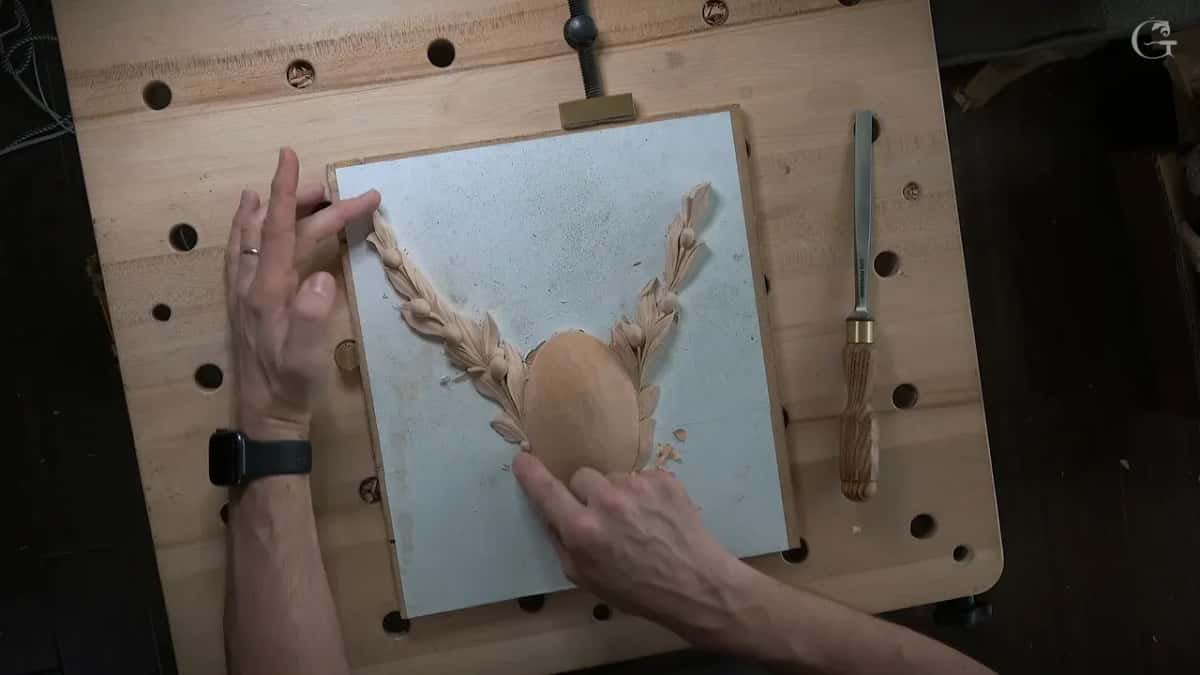
Where the design comes from is a separate question from whether you can draw it. I take mine from the old work. The V&A holds around 24,000 ornament prints, and you can look at them without an appointment, which is a better start than a blank sheet.
Rococo carvers in England worked the same way. The pattern books of Rococo ornament by Lock and Copland came out in the 1740s and 1750s, and the V&A records that those carvers took the plates apart and added their own ideas. Grinling Gibbons, 1648 to 1721, did it too. His earliest surviving panel, a King David, was based on a painting he had only ever seen as a print.
A design is allowed to come from somebody else's paper. Read the rules of ornamental design once, then look at Greek and Roman acanthus side by side, and you will start to see why a leaf turns where it turns. Wornum's analysis of ornament is old and it is still the clearest thing I know on that.
Two more pages worth your evening. One is how I draw the acanthus leaf, which is the shape most of this ornament is built out of. The other is light and shade in ornament, because a design that reads flat in the light will read flat in the wood no matter how well you carve it.
What should I draw my carving design on?
Paper first, at full size, with a few different pencils and an eraser that you are not afraid to use. I draw and redraw until the design is finished, and then I stop drawing. What I want at the end is not a practice piece.
I want a real piece of art, and in my work that usually means furniture. Every furniture maker who works with antiques, or with reproductions of them, should know how this was done. That is why I keep the full sheet.
Full size matters more than people think. The drawing gets made at the size it will be carved, and I keep looking at it until the design stops annoying me.
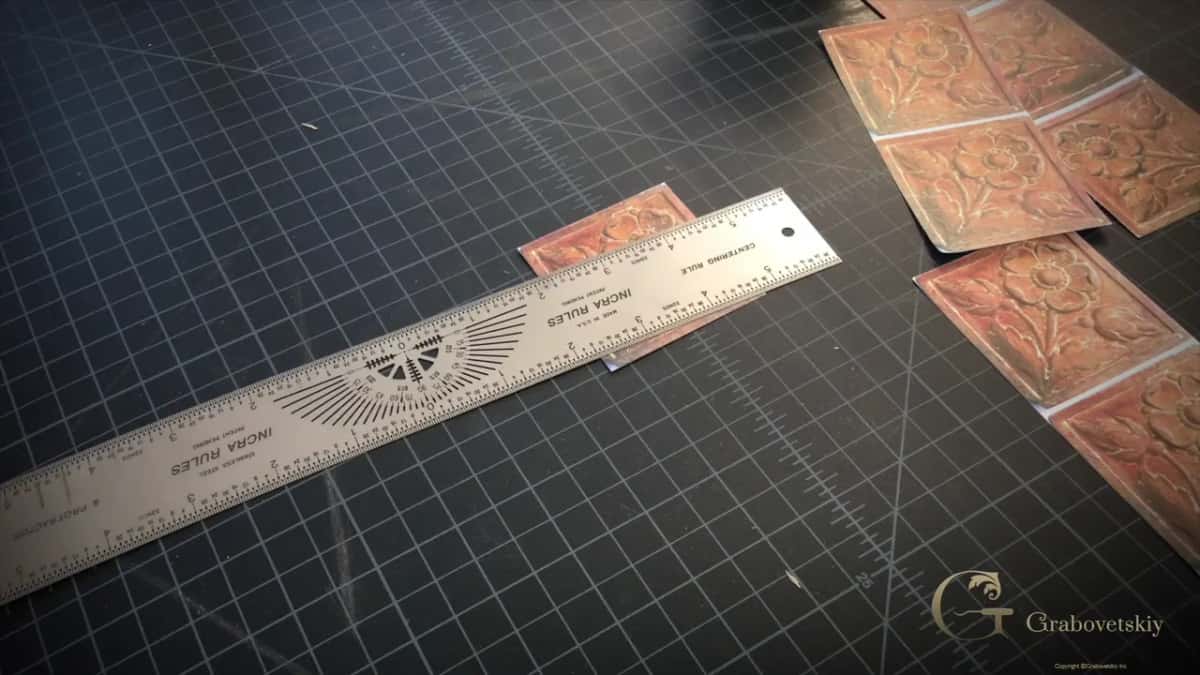
On the screen I use SketchUp, and I have the Pro version. I used AutoCAD before that, and a few other programs before AutoCAD, and AutoCAD is still the one most people name. SketchUp turned out to be the fastest way for me to get a drawing out, whether that drawing is flat or built in three dimensions.
The photograph gets to me by email or through Dropbox, and then I start a new project and bring it in. Scaling is the whole point. For the rosette case I scaled it until it measured exactly two and a half inches, and when a job wants the same design bigger I rescale the same file. The Pro version includes LayOut, which for some reason I find more accurate, so I print in scale from there or export a PDF.
I could do the whole thing in SketchUp or in Illustrator. Then I go back to the pencil, because drawing by hand trains the hands, and I like doing it.
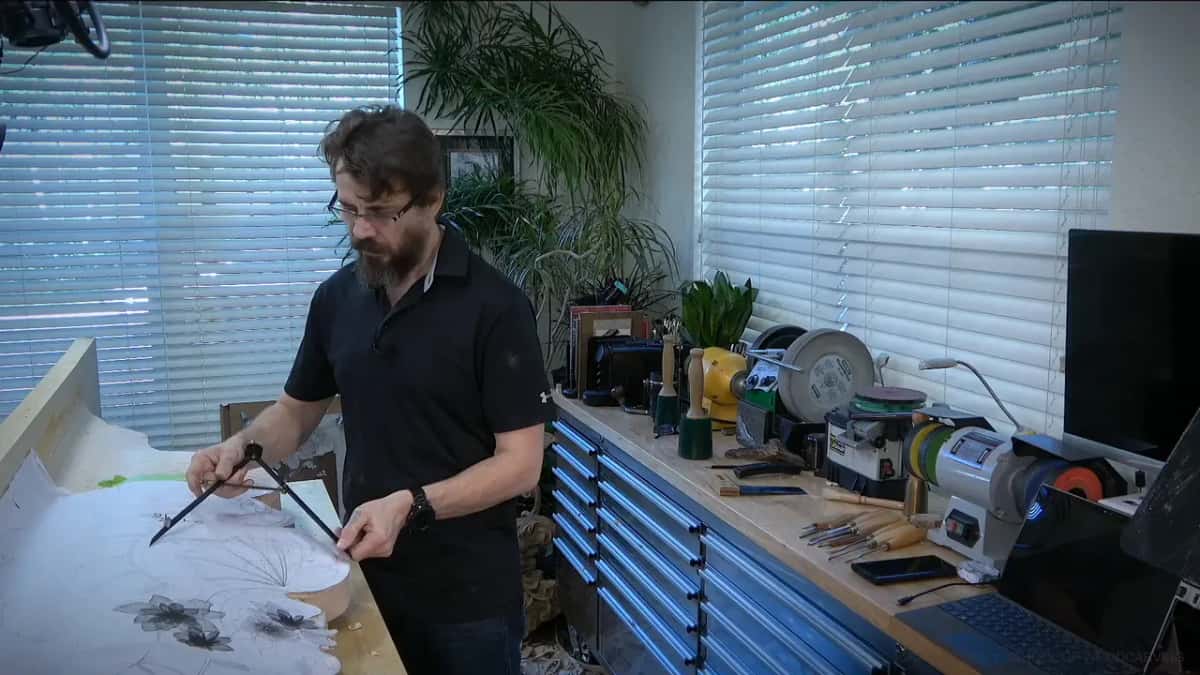
Tablet apps and 3D programs are not something I can review for you. The one thing they do that paper cannot is mirror a line while you draw it, which on a symmetrical panel saves you drawing one side. Procreate's own handbook says its radial symmetry splits the canvas into eight segments and mirrors the stroke live, and the same handbook lists four drawing guide types in all. Blender's manual describes a mirror that works across the object origin, with a bisect distance that drops vertices sitting near the plane. Rhino's help says its mirror plane is built from two picked points and stays perpendicular to the construction plane. None of that decides where the leaf goes.
One more thing about the sheet. Before the paper goes down, look at the grain and decide which way the long stems will run. The 2010 Wood Handbook from the Forest Products Laboratory notes that quartersawn stock checks and splits less in seasoning and in use, which is worth knowing when you pick the board your design will sit on. I keep a separate page on grain direction under the design, and another on how thick the board needs to be.
Why do I model the shape in clay before I carve?
Clay gives me the third dimension before I spend a single minute of carving time on it. The clay I use is plastilina. In Russian we just say plastilin.
It stays soft enough to push around and it still holds a form. The lump does not shrink, and I use the same one again. That is not the children's Play-Doh. It is real clay mixed with oils, so it never dries.
Three reasons keep clay on my bench. One is that modelling builds the ability to think in a three dimensional world, and paper never taught me that. The second one is warming up, the way you warm up in a gym, so the brain arrives at the wood already working.
I am not making models to keep. Every job is different, and I do not need to collect more dust than I already have.
In my in person classes people get stuck on bows, because a bow is a three dimensional thing pretending to be a drawing. Whatever detail is giving me trouble, I can put it in clay fast. The shape can be rough. It only has to show me the twist. I did a bow that way, and one side went like this and the other side went like that, and once the clay had shown that to me I could carve the bow with no trouble at all.
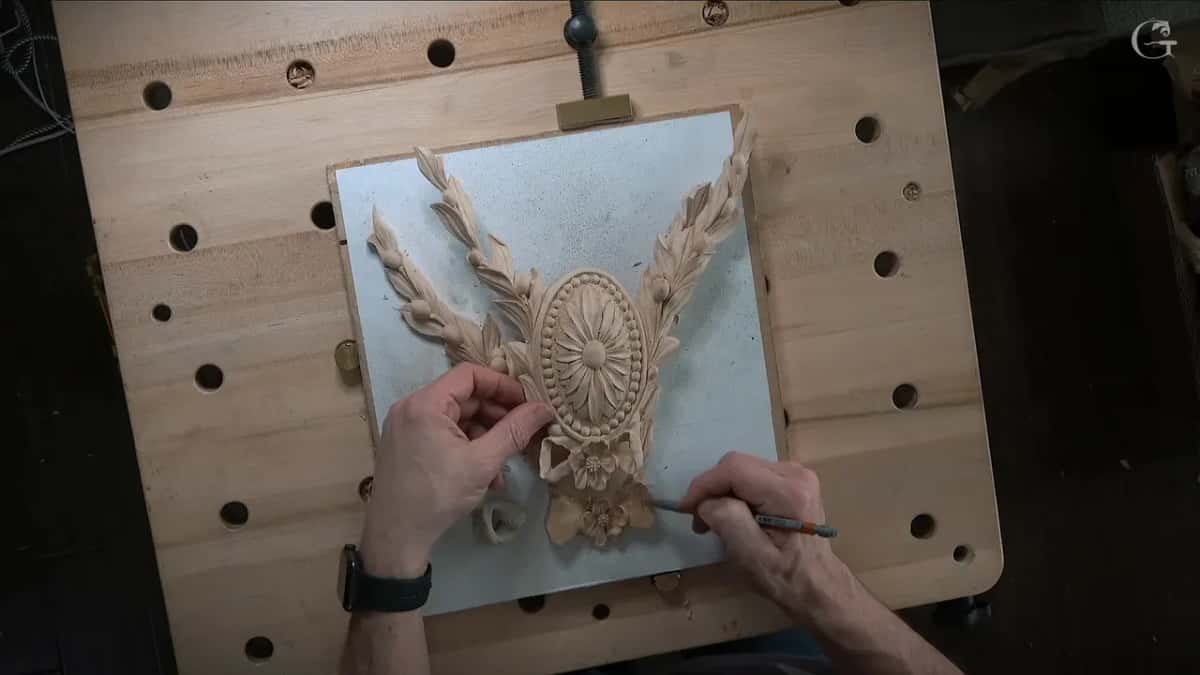
Then comes the part that most people skip. Take a gouge, any gouge, and get it down inside the cavity you just modelled in the clay. Now you know whether the tools you own can reach that shape. I still do not think like a gouge, by the way, and I still make mistakes.
Not everybody has half a thousand tools. I was on WhatsApp with a master wood carver, and he asked how many I have, and I said about half a thousand, and he said about 700. I asked how old he was. He is ten years older than me, so I have ten years to catch up. If your rack holds twenty tools, or ten, you have to check every shape in the design against the steel you actually own.
A design drawn for the steel on your rack will carve better than one drawn for none. Count what you own before you draw, and the clay will tell you soon enough if you counted wrong.
The third reason is the biggest one, and it is money. Michelangelo modelled too, and he did not just take the piece of marble. The longer you work in this trade the more you understand that your paycheck depends on the minutes you spend carving. There are bills here, a mortgage, and children who need feeding, and the butter on the bread comes off those minutes.
Sculptors worked out this problem long before me. They would model in clay, set a pointing machine over the model, and copy it into marble. That was the ancient copy machine. I keep a page on the pointing machine, and another on three dimensional design for a project. Clay is the shortest road into both.
How do I get the design onto the wood?
Four ways work, and the one I reach for depends on how round the shape is and how much dirt I am willing to live with. Most people start with carbon paper. I could use carbon paper.
Most days I decide against it, because carbon paper leaves a lot of black dirt on the wood and I am not the biggest fan of that. The small work does not travel anyway. All I need on the wood is the big idea, and I add the small detail later with the gouge in my hand.
Which one you pick is a question about the shape, not about taste. Flat ornament sitting on a clean panel wants nothing more complicated than a printed sheet glued down. Any shape that turns over on itself, a head or a bunch of grapes, needs the model, because a flat drawing has no back.
Print from wireframe mode when a drawing came off a screen. Wireframe gives a perfect line and nothing else, no shading to guess at, and that is the view I send to the printer.
Here is how the four compare.
| Way onto wood | What that method is really good for | Mess level | When I reach for that one |
|---|---|---|---|
| Plain carbon paper. | Fast lines on a small clean panel. | Black smears that end up on everything nearby. | Not my first choice. |
| Glue paper down. | Pierced work where the saw does most. | Low mess. | On small panels and sawn blanks. |
| Rub pencil through. | Big drawings you want to keep whole. | Grey dust. | Traditional, and it keeps the sheet. |
| Print the model. | Round shapes a flat drawing cannot hold. | No mess. | Any figure, or a deep leaf. |
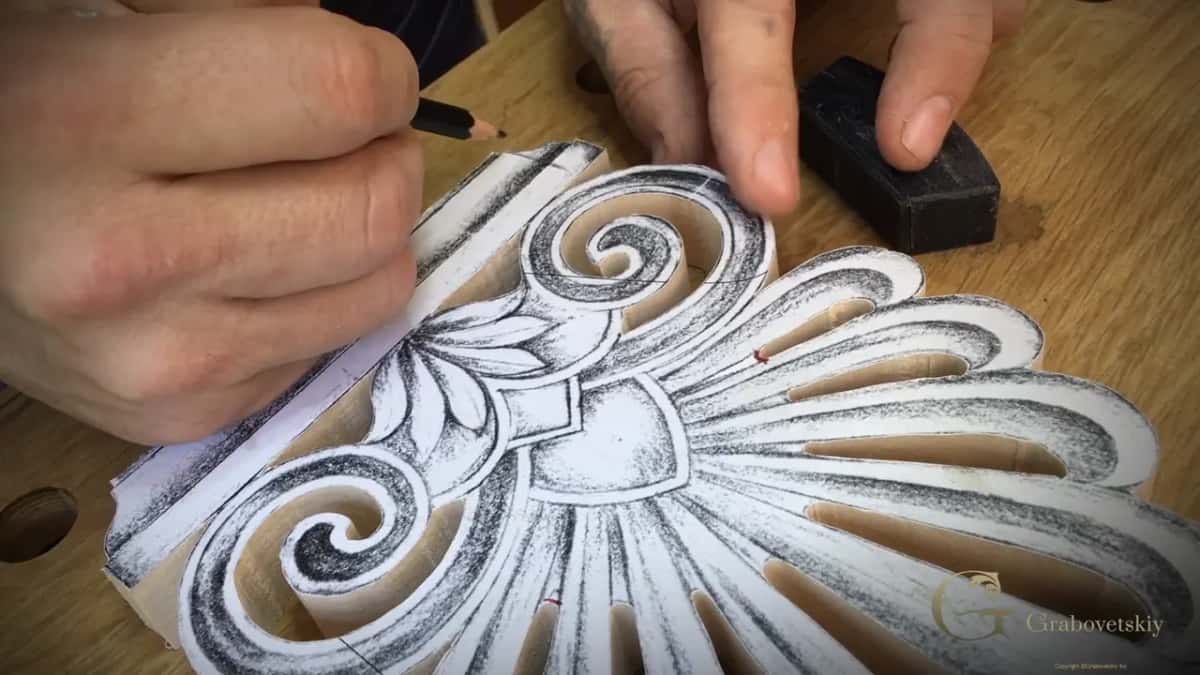
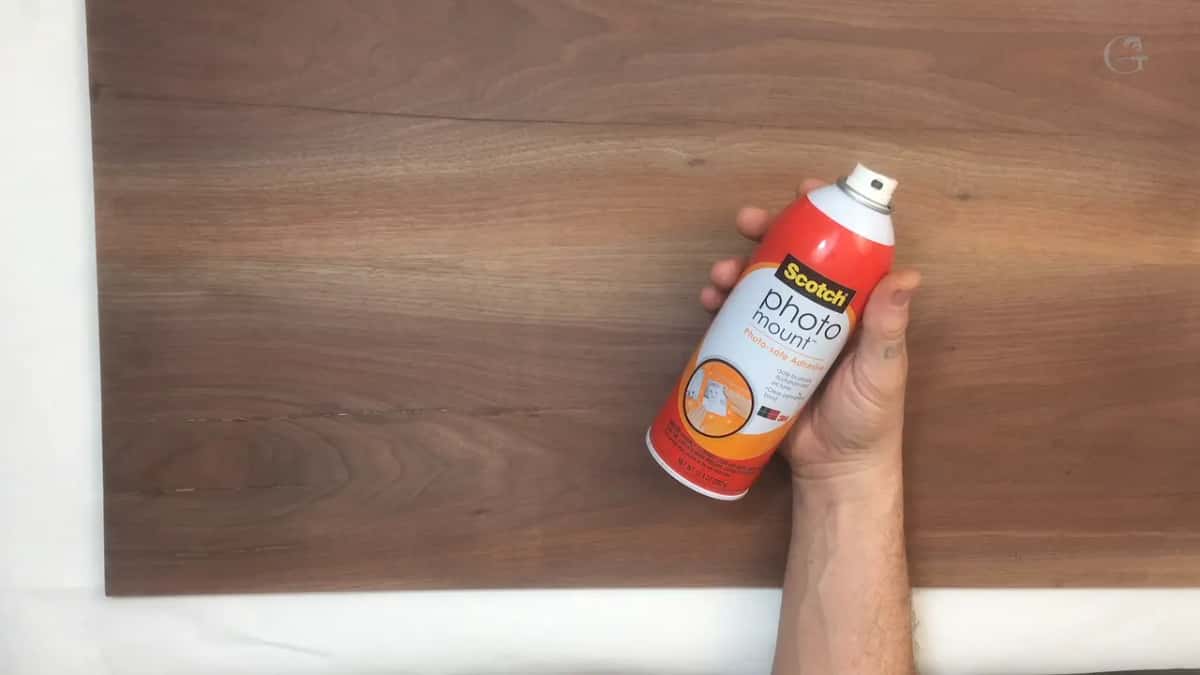
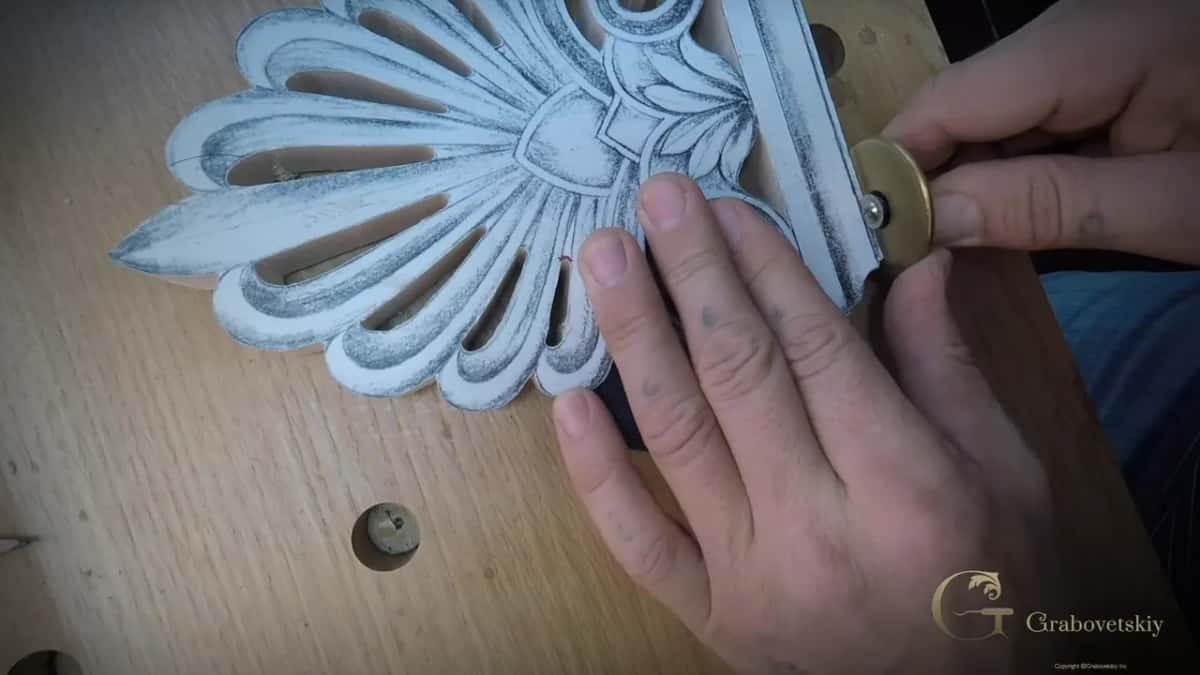
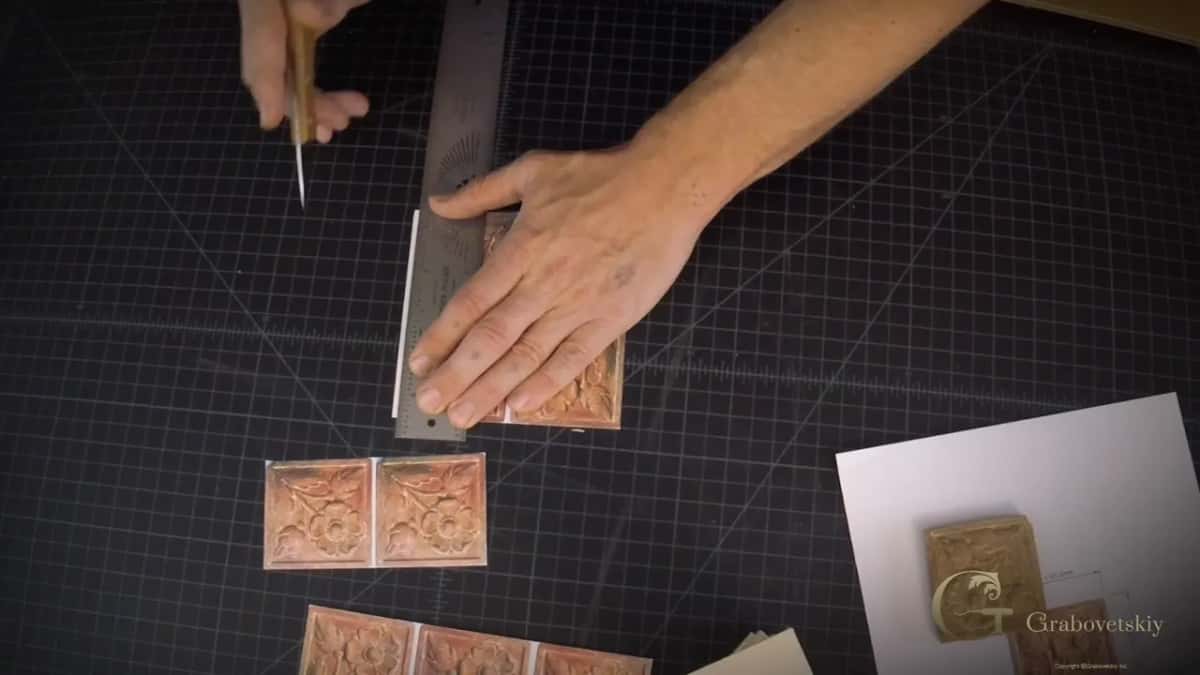
Carbon paper is not my first choice. Gluing the paper straight down is what I do most on a sawn blank. I printed to the scale of my design, glued the sheet on top of lime wood or basswood, and waited overnight until it dried. Then the blank went to the scroll saw and I ran the outline all the way around. After that it was ready to carve.
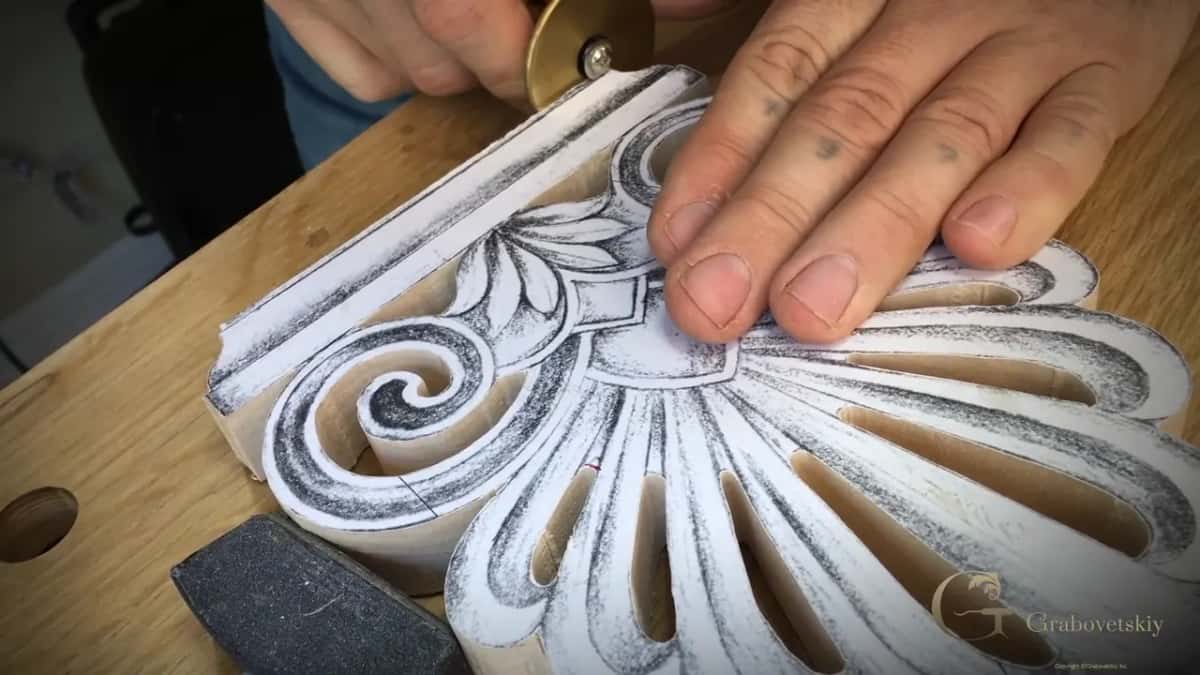
The third way is older and cleaner than carbon. Turn the drawing over, rub soft pencil across the back of the lines, lay it face up on the wood and go over the lines again. Grey dust, not black, and the drawing survives to be used twice.
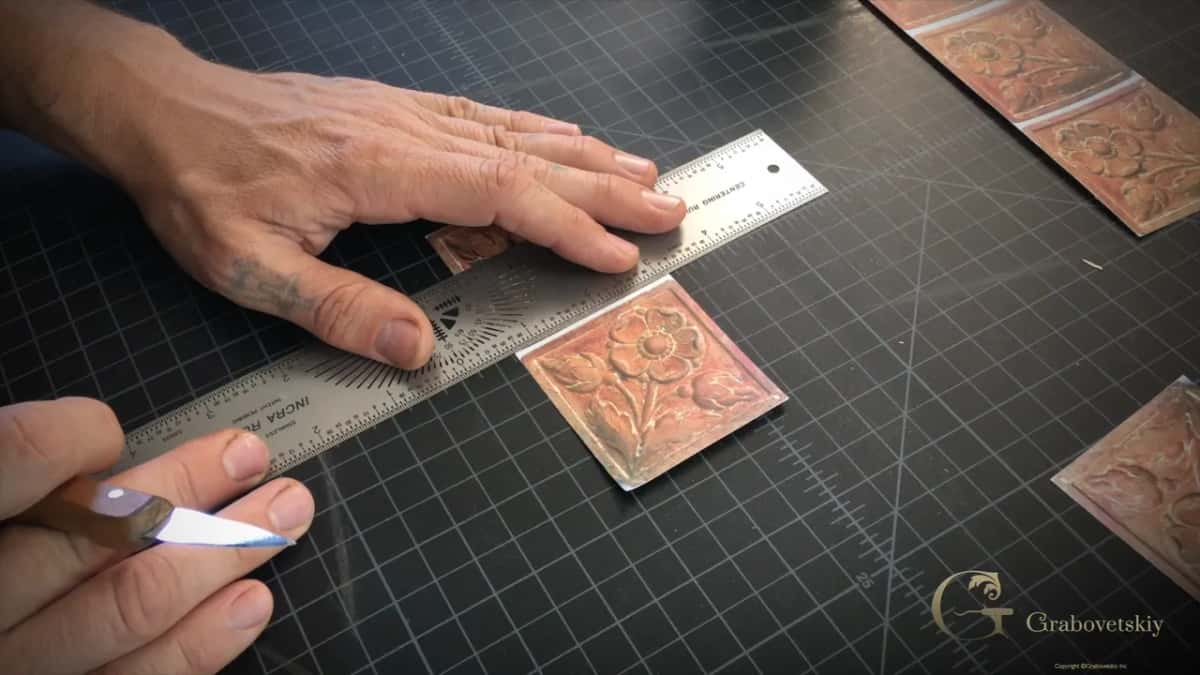
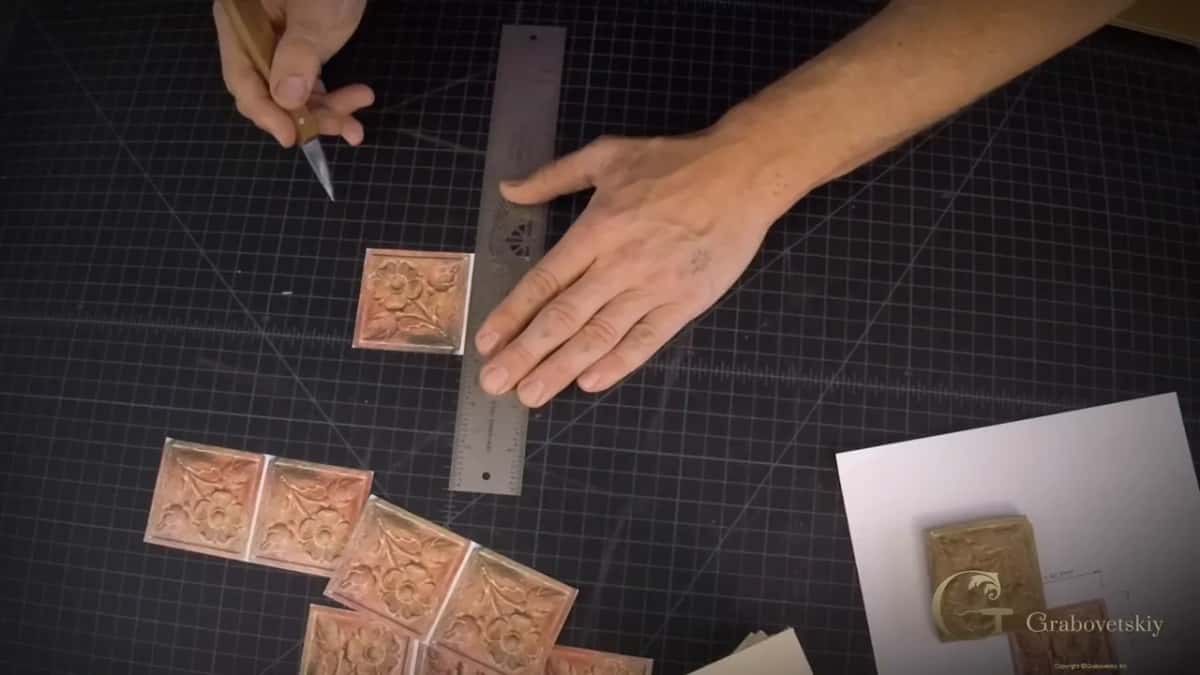
Marking a straight line on the wood has a trick to it. Set a knife on the line and make a small notch first, then bring the marker along. The marker catches that notch and the line lands where you meant it, instead of wandering off across the grain.
The fourth way is the one from the clay. Snap the model from several sides, print the pictures, glue them on the block and run it through the band saw or the scroll saw. You will not need to buy a cast, and you can stop hunting through a carving magazine for a printed three dimensional figure.
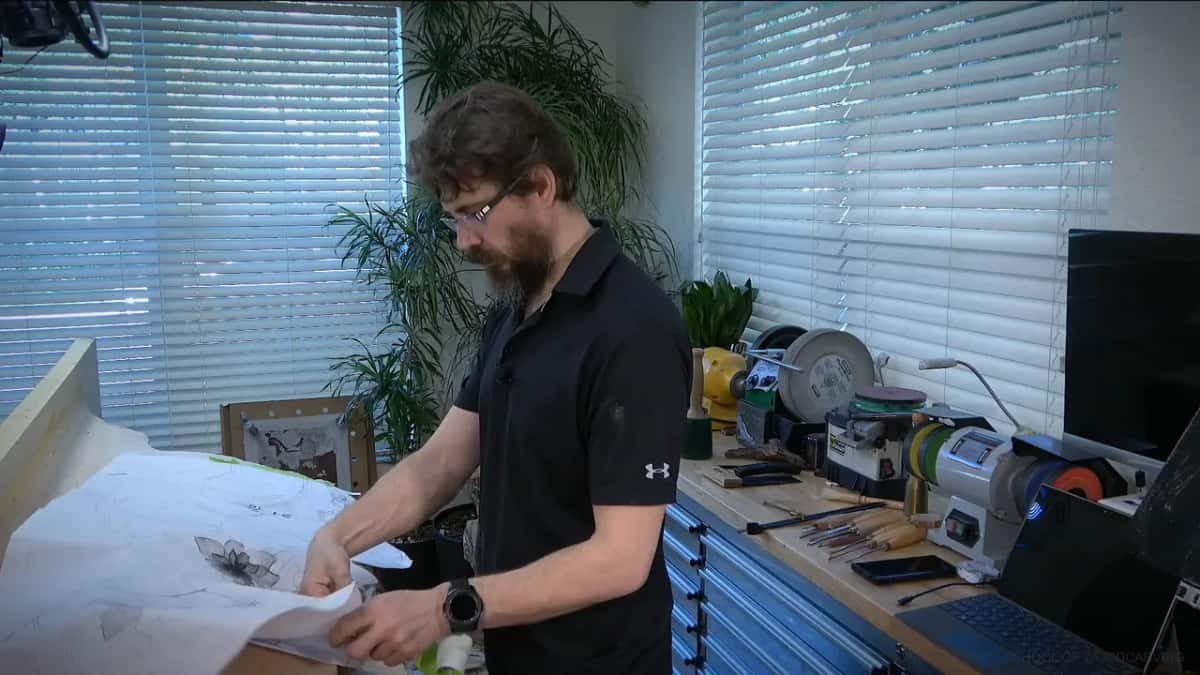
Layout is its own skill, and dividers do more of it than most carvers expect. Read my page on layout with dividers, because setting out a repeat with a rule alone is slow work.
How do I plan a carving design before the first chip?
My routine runs six steps, and most of it never touches wood. None of it is fast. All of it is faster than carving the wrong shape twice.
Step 1, draw it and draw it again
Full size, on paper, with a few pencils and an eraser. I draw and redraw until I am satisfied, and satisfied means I would put my name on it. Do not start carving while the drawing still annoys you.
Step 2, push the hard part into clay
Take the piece of the design you cannot picture and push it into plastilina. It does not have to be pretty. It has to show you the twist, the depth, and which way the form turns over.
Step 3, put a real gouge in the clay
Now take a gouge, the actual one from your rack, and set it into the hollow you just made. If the tool cannot get in there, the design is wrong for your bench, and you change it now rather than later. The tools you own set the limits of the design.
Step 4, photograph the model and print to scale
Photograph the clay from several angles and print those photographs to the scale you are carving at. Glue the prints on the block. Then the band saw or the scroll saw removes the mass that no gouge should ever have to remove.
Step 5, move only the big idea onto the wood
Only the big idea goes across. Skip the small detail on purpose, because you will carve it better with the gouge in your hand than you will draw it with a pencil. Anything smaller than your smallest tool is a line you cannot carve anyway. Your paper will be gone after the first roughing pass, so do not spend your time tracing detail that the gouge is about to remove.
Step 6, keep the drawing where you can see it
Prop the drawing up where your eye lands without turning your head. I use an iPad for that, and I check it against the carving as I go. Yes, I do make mistakes, and I caught one that way on a leaf that had to curl the other direction. I was glad I checked.
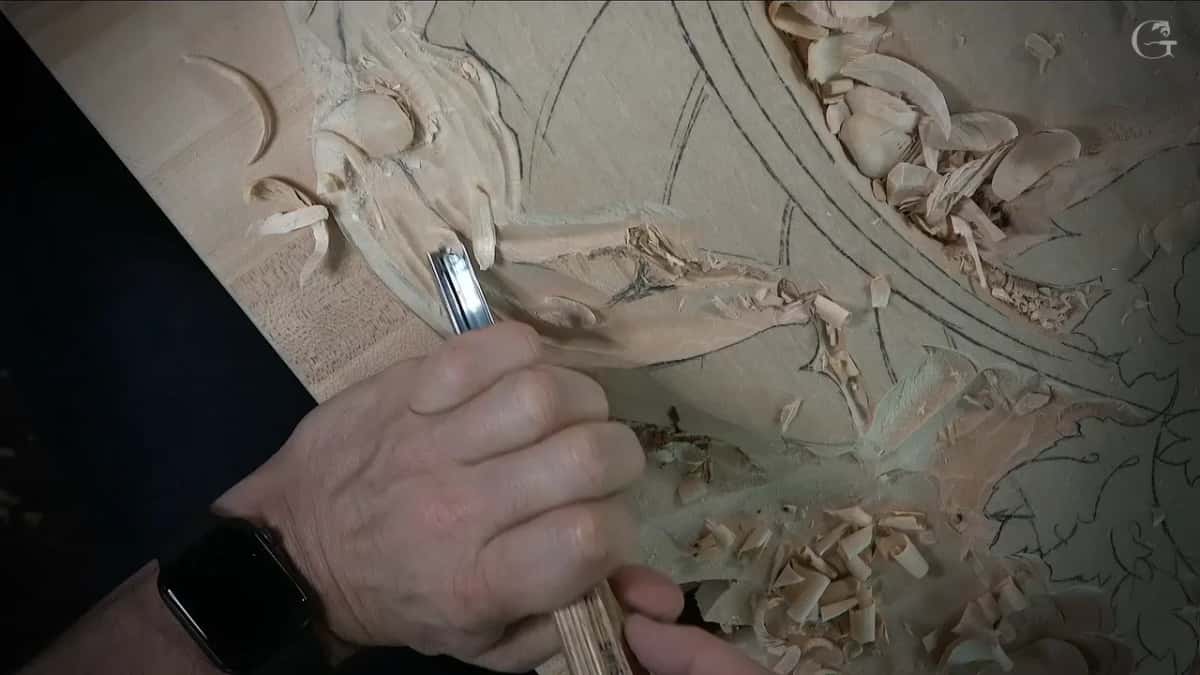
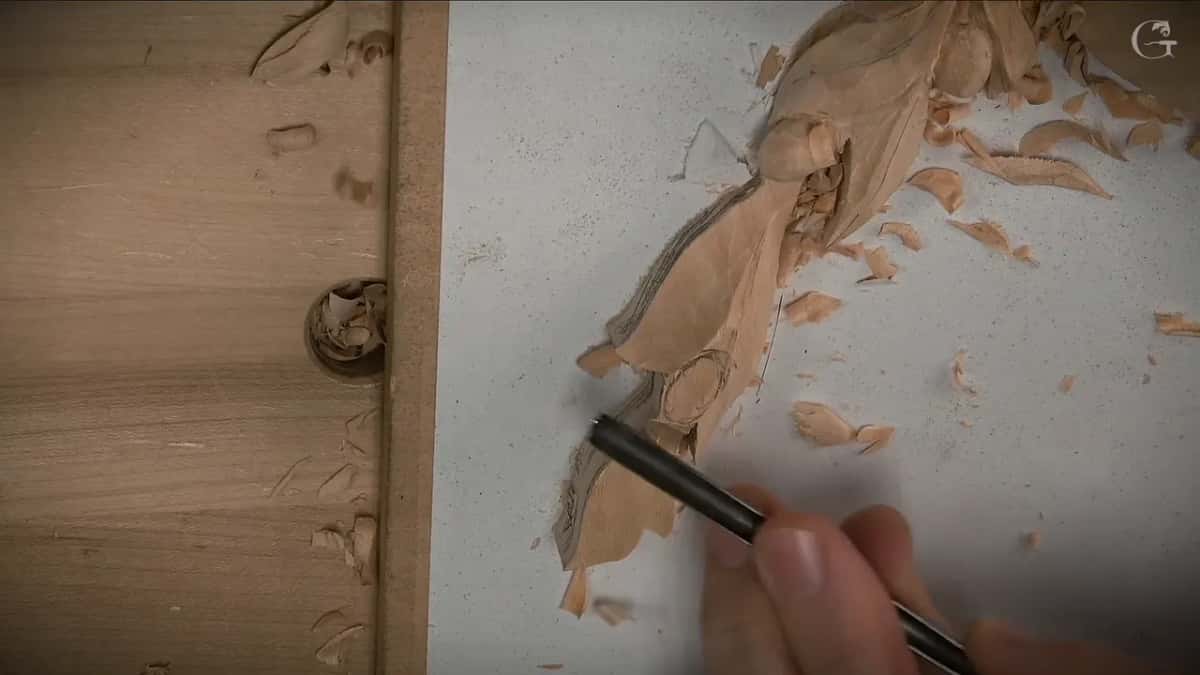
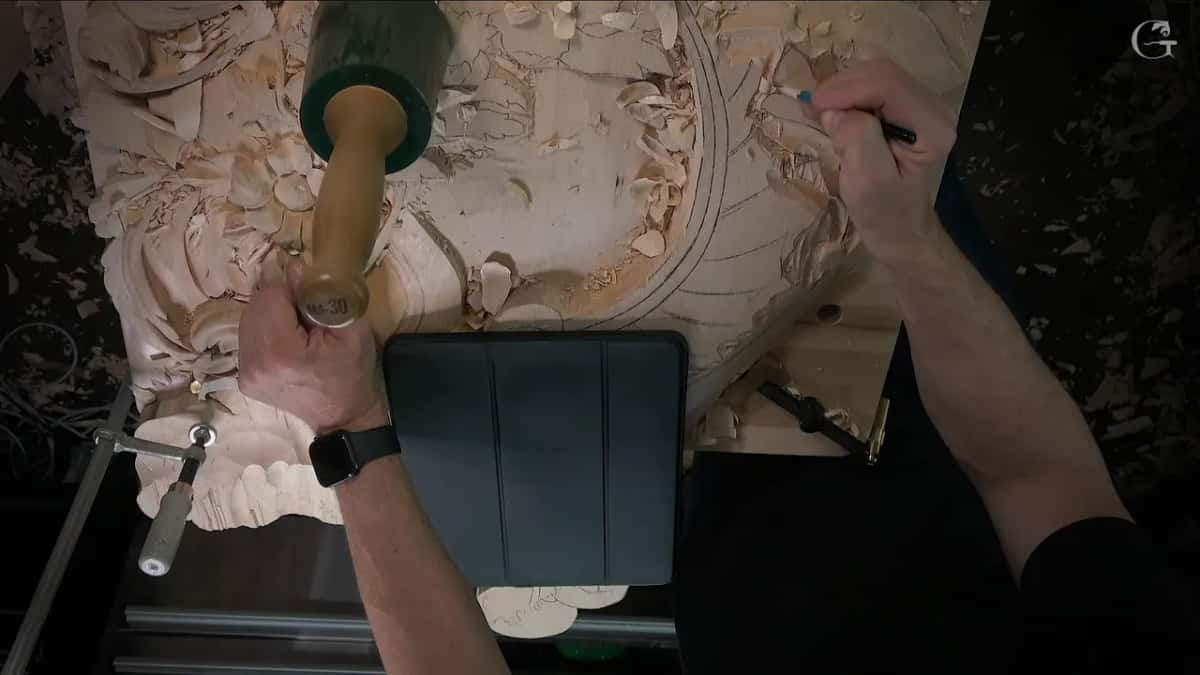
The drawing stays in sight the whole time.
The three pillars in my shop are design, then sharpening, then carving. Carving is the most important of the three, and it is still the one that goes wrong first when the design was never a plan. The same order runs through the design principles course, and I did not build it that way by accident.
What do I do when the drawing turns out wrong?
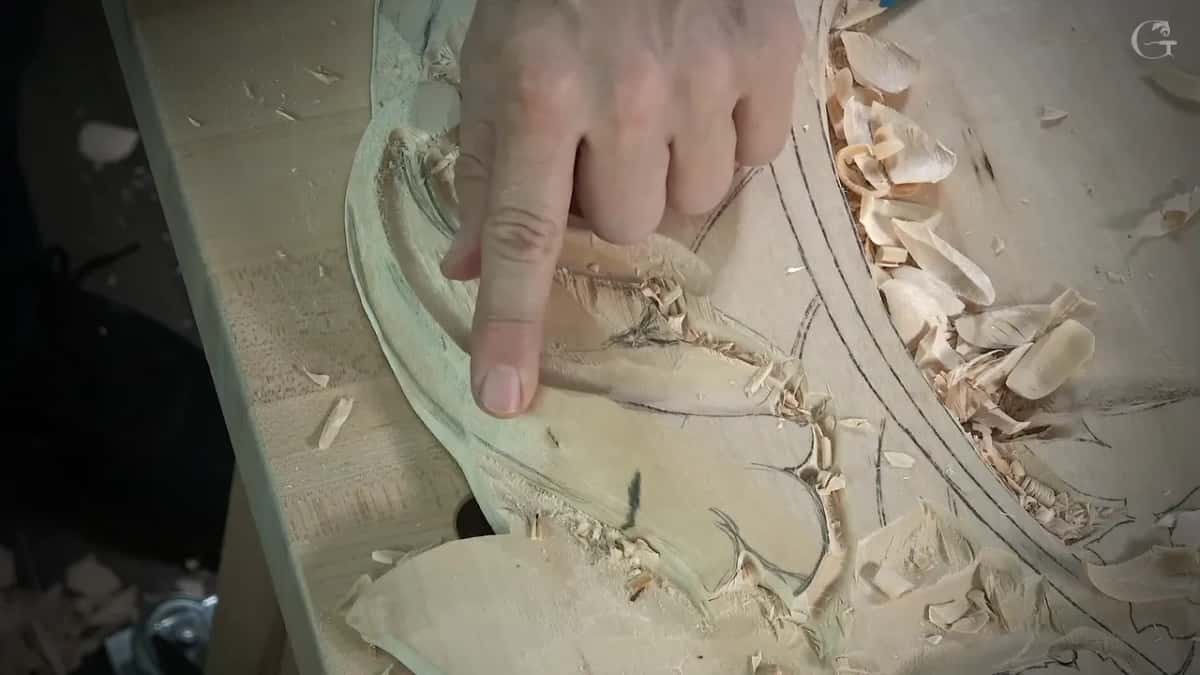
Redraw it on the carving, in pencil, right where the chips are. The pattern is gone by then anyway. The first roughing pass takes the paper off, and after that the only drawing you have is the one you put back on the wood.
Nobody tells you that part. Most instructions stop at the moment the paper is glued down, as though the pattern were going to survive the carving. Patterns never do. Keep the pencil on the bench, and keep drawing on the work until the last leaf is finished.
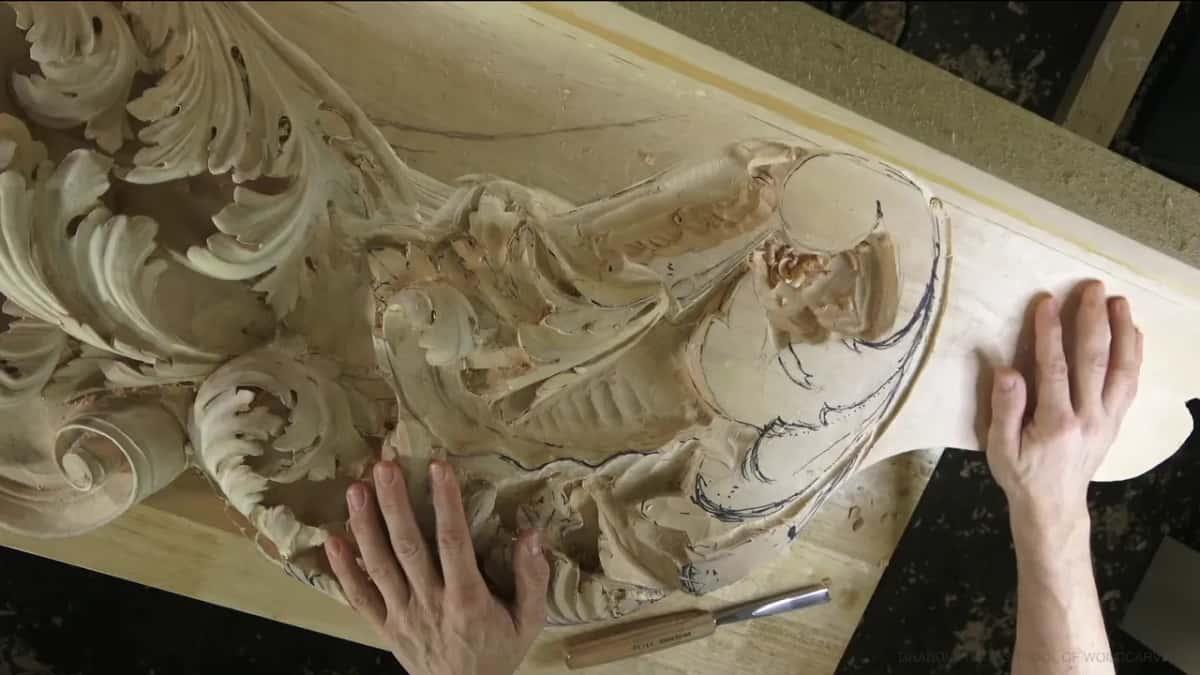
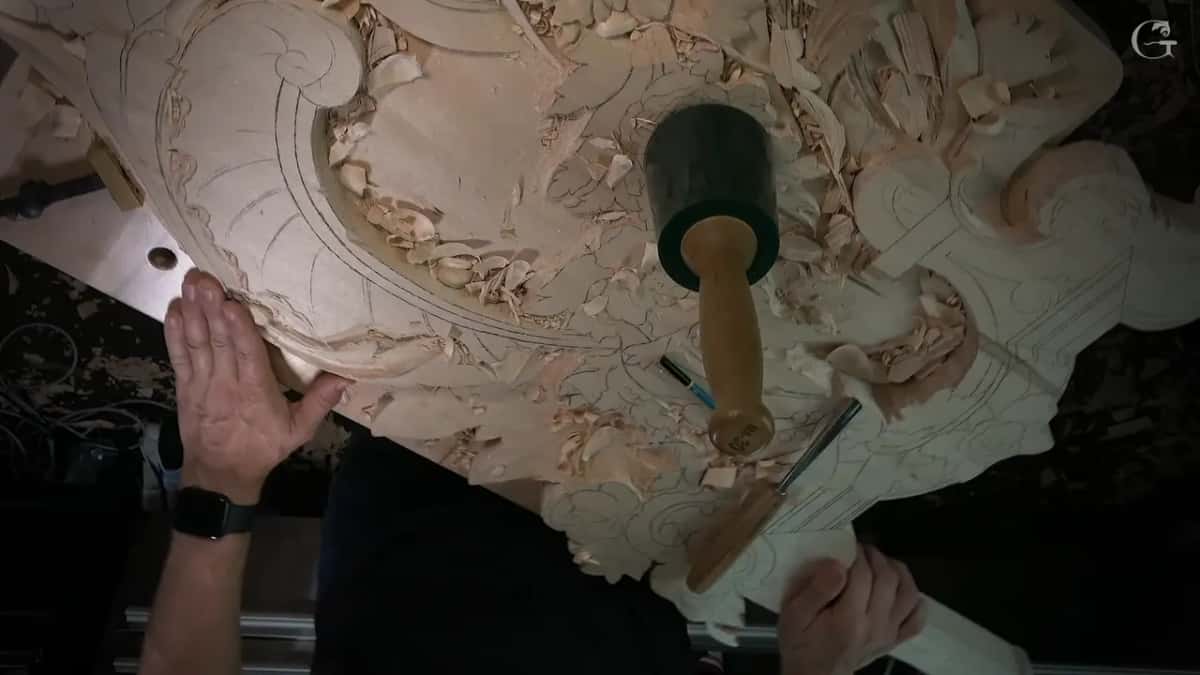
On the Venice Room I worked that way on purpose. I laid out all the main movements for the whole design and left the details alone, so no separation was ever drawn on paper. I carve and design while the work is moving, following the movements I already placed, and the final detail happens right there under the tool.
The pencil belongs within reach, not across the shop. A line you have to walk for is a line you will not draw.
I never know the drawing was wrong until the wood tells me. A curl that looked correct on the sheet can fight the grain, and the chips come off wrong, and then I stop and draw it again in a way the wood will accept.
Museums are full of proof that the plan changes on the way. The V&A's film on the carved cravat records that the limewood block was measured and outlined first, and then shaped over about two weeks of work. The finished cravat weighs less than 150 grams, was carved about 1690 in London, and copies Venetian needle lace in wood.
Riemenschneider's Mary Salome and Zebedee was carved about 1505 in Wurzburg, and the museum record says it was badly worm eaten at some point and the holes were plugged with wood. A plan that lasts five hundred years still gets edited.
On one long panel I took a number seven and made the S curve, then a five millimetre number eleven for the triangle beside it. That hump did not look appealing to me. So I picked up a number two and planned it better.
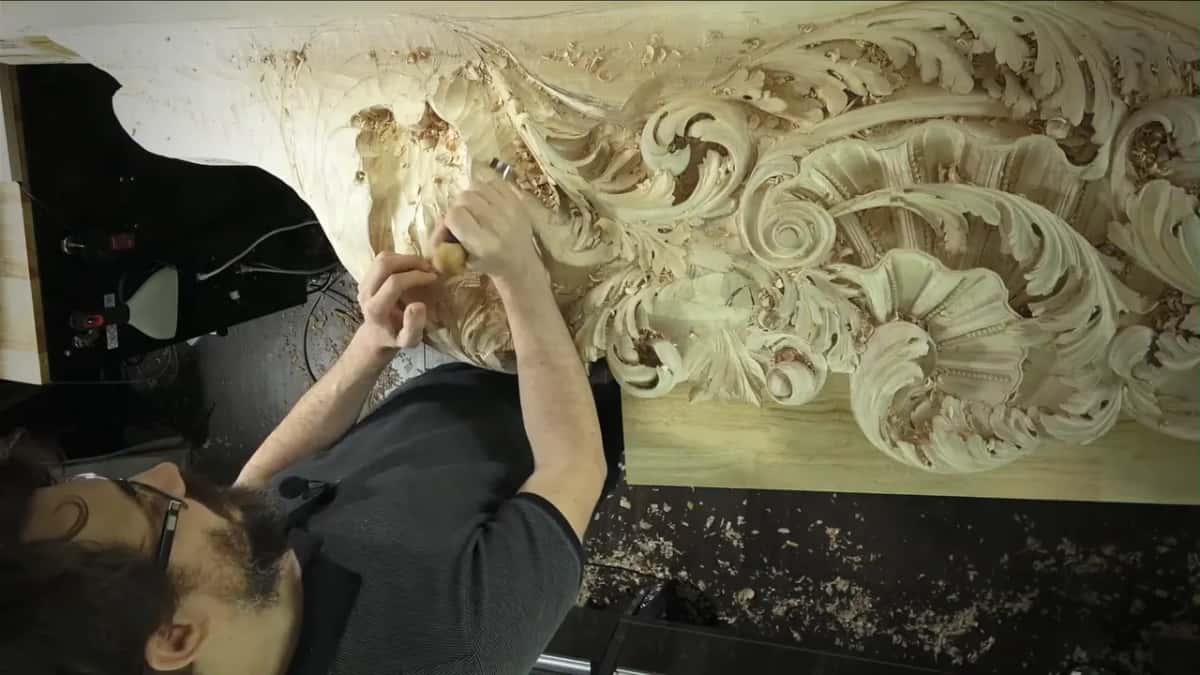
I have a page on mistakes in a carved scroll for anyone who wants to see what going wrong looks like up close.
How many levels can a carving design carry?
Count the levels on the drawing before you buy the board, because every level you draw needs depth to sit in. I settle the levels on paper first, and the board must carry every one of them.
Depth is where design meets the board, and I keep the wood side of that argument on a separate page about whether thicker wood is better. What belongs here is the drawing side.
Everything that survived in a museum sits on the golden ratio. Fine art too, and I mean Rubens and Michelangelo and Leonardo da Vinci. Nobody can tell you why a thing is beautiful while they are looking at it, because the brain reads the proportion before the words arrive. Take one simple flower and shift it off the golden spot, and your eye will read the whole panel differently.
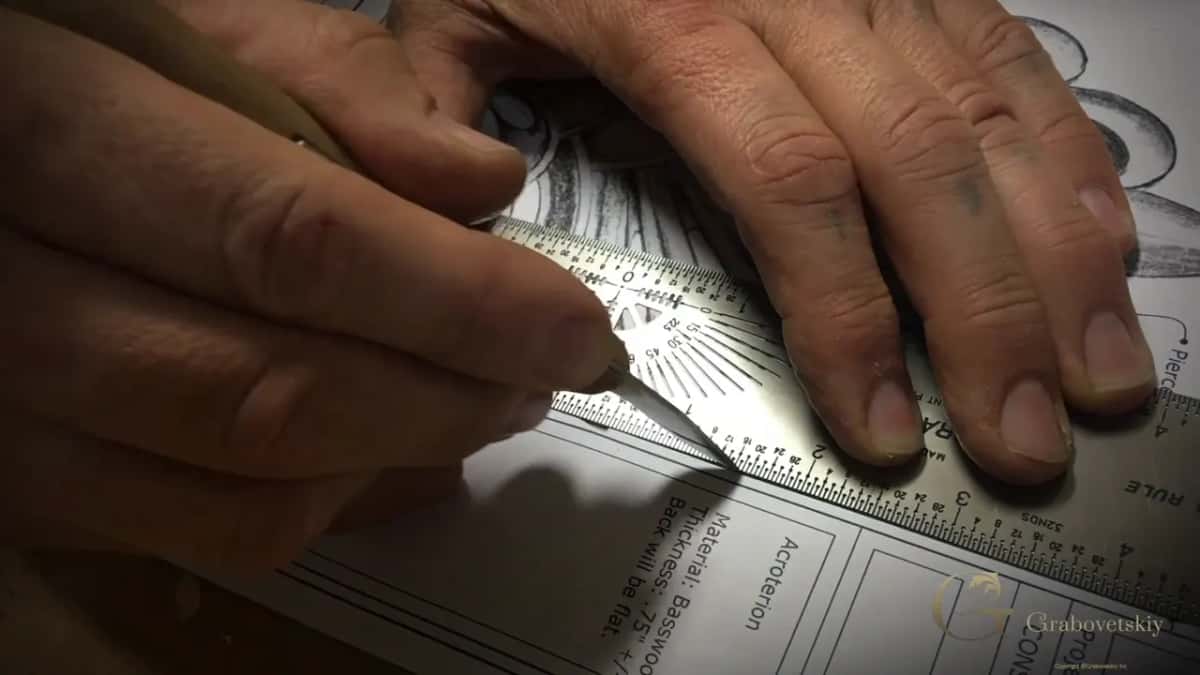
One more thing that costs nothing. A drawing that carries the board it was drawn for, and the species, still knows what it was for a year later.
Design comes first in my shop for a plain reason. It is the cheapest place to change your mind. The first step in wood carving is not a chisel, and the basics of wood carving all sit behind it.
For the whole order laid out, the courses about design sit together in one place. Tools and steel are their own study, and I keep the tools course and the sharpening course apart from design on purpose. A free sharpening lesson is open to anyone who wants it, and there is a page on where to start if the catalog looks big to you.
The beginner course is where most people should start this, and the tuition and access page says what it costs. I would rather you plan one design well than carve six that were never planned.
Bring me a drawing you are not sure about, and we will find out together whether a gouge can reach it. Shall we carve?
Frequently asked questions
Can I skip the sketching step and carve directly?
Small practice work, yes, carve straight into the block and learn from it. Anything you want to keep needs a plan, and the plan has to exist somewhere outside your head. Mine lives on paper and in a lump of clay before any steel touches the board.
What is the best way to move a pattern onto a wood surface?
I glue the printed sheet flat most days. A rub of soft pencil through the back of a drawing does the same job without carbon. The carbon sheet works and leaves black marks I dislike. For round forms I print photographs of a clay model and glue those instead.
How deep should each level of a relief go?
Levels are decided on the drawing, and the board has to be thick enough to hold them. Once the board is bought that argument is over, so count what you have drawn while the pencil is still the only tool in your hand and the wood is still a choice.
What if I make a mistake during carving?
Pick up the pencil and draw the correction onto the carving. Paper is long gone by the second pass, and a line on bare wood is easier to trust than a memory. I check my tablet drawing against the work as I go, and I find errors that way more often than I would like.
What makes most patterns flawed in the first place?
Patterns get drawn without a single thought about the steel that has to carve them. A shape can be lovely on a screen and unreachable at the bench. Push the hard part into clay, set your own gouge into the hollow, and the flaw shows up before you have spent anything on wood.
Do I need a computer to design a carving?
Nothing here needs a screen. Paper, a pencil, an eraser and some clay will plan any panel you care to carve. I run SketchUp because it is quick for me, and I still draw by hand as well, because that is what keeps the hand working.
Filed under
- 3D modeling for wood carvings
- benefits of digital sketching in carving
- best apps for carving design
- Blender techniques for wood carving
- design software for wood carving projects
- easy ways to plan carving
- how to create 3D models for carving
- how to sketch wood carving designs
- making adjustments in carving design
- Nomad for 3D carving design
- planning intricate carving designs
- Procreate tips for carving design
- sketching on iPad for wood carving
- sketching techniques for wood carving
- tips for planning carving projects
- tools for planning carving designs
- using digital tools for wood carving
- visualizing carving projects
- wood carving design ideas
- wood carving design software