
August 30, 2024 · Updated August 23, 2026
By Alexander Grabovetskiy — Master Woodcarver · Founder, School of Wood Carving · 19 min read
Is thicker wood better for Carving?
Thicker wood is a limit on depth, not a guard against cracking. I work from an eight quarter board, a hair under two inches, so I plan every depth before I start. Past that limit you pay in hours to remove fiber you never needed. Movement grows with size, so thick stock moves further.
You picked the heaviest board on the rack because thick sounded safe. That instinct is expensive, and you pay for it in hours at the bench.
The usual answer is the same one everywhere you look. Thicker is more stable, thicker cracks less, so buy thick and sleep easy.
That thinking runs backwards. Wood moves as a share of its own size, so a thicker board travels further, and the extra stiffness that comes with it is what turns quiet movement into a split. What thickness actually gives you is a ceiling on depth. Every inch you buy above the deepest point in your drawing is fiber you will pay to remove.
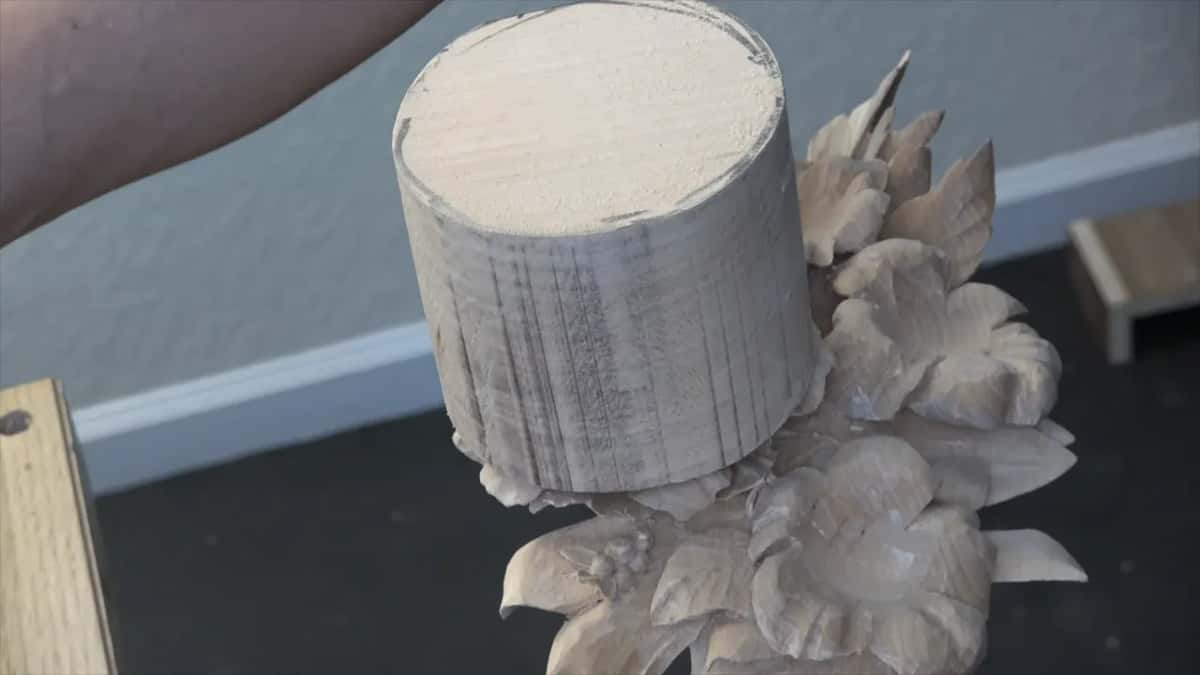
The blank stands above the finished work by the amount still waiting to come off.
Ask a better question instead. Does my drawing go deeper than this board can hold?
Below I put real numbers on the bench. What a nominal two inch board actually measures, how shallow good relief work really is, and why carving deep leaves a glued block safer than it started.
Here is the short version.
- Thickness sets the deepest point you can reach and nothing else.
- Movement is published in percent, so a thicker board moves further rather than less.
- The label lies.
- My eight quarter stock measures 1 15/16 inches, and the sixteen quarter block came off the saw at 3 5/8.
- Deep excavation breaks fiber, and broken fiber has nothing left to pull the block apart.
- I build height from glued blocks instead of buying solid sixteen quarter stock, because tracing is easier and there is far less waste to remove.
- My floor is one eighth inch, and only the outer edge goes thinner.
Is thicker wood really more stable?
Thicker stock is stiffer, and stiffer is a different thing from stable. Shrinkage gets published in percent, as a share of the dimension it runs across. A percentage does not care how big your board is. It just takes its share.
Most species land at three to five percent radial and six to ten percent tangential, says the Wood Database. Run the arithmetic on eight percent, the middle of that tangential range. Across a two inch width you get about a sixth of an inch of travel. Across four inches the figure is close to a third. Your thick board did not get calmer. It got twice as much to give back.
The 2010 USDA Wood Handbook sets the fiber saturation point near thirty percent moisture. Below that line the wood begins to lose size. Its moisture chapter also reports tangential movement at roughly twice the radial figure, so the way a board got sawn counts for more than how heavy it feels in your hand.
Thickness changes one thing. Stiffness. A thin panel that wants to move will cup a little and live with it, and a frame will hold that panel flat. A thick block has more total movement to give back, and how it was sawn matters more than how thick it is.
Even the bench test behind those published numbers leaves thickness out. The small clear specimen standard exists partly to separate density from locality of growth, position in the cross section, height in the tree and drying. Every factor on that list is about where the wood came from, not how thick the board is.
I know this from the far side of the argument. I have glued six inches together and dug into it hard, and that block does not worry me, because nothing inside that fiber is strong enough to pull it apart.
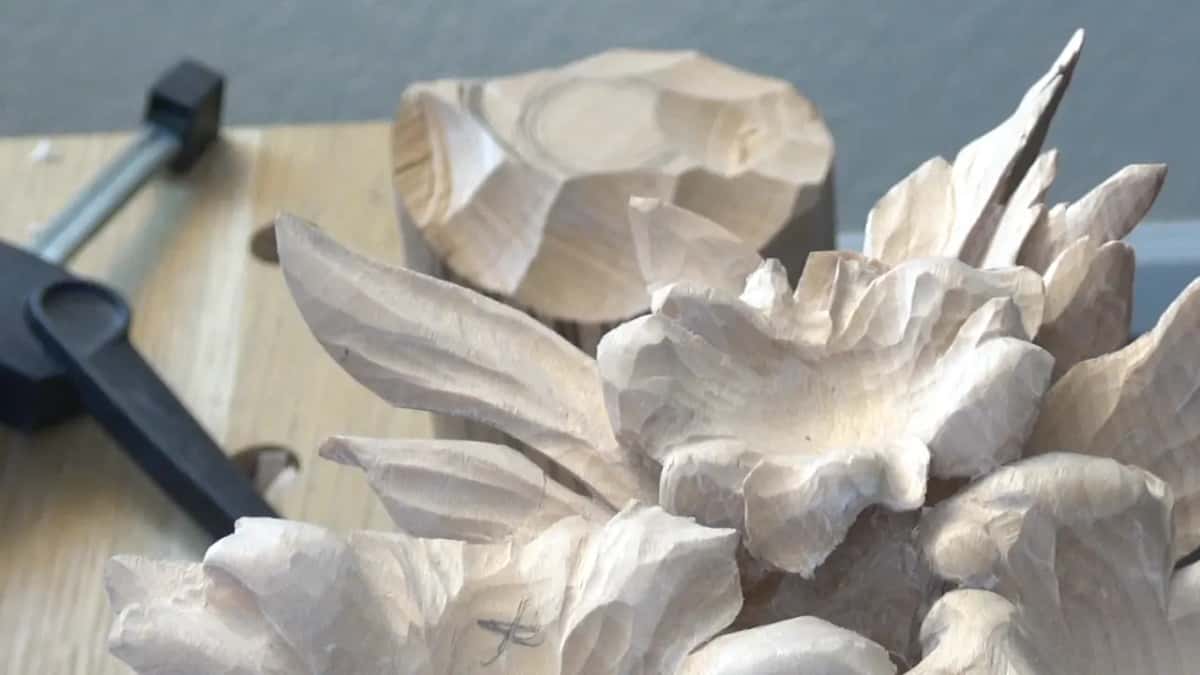
How the board got sawn buys you far more calm than how thick it is. The Forest Products Laboratory writes that quartersawn stock cups, surface checks and splits less in drying and in use. Sawing changes behavior. Paying for extra thickness does not.
Where the board sat in the log outweighs its thickness. Closer to the center you get, the less movement happens, and closer to the outer part of a log a lot more happens. Heart pine comes out of the middle of huge pines, which is why it held up American factories in the 19th century, and it is hard as a rock. I carved a table from it once, about 12 feet long, and I broke a lot of gouges getting through it. It is not a pine rule. Basswood runs the same way.
There is more on the mechanism in how wood shrinks, and in what I have written about warping and cupping.
How thick is an eight quarter board, really?
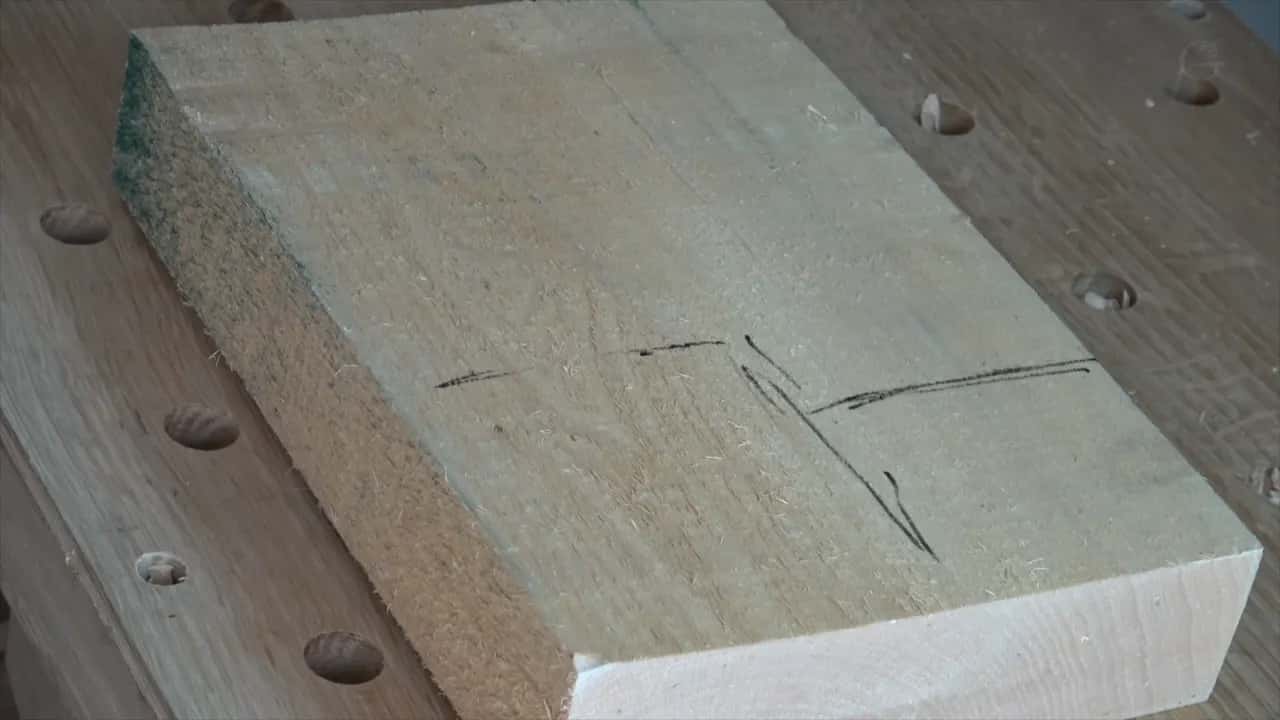
My eight quarter piece measures one and fifteen sixteenths of an inch, not two. Call it about fifty millimeters, a little under. That missing sixteenth stays invisible until the deepest part of a drawing sits at exactly two inches, and then it is the whole problem.
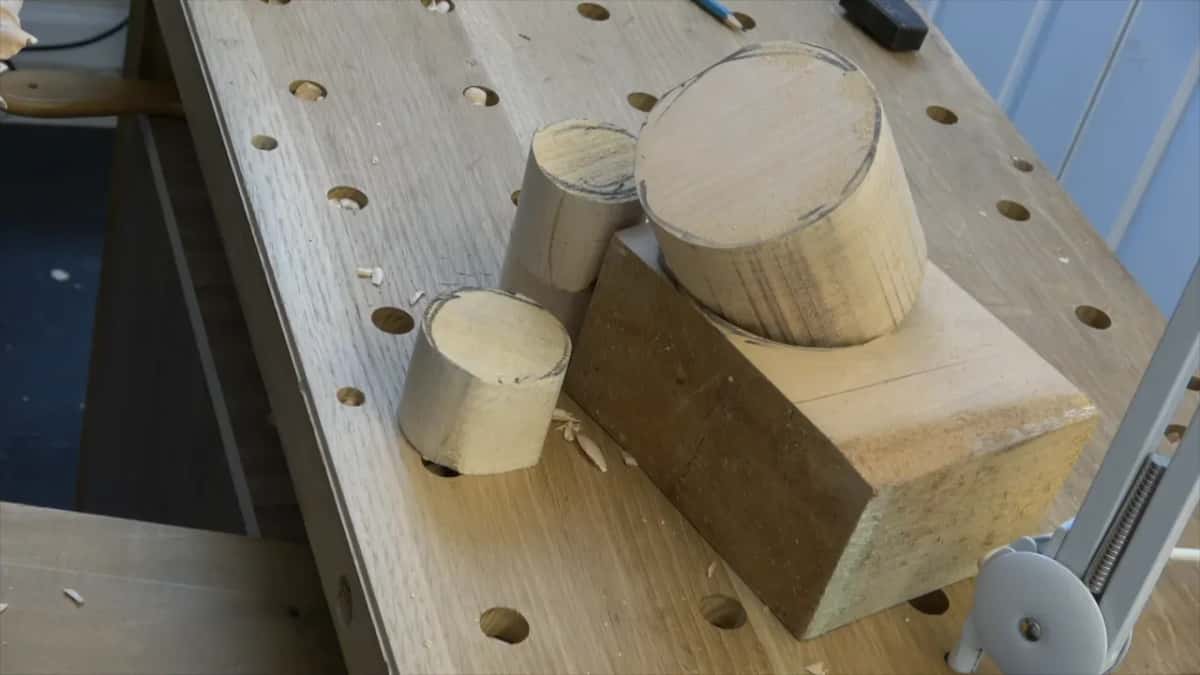
Sixteen quarter is worse. I sawed a block from solid and it came out at three and five eighths of an inch. Not four.
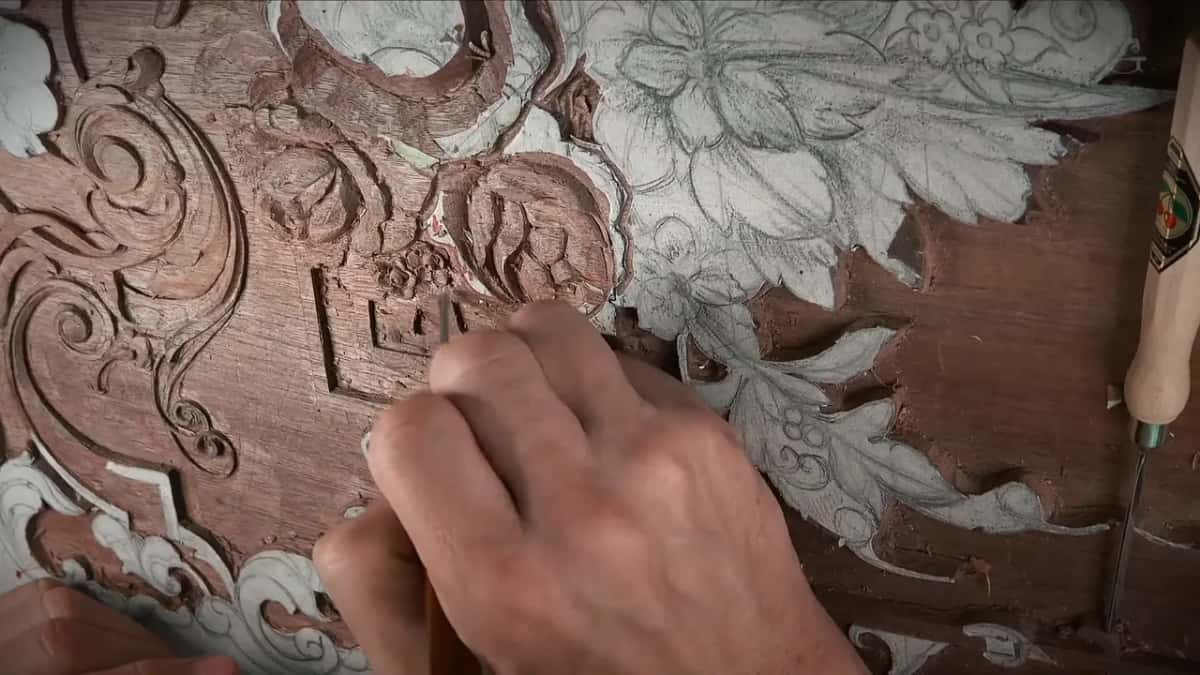
Quarters count sawn thickness, green and rough off the saw. Then the board dries and loses size, and then somebody planes both faces flat. The label survives all of that untouched. Your caliper does not.
Weight and size both get quoted at a fixed moisture level as well. Weight tables from the Wood Database are standardised at twelve percent moisture content, the level wood settles to around 70 degrees and 65 percent humidity. Your shop is probably not sitting there today.
Planing takes the rest. Every pass over a jointer shaves both faces again, long after the yard printed its number.
So plan from the caliper. I am glad to have an eight quarter ceiling, and glad is the right word, because knowing the number in advance forces me to be careful about depth and about how the whole surface blends together.
The full reference behind those drying figures is the 509 page Wood Handbook from 2010, and it costs nothing. If you would rather judge a board with your hands, I wrote out six tests you can run at the bench, plus a longer piece on getting raw stock ready to work.
Your ceiling is one end of the range. The floor is the other, and the floor gets set by how thin you dare leave the wood.
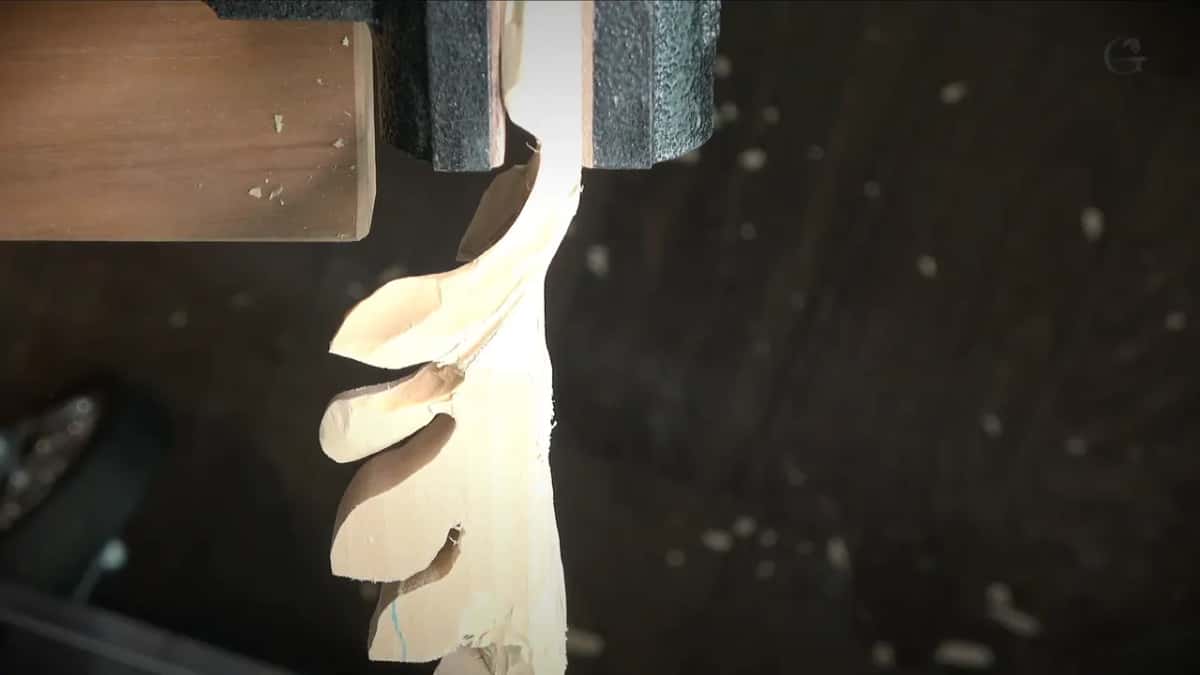
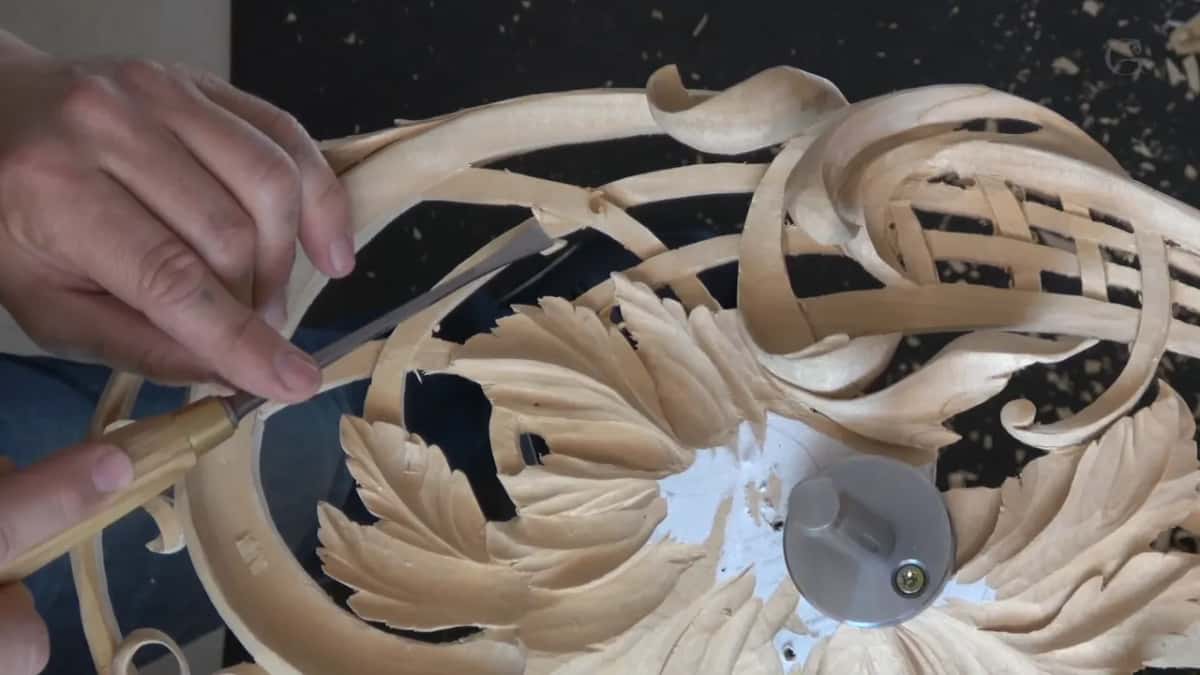
Carved this thin, the edge almost glows against a dark background.
How deep should a relief carving be?
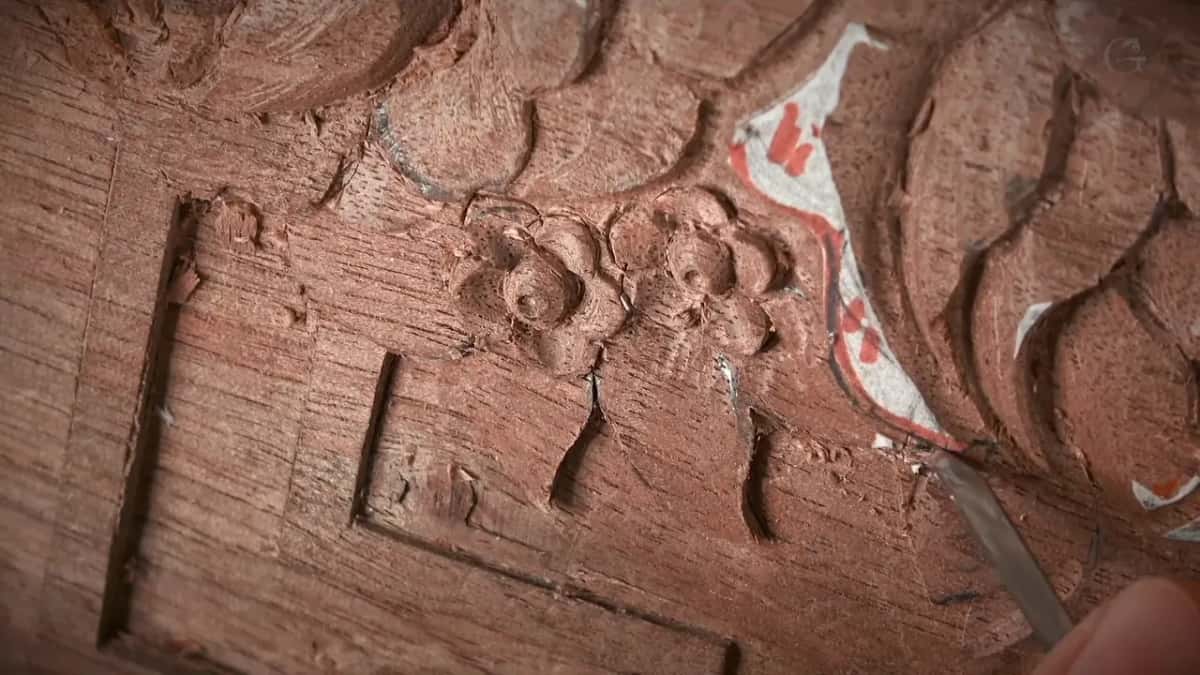
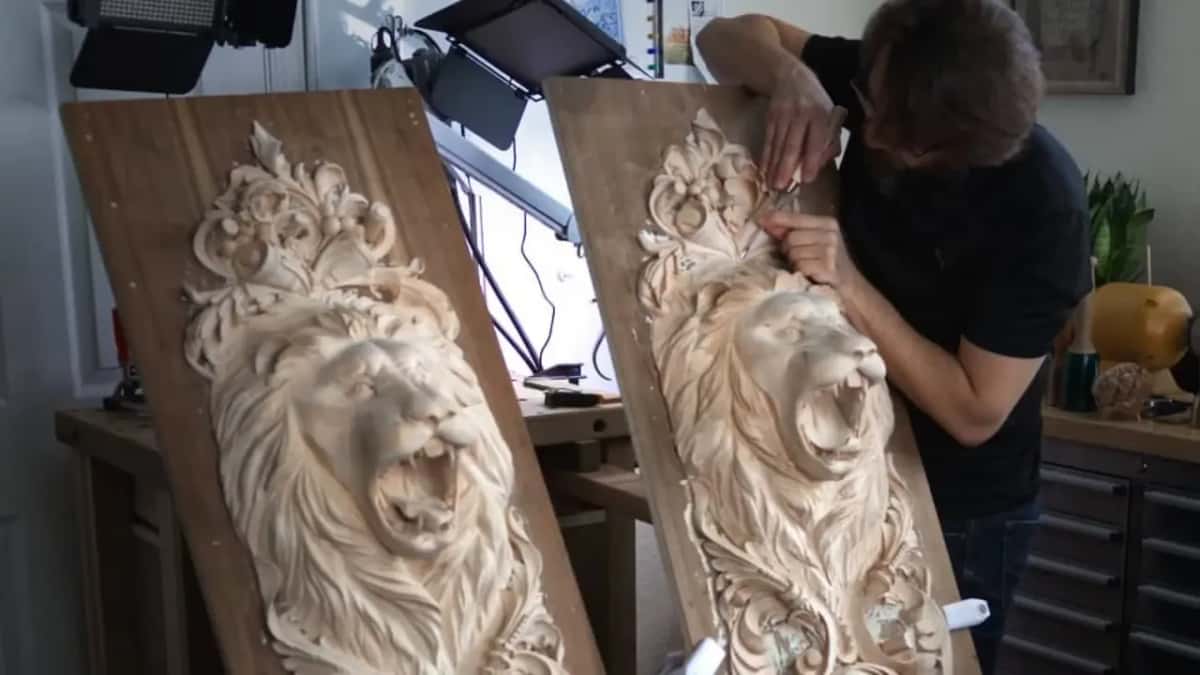
Far shallower than my photographs make it look. One furniture panel bottoms out at an eighth of an inch. That is all there is. Shadow does the rest, and I undercut the edges so the shadow darkens and the piece picks up depth it does not physically have.
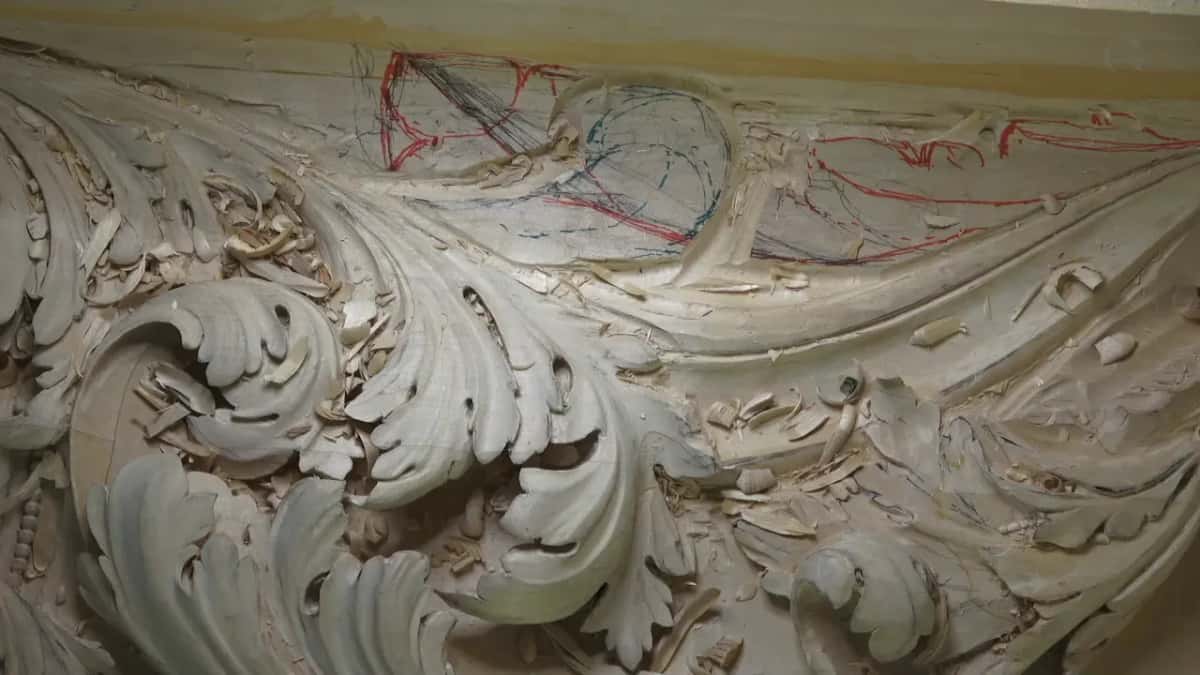
On a second panel the gap between the highest spot and the lowest one runs about a millimeter. Maybe a thirty second of an inch. What you see on camera is much bigger than what sits in my hands, and that is worth knowing before you buy a four inch board for a job that needs a millimeter. Your hand knows better than your eye. A human hand can detect one thousandth of an inch, and the eye cannot come close, so furniture gets judged by a palm run over the surface.
Shallow does not mean easy. A low relief leaves you no room to fix a slip, so I work slowly, and the mallet comes out for the choppy patches.
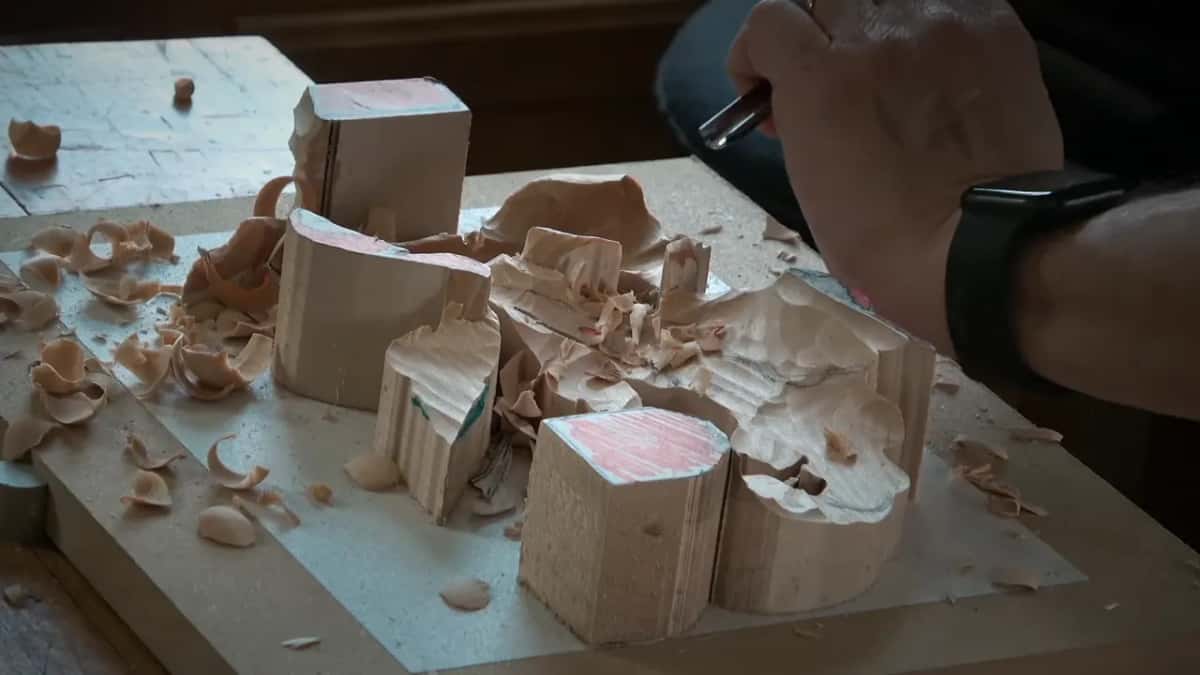
High relief is a different animal, and still not as thick as people guess. For one Byzantine leaf I used three quarters of an inch as the upper layer. Most of the time I would want two inches there, because a thicker upper layer gives a bigger head and a heavier shadow, and with gold leaf inside that shadow it turns into a dome.
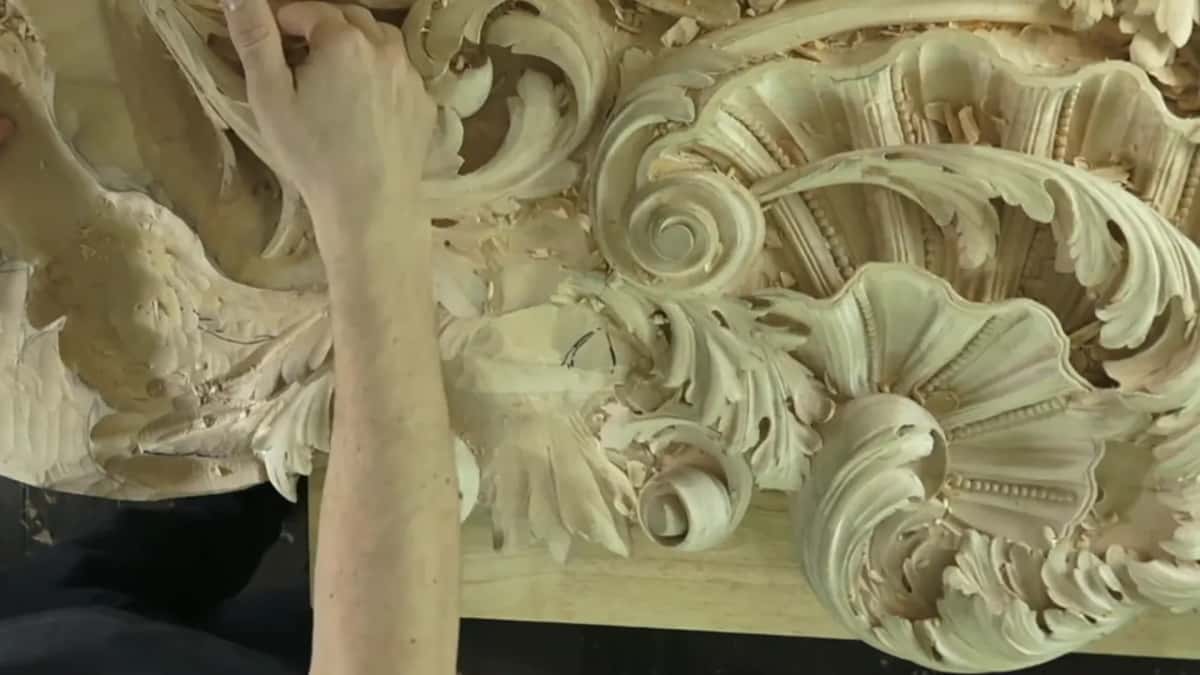
Add up what those two panels ask for and the shopping list shrinks. An eighth inch of depth needs no thick board at all. Two inches of upper layer needs every bit of eight quarter stock I own, and it needs the drawing settled before I start, because there is no going back up.
Measure your own work once and you will never trust a photograph again. What comes back is almost always smaller than the number sitting in your head.
I check depth the whole time I am working. Constantly. Going a little too deep is a mistake I have made too many times to trust my eye alone, so a router plane comes back to the panel again and again for the final adjustments.
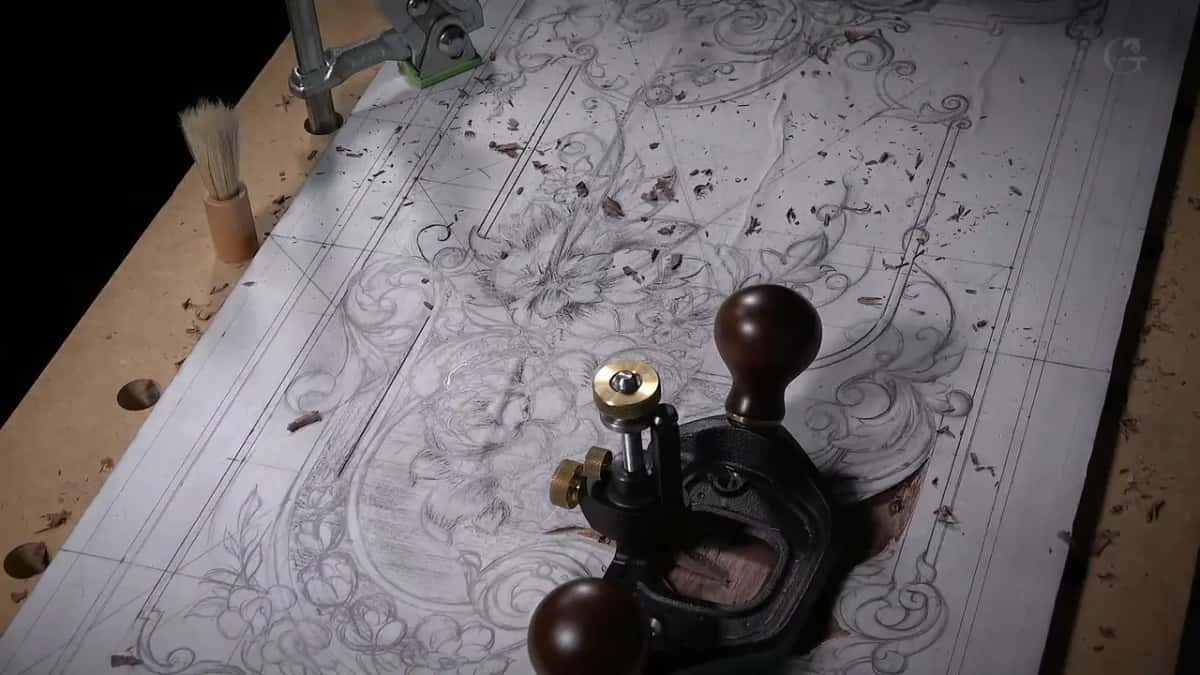
Depth is a drawing decision before it is a wood decision. How many levels your design carries gets settled on paper, which I work through in planning and sketching a carving design and teach in the design principles course.
Does carving deep make the wood more likely to crack?
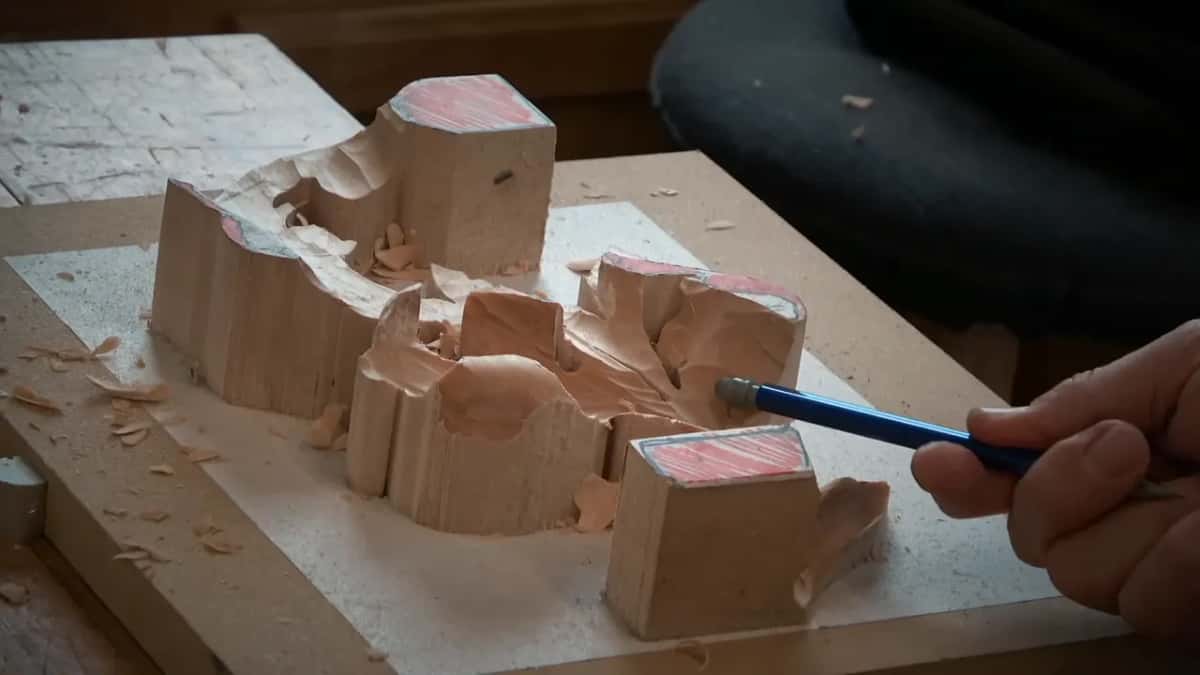
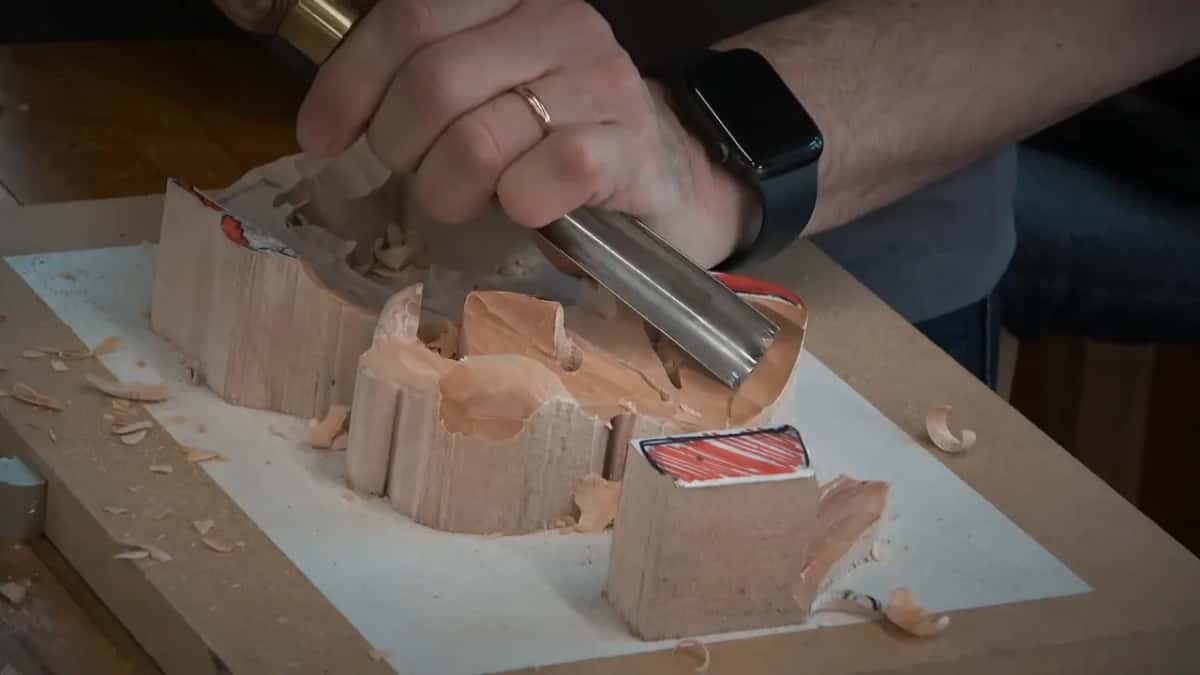
Carving deep relieves the block instead of endangering it. Excavating breaks the fibers, and once they are broken nothing runs the length of the piece with enough strength to pull it apart. A carved panel stops being a solid board.
Six inches of stock glued together is fine by me for exactly that reason. Between any two ridges there is a cavity, and a cavity is a gap the wood may open or close a little without tearing.
A plain slab has none of that. Every fiber runs the whole length, all of it pulling the same way as the moisture changes, and it is stiff enough to win the argument. That fight is the one you want to avoid, and thickness makes it worse.
Small details carry the same insurance. A small detail can shrink or swell by an amount nobody will ever measure, and the carved ground on both sides of it simply absorbs the difference. Scale that up to a bare panel with nothing carved into it and the same movement has nowhere to hide.
It scales, and it scales in both directions. Deep excavation prevents movement. Less excavation, and there is going to be a little more movement. Different projects sit at different points on that line, some more solid and some less, so read your own piece rather than trusting a rule of thumb about thickness.
Take none of this as permission to ignore moisture. The USDA lab in Madison says wood kept below twenty percent moisture will not decay, and keeping a finished piece in that condition for the rest of its life is a separate job from drying the blank. I hand that one over to how long carvings last.
What if my board is not thick enough?
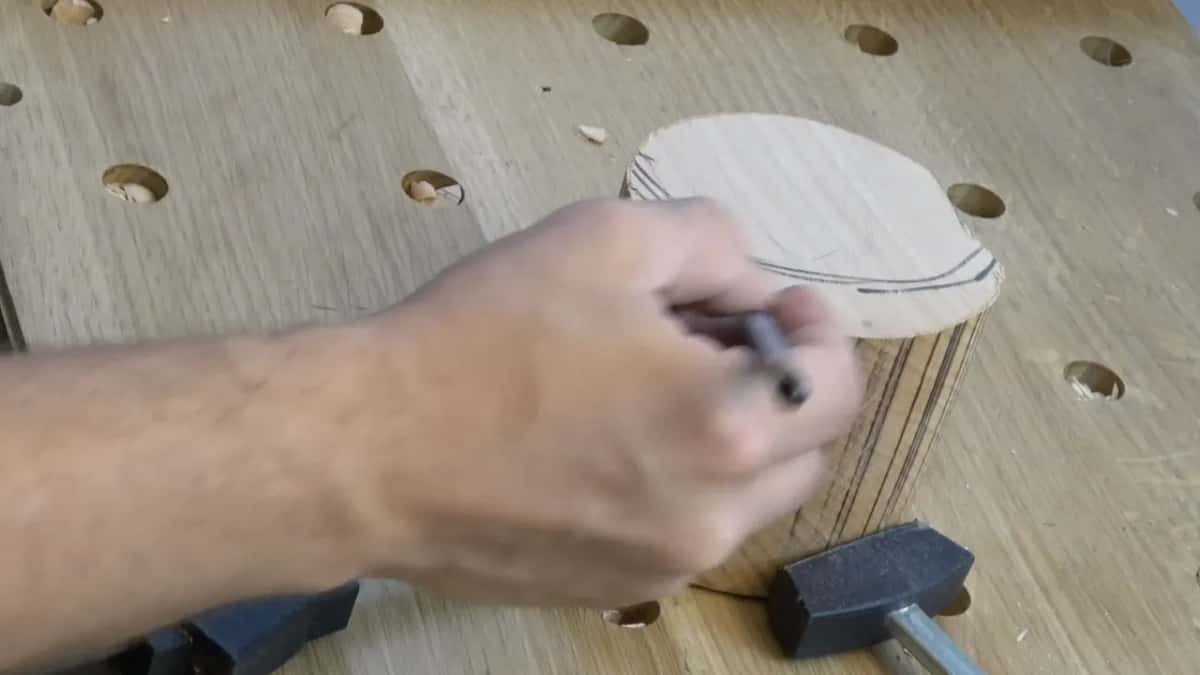
I glue blocks on top of the panel rather than buy a thicker slab. Look at the arithmetic that pushed me into it. I had two inches of stock, and one peony flower needed another three and a half inches above the surface. I would have needed a six and a half inch block for one flower, and there was no reason to own one.
A block that tall fights you anyway. Reaching the areas inside it is hard, undercutting it is harder, and you spend the time removing wood that was never part of the design.
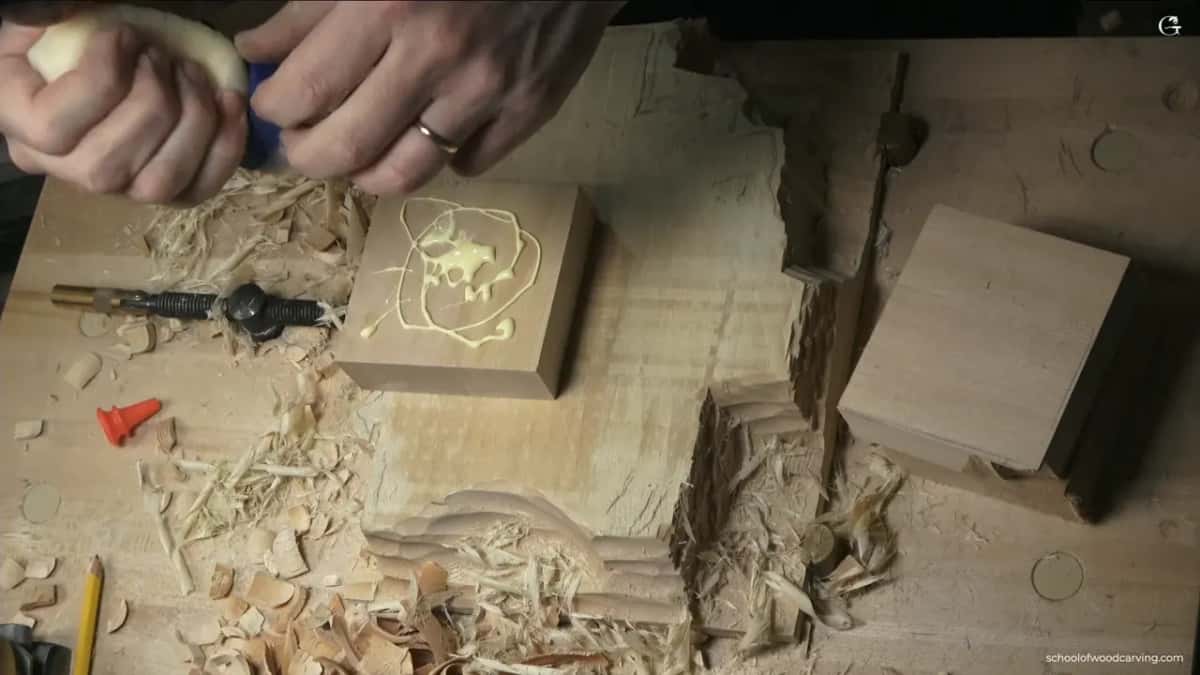
So I carve a socket into the panel, roughly an inch deep, and set the extra block into it. The socket does two jobs. It holds the block, and it swallows an inch of the joint. Only two and a half inches ends up standing above the flower. That is the whole difference between a sensible block and a six and a half inch one.
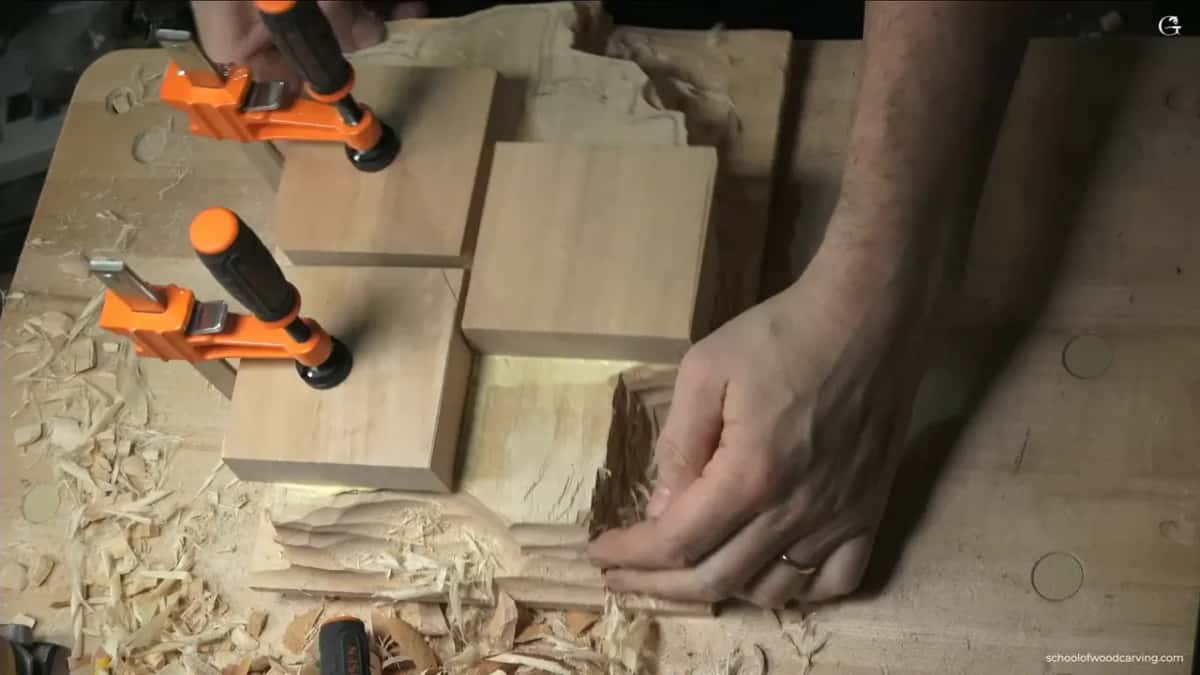
You could buy solid sixteen quarter material for the same shape. Expect double the work to remove all those extra fibers, and expect tracing to get awkward on a tall block. On one flat piece the carbon paper lies down, nothing blocks your hand, and every line stays readable.
The block I glued and the block I sawed from solid are both solid wood, and the color is not quite the same. I doubt the camera picks it up.
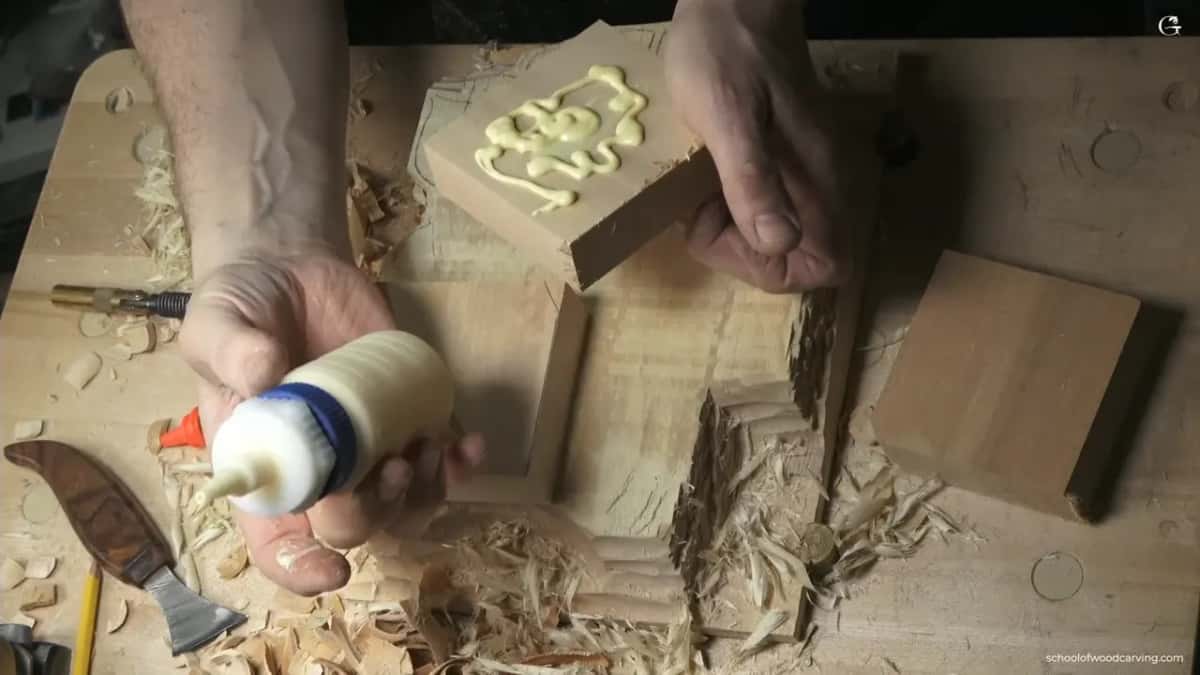
Two rules keep a glue up honest. Alternate the ring direction on every board you add, because rings running the same way on both halves make the assembly move worse than either piece would alone. And stagger the joints like brick laying, never placing one near an opening, so the part you end up carving is the calm part.
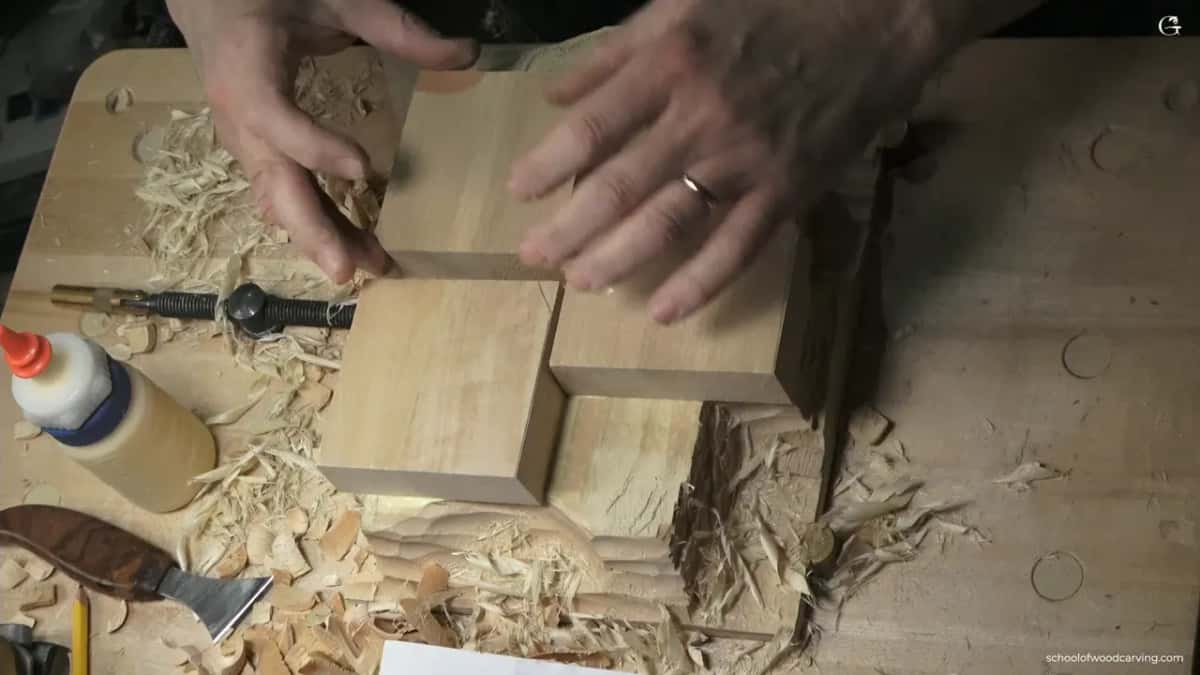
The thin line along the edge is where the two blocks meet.
Alternating matters because two faces of one board never move by the same amount. The Wood Database notes that at a tangential to radial ratio of three the flatsawn face travels at triple the quartersawn rate, and the published average sits near two. Black walnut is the friendly exception at a T/R ratio of 1.4, worth knowing before you pick a species, and I go further into that in what walnut is like under the gouge.
Read the end grain before you glue anything. The same handbook chapter warns that juvenile wood near the pith, with its shorter and often angled cells, warps, cups and checks more than mature wood further out.
If adding wood instead of starting thick is new to you, read applied carving against carving in the solid, then handling grain direction.
What is the thinnest I can safely carve?
About an eighth of an inch, and thinner only right at the outer edge. Do not make it too thin. It is a weak area, and if you make it too thin you will break it. At the very edge I will take it far lower, shaving little by little.
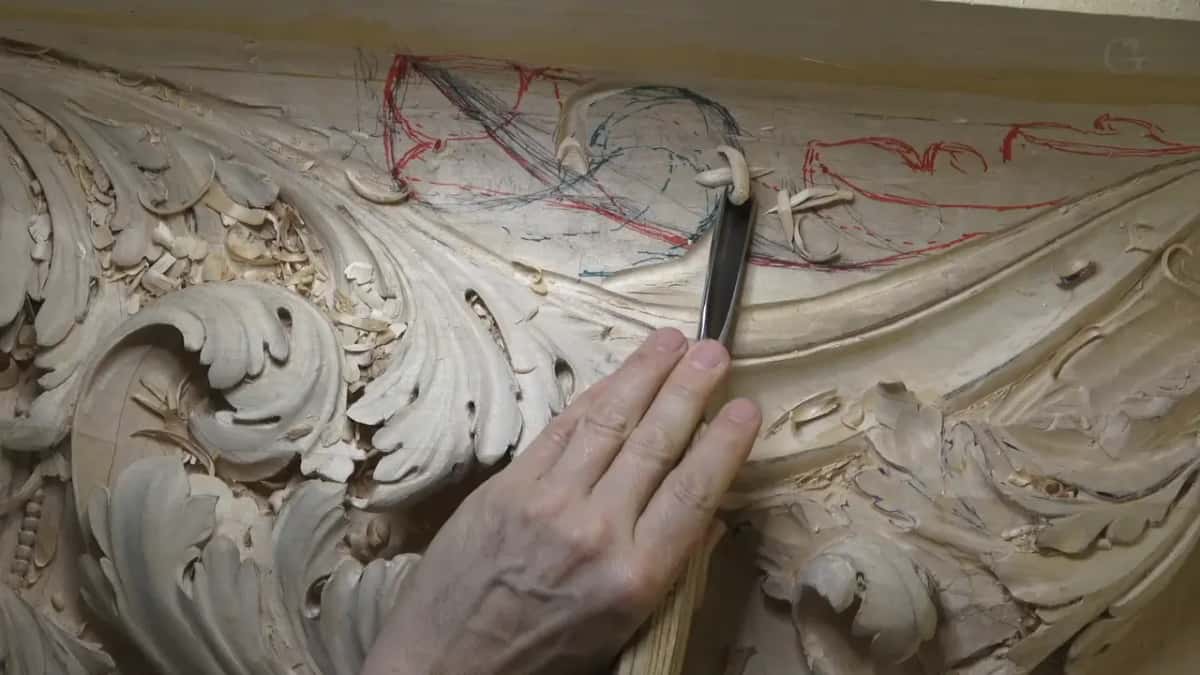
Should an eighth feel dangerous, keep more. Three sixteenths is fine. Five millimeters is fine. None of that counts as a failure of nerve, and you can always come back later and take more off once the detail inside has settled.
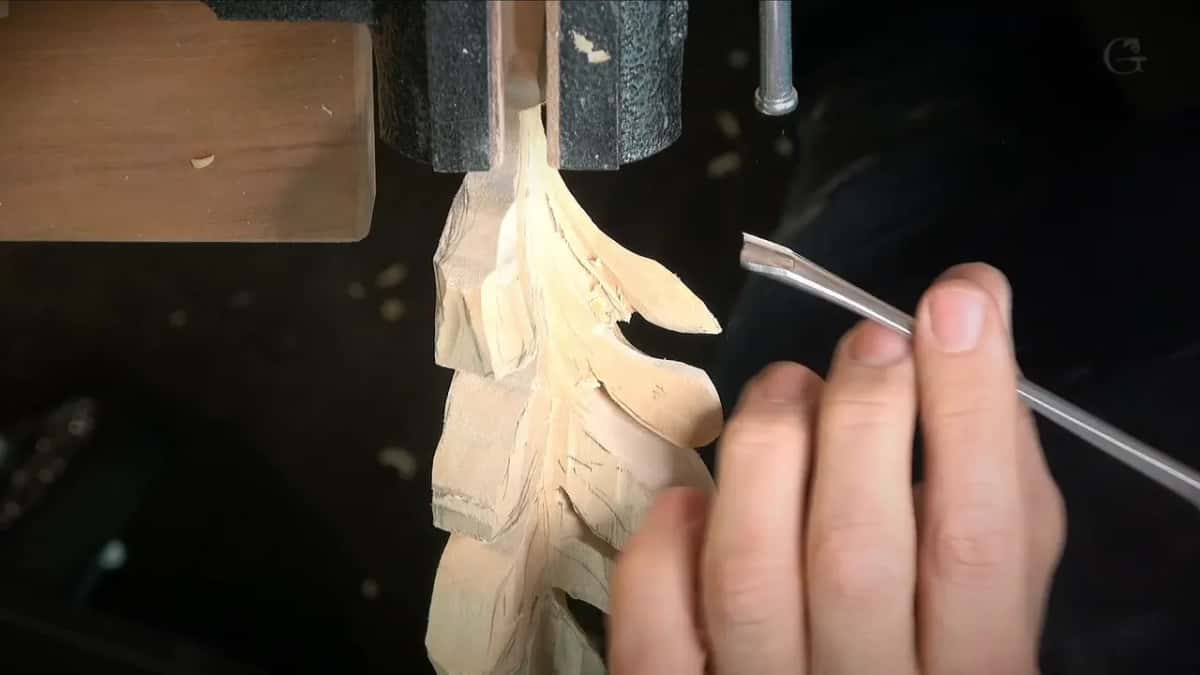
Now the trick worth the price of this whole page. Taper the inside. Undercut it, hollow it, so only the outer edge of the leaf ever meets the eye. Your leaf stays a full eighth thick and stays strong, and it reads as less than a sixteenth.
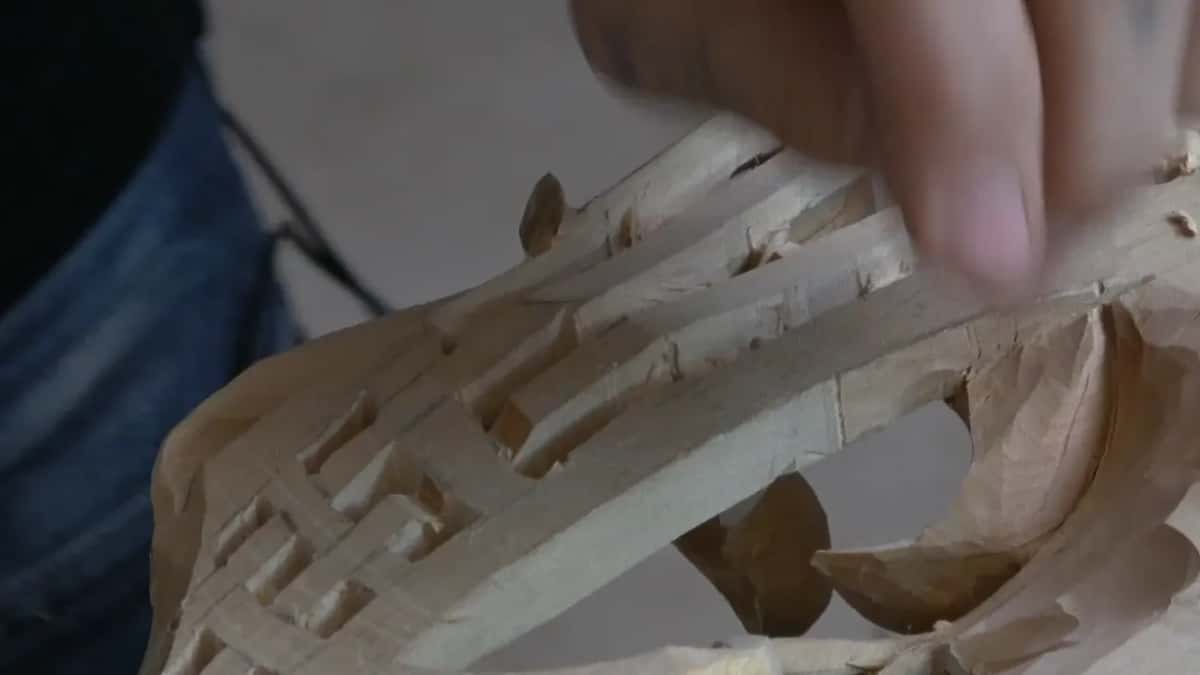
Thin and strong live together far more often than people expect.
Do not overdo the thinning early. Your design can still change, more detail is coming on the inside, and a piece already taken to the limit gives you nowhere to go. Overdo it and you will get frustrated with yourself.
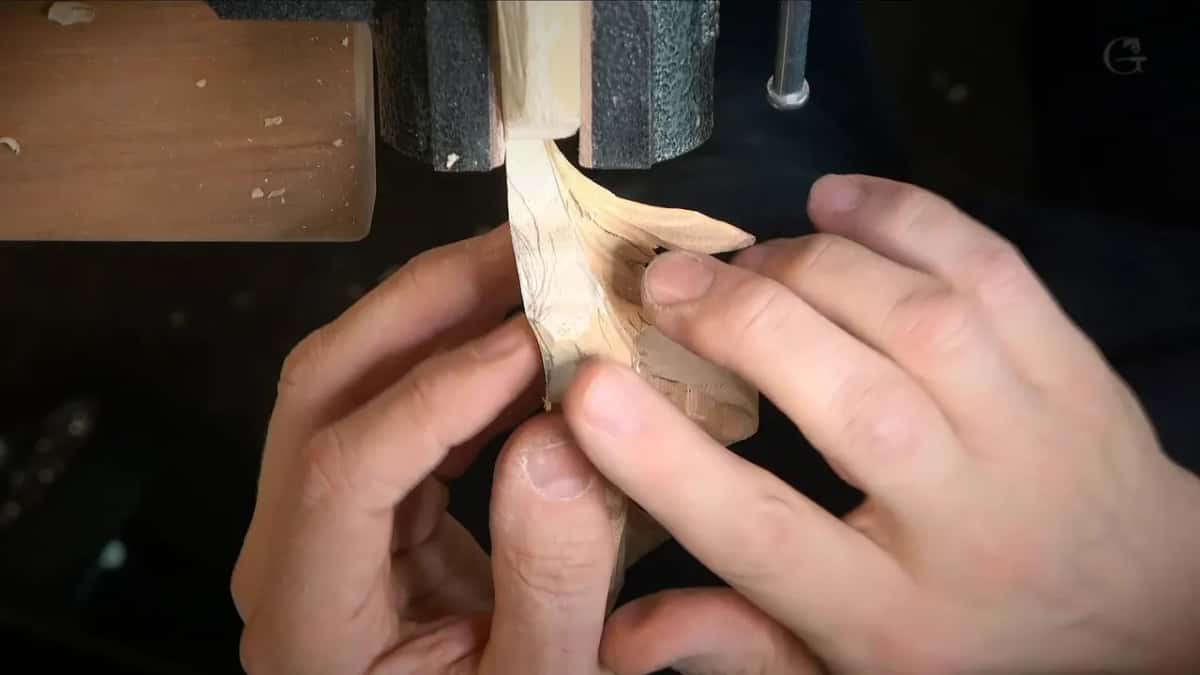
Thin work lives or dies on the edge of the tool. A dull gouge crushes fiber it should be slicing, and crushed fiber at that thickness is a broken petal. I keep that side of the craft in the sharpening course, and the tools themselves in the full tools course.
Which stock thickness should I buy?
Buy for the deepest point in your drawing, then add a little for cleanup. Not for the thickest thing you might ever carve. Four options. Here is how I sort them before I call the yard.
| Stock you buy | What the board actually measures at delivery | Depth ceiling | What that thickness ends up costing |
|---|---|---|---|
| Four quarter stock | Always thinner than the nominal number on it | Shallow only | No room at all for a second layer above the ground |
| Eight quarter, or 8/4 | One and fifteen sixteenths on my bench | Real relief | A little under fifty is the whole budget |
| Sixteen quarter stock | Three and five eighths, not four | High relief | Double the work removing fiber nobody wanted |
| Blocks you glue up | Any height you are willing to build up | Your choice | Joints to plan, rings to alternate carefully |
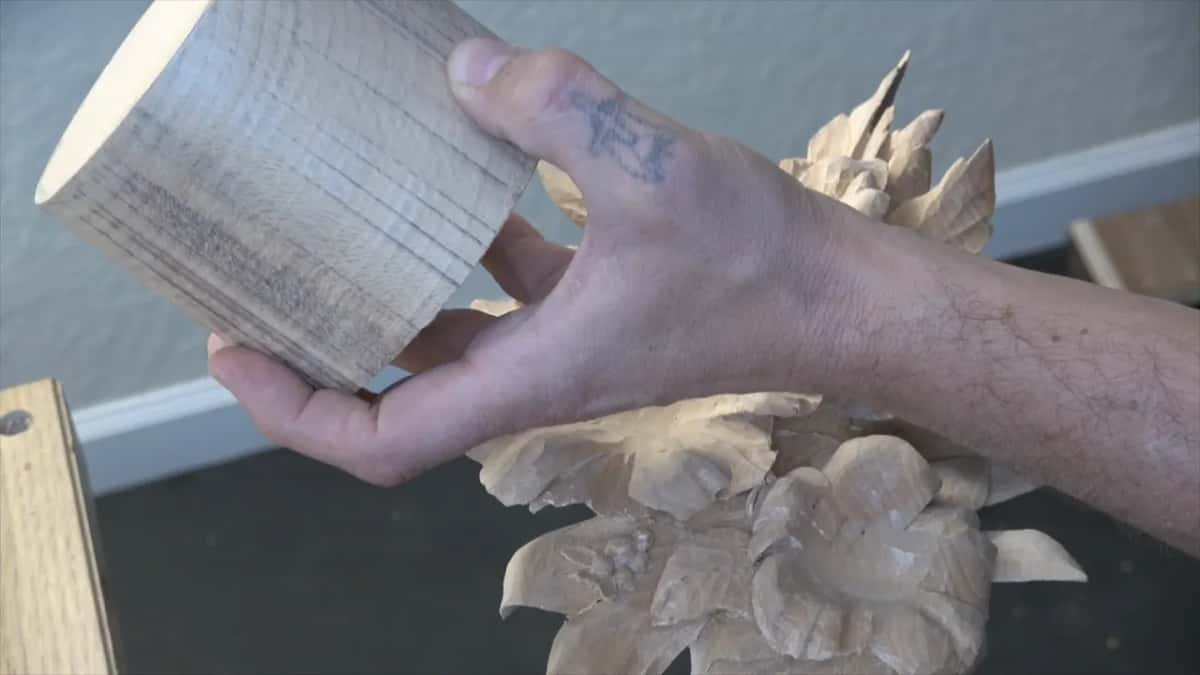
Buying big has a cost you cannot see at the yard. Volume loss from green to ovendry runs nine to fifteen percent across most species, and a fat block simply has more of itself to give back while it settles into your shop.
Thickness is one number on a board and not the interesting one. How hard the wood is, and how much substance sits inside it, makes a separate question that I answer in whether denser wood is stronger. Species counts for more than either, so I keep a guide to 74 carving woods and a shorter note on the four woods I keep in the shop.
Still deciding what to work in at all? Start with what kind of wood to use for carving, and if you plan to hit a thick block with force, read whether you need a mallet.
How do I pick the thickness before I buy the board?
I measure the deepest point on my drawing first, then buy to that number. Five steps, and the first four happen on paper where mistakes cost nothing.
Step 1, draw the piece full size
Nothing scaled down, nothing guessed at. A full size drawing is the only place real depths show up, and it is the same drawing you will trace onto the wood later. I go through the whole layout method in the first step in carving.
Step 2, mark the deepest point
Find the spot where your design sits lowest against the spot where it stands highest, and write that distance on the drawing. A low relief panel may want a millimeter. A high relief leaf may want two inches. Both are normal, and only one of them needs a thick board.
Step 3, measure the board you own
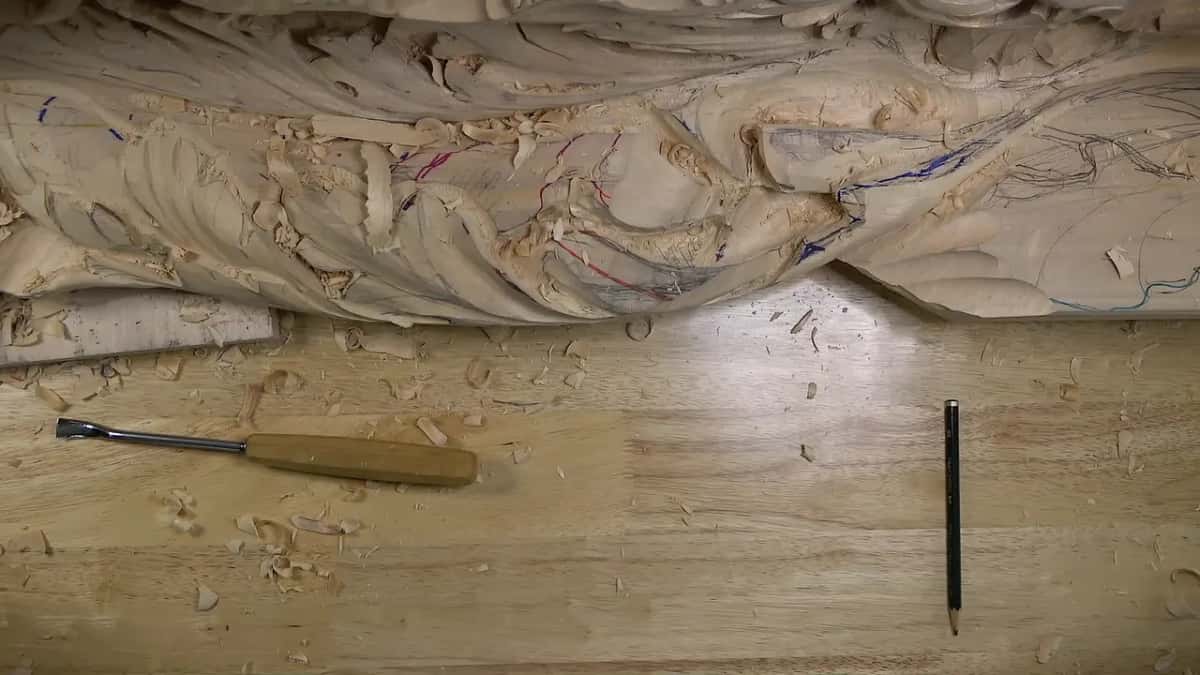
Put a caliper on it. Write the real number down next to the depth number, and do the subtraction. Should the board win, you are done shopping. My notes on laying out with dividers cover the marking side of this.
Step 4, decide between solid and glued
When your drawing needs more than the board holds, ask how much more. A little, and buy thicker. A lot, and glue blocks exactly where the height is needed, which keeps the flat panel flat and keeps your tracing easy.
Step 5, carve down and keep checking
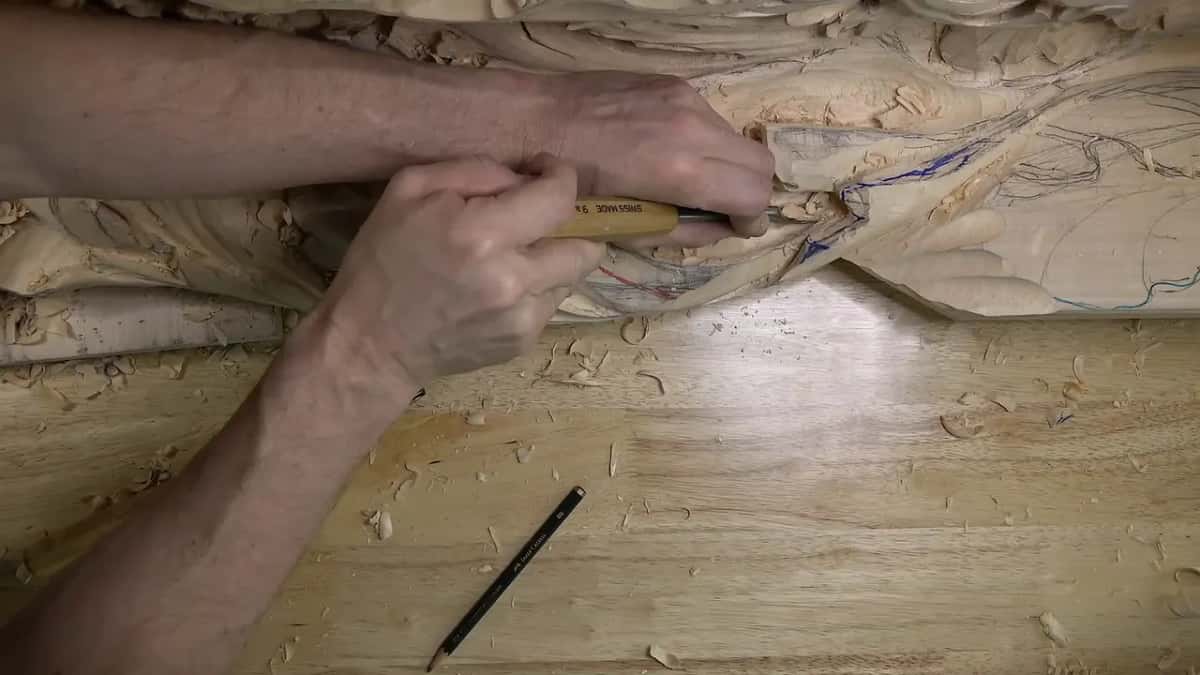
Set the background first, then work the levels down toward it, and measure depth constantly rather than trusting your eye. Going too deep cannot be undone with glue that shows.
How dry should the wood be before I carve it?
Dry the blank to the moisture it will live at, and do that before the first carve. Wood holds free water in its cells and bound water in the cell walls, and it loses no size at all until the free water is gone. Some species come off the stump holding more water than fiber by weight.
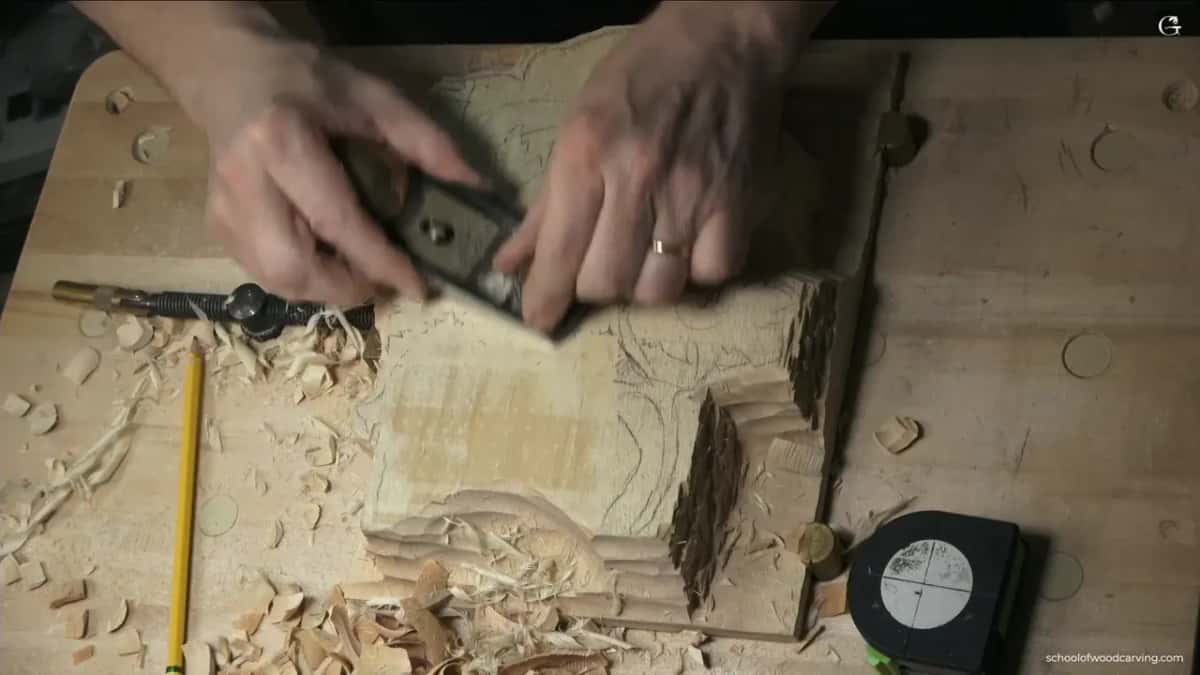
Free water leaves first and costs you nothing. Wood Database puts it bluntly: there is no size change until the free water leaves, so a blank can shed a lot of weight in the shed and still measure exactly what it measured. Losing weight is not the same as losing size.
Your target is not zero. The Wood Handbook puts interior woodwork, furniture and trim at eight percent average moisture, with individual pieces between six and ten. That drops to six percent in the dry southwest and climbs to eleven in warm damp coastal areas, so aim at where the finished piece will sit rather than where you carved it.
Thick stock is the slow case. The outside of a thick block reaches its target well before the middle does, and carving a blank whose core is still wet means carving a shape that has not finished changing. The real penalty on a heavy board is paid in waiting.
We had a different method where I grew up. Russian winters ran 30 and 40 below, and one year of my childhood it hit 53 below zero. You put a board outside and the water it soaked up all summer freezes, and the freezing pushes it straight out of the wood. The board comes back dry. Freeze drying, more or less, without a machine.
Two habits pay for themselves. Seal the end grain within minutes of the saw, not hours, and sticker the pile so air reaches every face. Same source, stickers about every 12 inches under thin stock and further apart under thick.
None of this shows up as length. Green to ovendry along the grain comes to only one or two tenths of a percent for most species, and that is the reason length almost never bites you while width always can. I put the practical routine in drying wood before carving.
Starting out and want the order of all this laid out properly? The beginner carving course walks the whole sequence, and the full course catalog shows where it goes after that.
Bring the deepest point on your drawing to the first lesson. Tuition, the schedule and every lesson sit behind one door at the start here page, and you can read what access costs on the tuition page. Shall we carve?
Frequently asked questions
How deep do I carve a relief carving?
Shallower than you think. One of my furniture panels bottoms out one eighth inch down, and another holds about a millimeter between its highest and lowest points. Depth comes from shadow and undercutting far more than from removed wood, so settle it on paper first.
How do you prevent wood from cracking?
Dry it to the moisture level of the room it will live in, and the Forest Products Laboratory finds quartersawn stock checks and splits less, and break up long runs of fiber by carving into them. A glued assembly with alternating ring directions and staggered joints behaves better than one heavy slab of the same size.
How dry should wood be before carving?
Aim for the level the finished piece will settle at. The USDA Wood Handbook puts interior work near eight percent in most of the country, six in very dry regions and eleven in humid coastal air.
What is the minimum thickness for a carved top?
My working floor is roughly an eighth inch across the body of a leaf or petal, with the outer edge taken much finer. Hollow the underside so light only meets that fine edge. The piece keeps its strength and looks half as thick as it measures.
Does a thicker board warp less than a thin one?
It resists bending harder, which differs from moving less. Shrinkage is a share of the size it starts from, so a thick board has more total movement to release, and how it was sawn decides how quietly it gives that back.
Filed under