
August 29, 2024 · Updated August 25, 2026
By Alexander Grabovetskiy — Master Woodcarver · Founder, School of Wood Carving · 19 min read
How long does wood take to dry for carving?
How long does wood take to dry for carving is not a number I can give you. I have carved for a long time and I am not going to answer it with a clock. My answer is the cut of the log, air against kiln, the air in my shop, and how deep I carve.
You came here for a number. Every other page hands you one, usually a year for every inch of thickness. Taking that away is the whole job of this page.
I am not going to put a number of months on your board. What you get instead is how the log got sliced, whether a mill fried it in a stove, what your room is doing to that board, and how much wood you plan to remove. Those four decide whether your carving cracks.
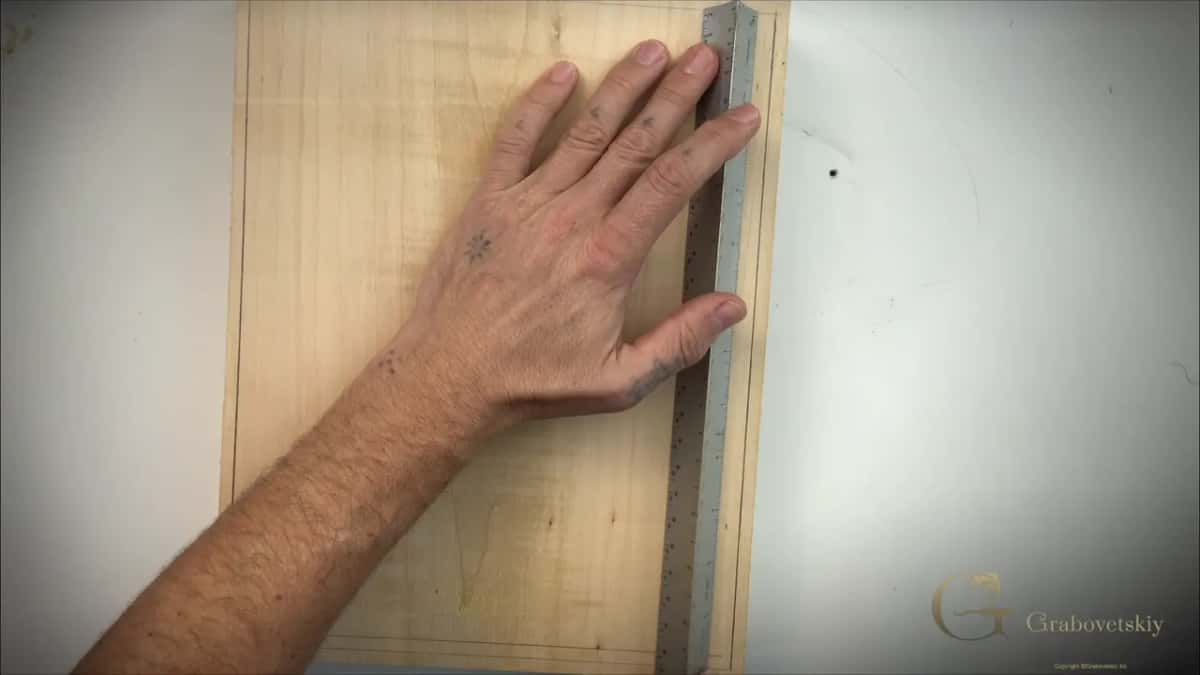
Pencil border ruled around a flat, quiet board, a steel rule pressed along its right edge.
Every real figure below came from somebody who measured it. Not from me.
- The single number you came for does not exist.
- One inch of lumber can reach 20 percent in 15 days or in 300, and one federal handbook prints both extremes.
- Under my gouge, air dried stock moves less than kiln dried.
- Buying air dried lumber is nearly impossible now, so I buy what the yard sells.
- My shop runs near 35 percent humidity on a dehumidifier, in Florida.
Why can nobody hand you one honest number?
Two boards of the same one inch thickness can dry twenty times apart, and the highest authority on wood prints both extremes in one paragraph. Read it and the question falls apart in your hands.
Chapter 13 of the USDA Wood Handbook gives the extremes for one inch lumber coming down to 20 or 25 percent moisture. Pine or soft maple, stacked in a kind spot at a kind time of year: 15 to 30 days. Oak or birch in a northern yard, stacked at the wrong moment: 200 to 300 days.
Same thickness, twenty times the wait. Which one is your board? Nobody online knows, because species, thickness, town and the month you stacked it all move the answer.
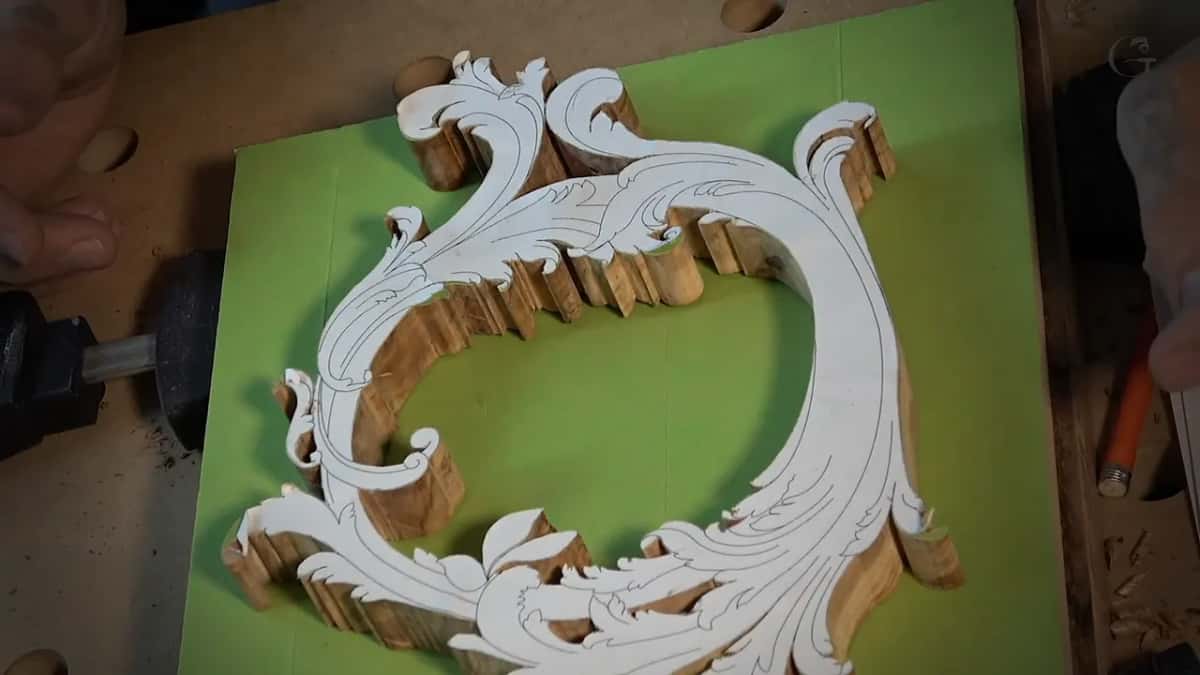
Band sawn out of figured olive, paper pattern still glued down, waiting on a green mat.
One more line from that chapter should end the argument: the drying rate is very slow during the cold winter months. Your board in January is not your board in July. So I quit asking the clock. For the middle of the range, Ohio State University Extension describes an old mill routine of two or three months in the yard, then several days in a kiln.
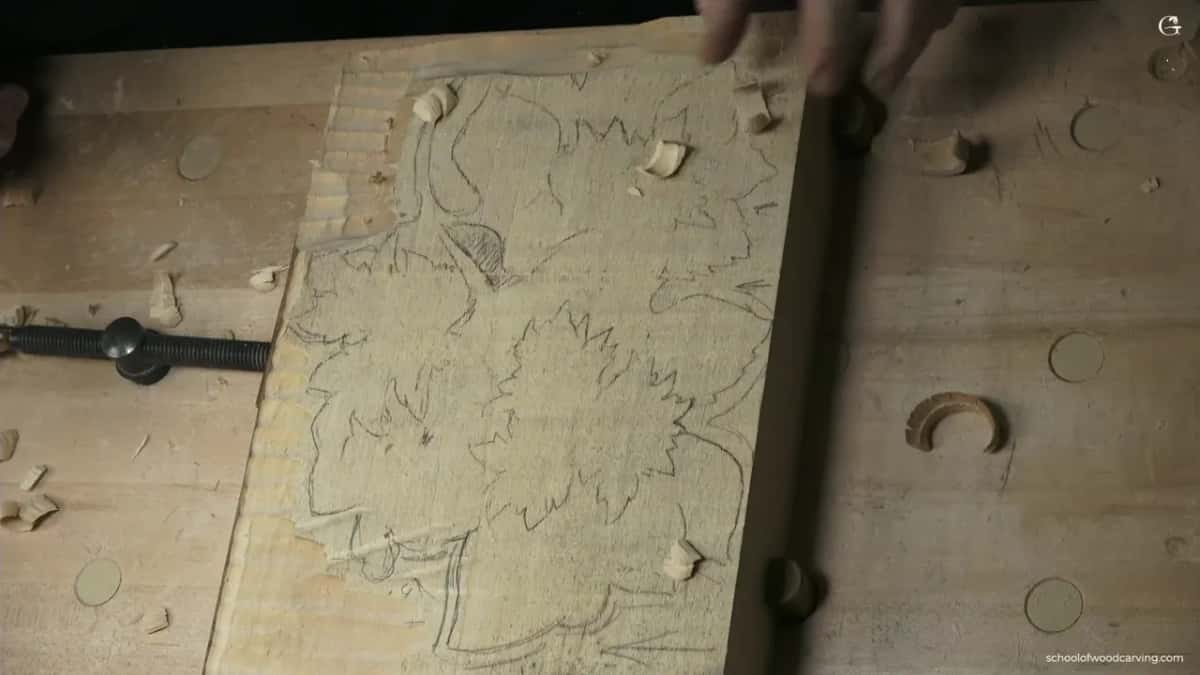
Hazelnut leaves in pencil, one edge already cleared in a row of gouge cuts.
What do I answer instead of a number?
Four things I can actually see: which way the log was cut, whether the board got air or a stove, how long it has been sitting in my room, and how deep I mean to carve.
All four are mine to control. None is a date. Basswood arrives years ahead of a project, and when the truck comes I stack the boards and leave them alone. Some have been in there over 10 years. A few are 20, or 24, or 25 years old, the unique ones, French limewood, rift cut, with all the flames still showing. Tiger limewood, I call that, because it was cut the right way.
Now hear the word storage. Those boards are not waiting to become dry enough. They wait for the right job, not for a schedule.
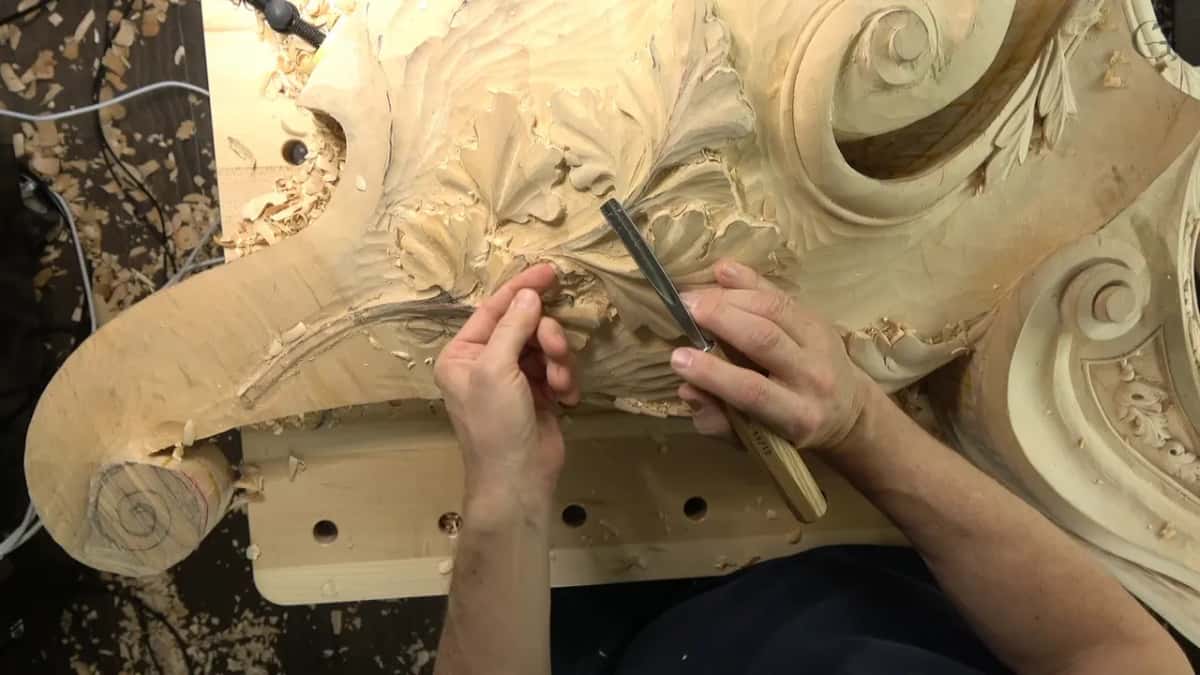
Bottom left, the rolled end shows the sawn end face with a spiral drawn over it.
Air dried or kiln dried, which moves less under the gouge?
Air dried, and I will say it as plainly as I said it on the stream: that method was always my preferred method. It just takes time and naturally just drying.
Two drying methods exist and only two, and kiln dry belongs to manufacturers and lumber yards. They have a big, big, big stove, to be simple, and they fry it. They really fry those boards. Dry it fast, sell it fast, and yes, the water does come out.
| Question | Air dried | Kiln dried |
|---|---|---|
| How water leaves | Slowly, in open air, over seasons | Fast, under heat |
| My own words | Naturally just drying, always my preferred method | They fry it, they cook that out |
| Later behaviour | Steadier | I found that it moves a lot more |
| On the rack today | Really hard to find | Nearly every board you can buy |
| Written schedules | Extension bulletins on yard drying | Kiln manuals, hour by hour |
Careful with the third row, because I have contradicted myself there and you deserve both halves. One stream has me saying flatly that air drying eliminates that movement. Elsewhere in another stream, about a finished panel: of course it still moves, it still puffs, it still shrinks. Air drying takes the fight out of a board without turning wood into stone.
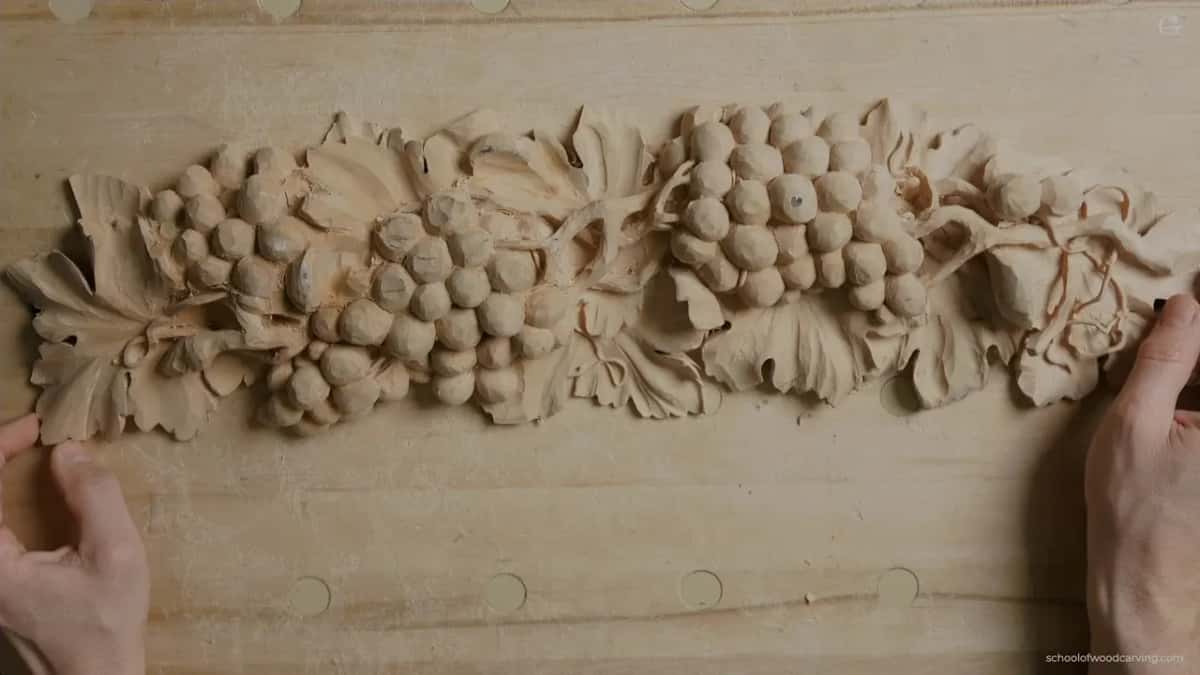
Two bunches, leaves, tendrils. Nothing broken.
A whole livestream went to this. WOOD MOVEMENT in Wood Carving, Expansion and Contraction. The drying part starts about twenty seven minutes in, and the series lives in my livestream classes.
Kiln schedules are public and fill a whole book, the Dry Kiln Operator's Manual from Mississippi State. Ohio State puts a conventional kiln between 100 and 200 degrees Fahrenheit.
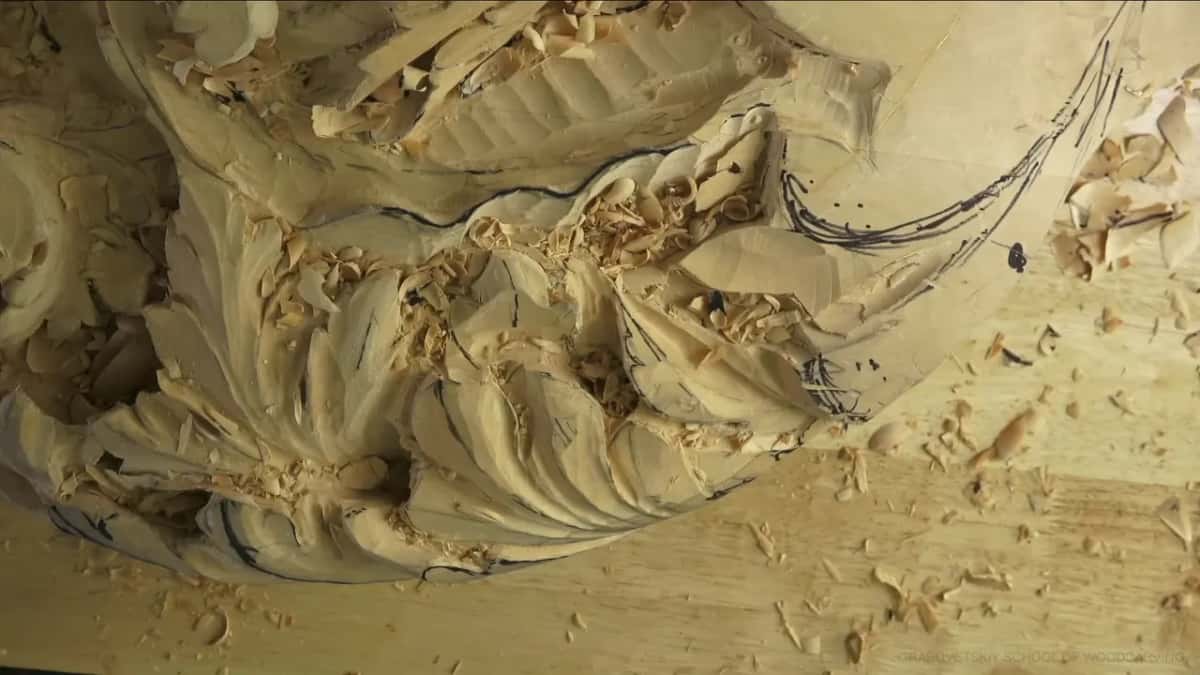
Deep leaves roughed out, ink layout lines between them.
Can you even buy air dried lumber now?
Mostly you cannot, so please do not leave this page thinking I sent you looking for some.
Nowadays you cannot buy air dried wood. Most likely it is going to be kiln dry, and the trouble with that is speed. Dry, but pretty fresh yet, and wood adapts to its environment. Another lesson says the same: really kind of hard to find nowadays, a stabilized wood, like air dry.
Then how is my own stock all air dried? I buy whatever the yard has. Into a dry room it goes, for years, while the air finishes the job the kiln started. Truckloads come through an Orlando hardwood yard closed to the public.
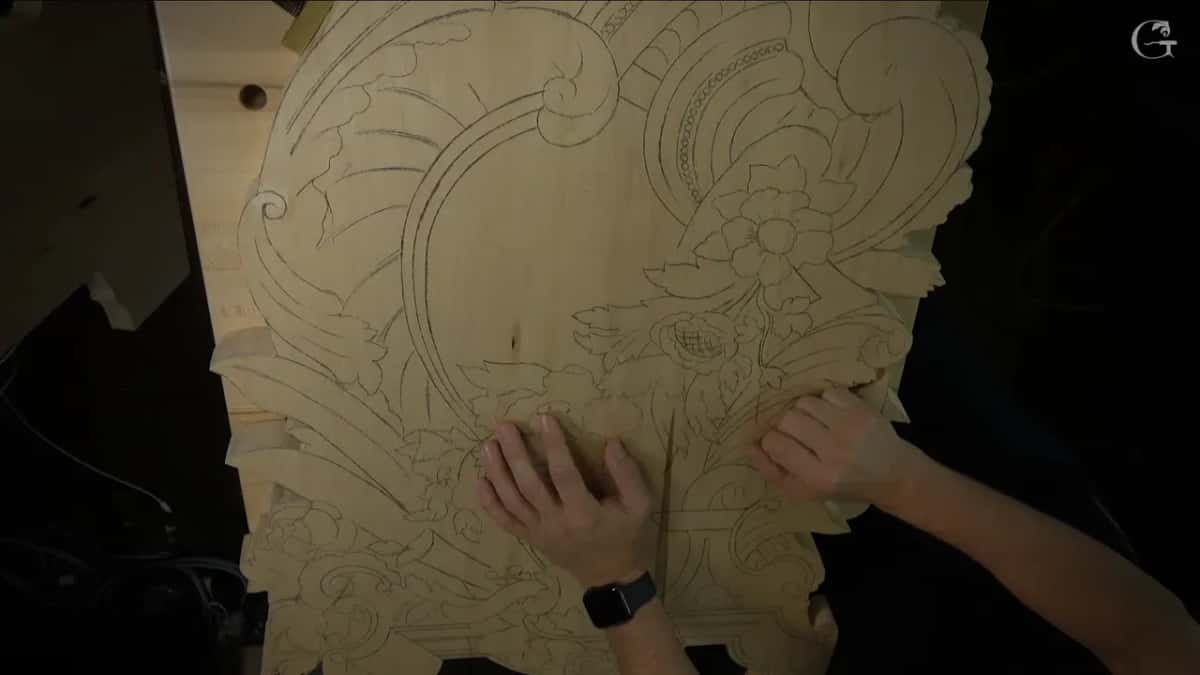
The whole design in pencil, with a straight joint line running right through the drawing.
A student once asked whether a big carving worries me about moisture. My reply came out crooked and I am leaving it crooked: no, I do not, and then, I do and I do not. I do not because I am wise when I am gluing pieces together. Paying attention to grain. Second, my wood is all seasoned. All air dried, and there is a big difference between kiln dry and natural dryness.
If your real question is whether a wet board can be carved at all, two pages carry it: do I have to dry wood before carving and should wood be wet before carving.
How does the cut of the log change what happens later?
Quarter sawn and rift cut boards move least, and those two go in my truck.
Look at a plain sawn board and the rings run across its face with a crown in them. Yes, you will have a lot of experience with movement on that one. Warping, bowing, twisting, and it all depends what kind of rings you got. Sometimes rift cut is okay. But the best of the best is quarter sawn, because the closer to the center you get, the tighter the ring.
Here the books and I part company in a way worth knowing. Chapter 13 explains that flat sawn lumber generally dries faster than quarter sawn, since moisture crosses wood faster in one direction than another. So the board that dries quickest fights me most. Speed was never my goal.
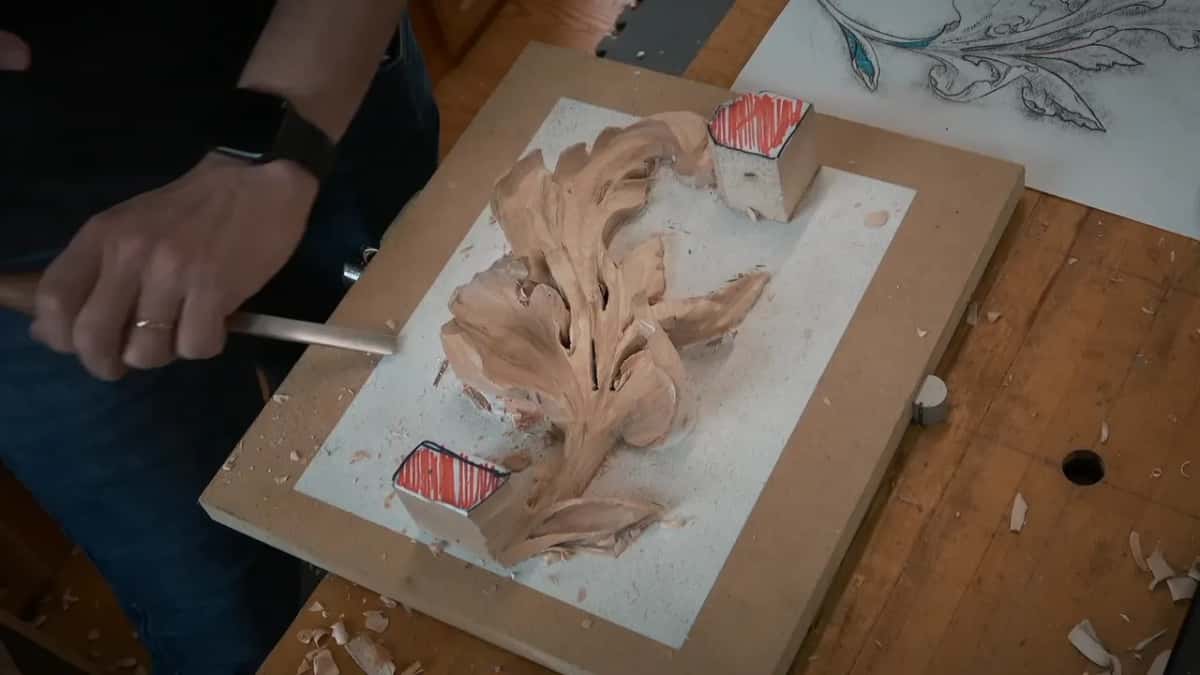
Two waste blocks left standing, sawn tops scribbled solid red.
New to growth rings? The University of Kentucky has a short piece on ring patterns that saves an hour of squinting. Then read carving in the direction of the grain. Your slice decides that as well.
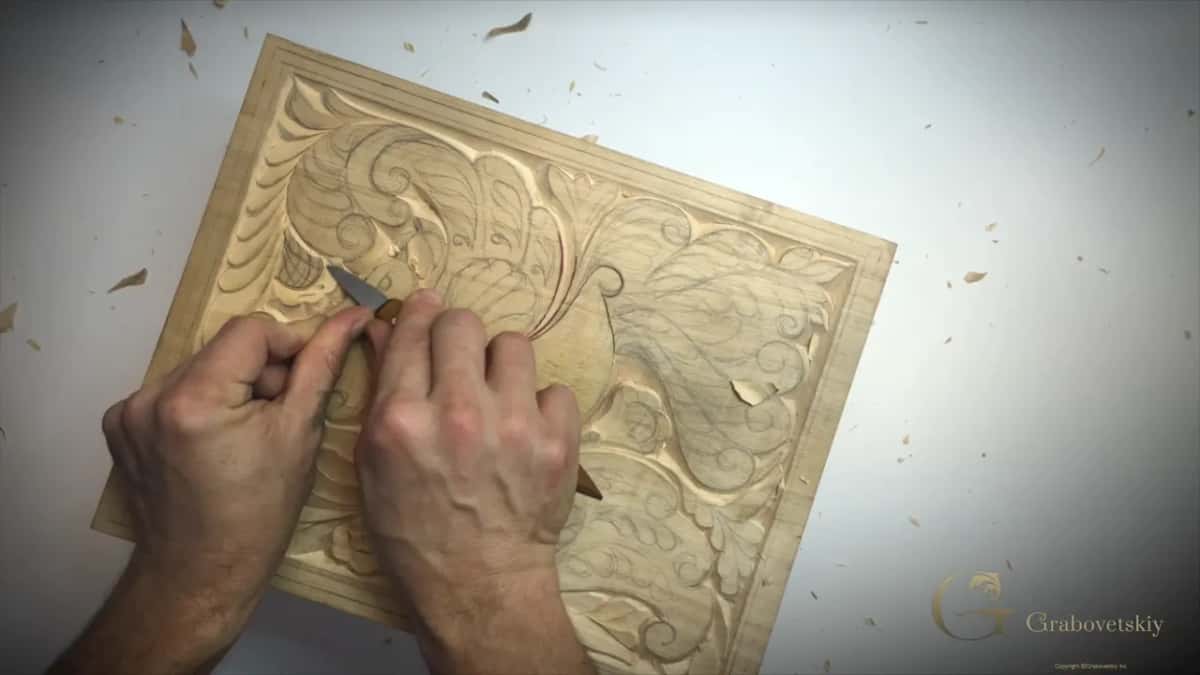
Curly stock, a shallow acanthus panel, chips flying off a small knife.
What is actually happening inside a board while it dries?
Wood is a sponge. It takes water. If moisture sits in the air it just gets that water in, and once it takes the water in, it expands. It puffs out. Then a dry winter comes and it shrinks back down.
A board is a bunch of drinking straws compacted together, and that is exactly what it is. Closer to the edge you get, you have absolutely different movement of those straws.
Measured, the sponge speaks in percentages. Fresh cut wood runs between 40 and 200 percent moisture content according to Wagner Meters, which sounds impossible until you remember the weighing is against dry wood. The Wikipedia page on wood drying puts it gently: water often makes up over half the weight of a living tree.
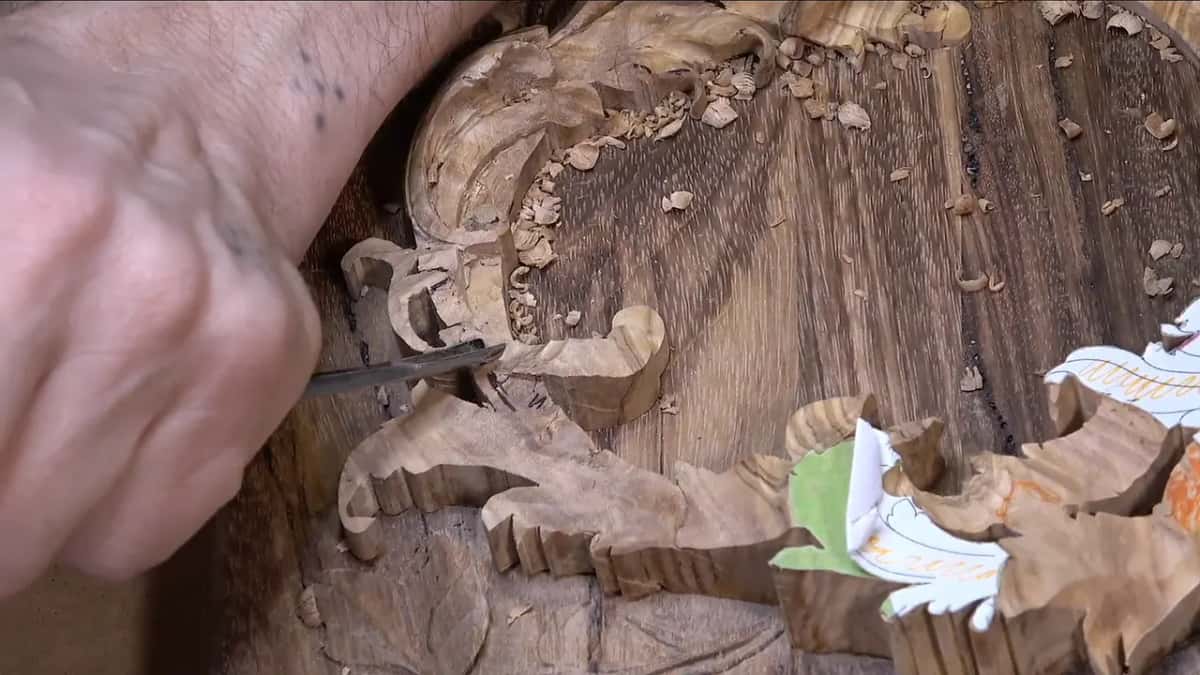
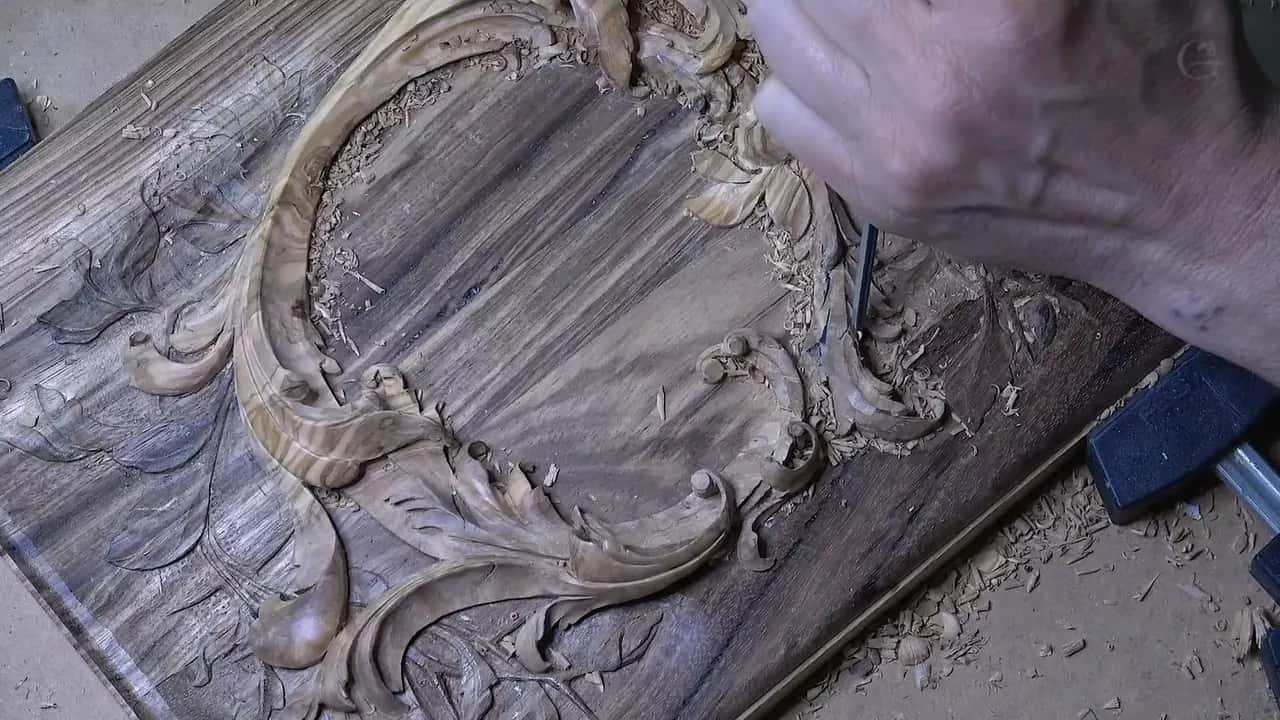
Narrow gouge, one leaf, chips in the hollow, dark olive fissures all around.
Then the line that matters at a bench. Water leaves the cell cavities first and the walls second, and shape only changes at the second stage. Ohio State names that turning point the fiber saturation point, 28 to 30 percent for most species, and The Wood Database rounds it to 30. Above the line a board loses weight and keeps its size. Below it, shrinking begins, and every crack you ever cursed lives down there.
Wood is hygroscopic, in the words of Penn State Extension, meaning it gains or loses moisture until it matches the air around it. That resting point has a name, equilibrium moisture content, and it is the real answer to how dry your board is. Not the calendar. The room.
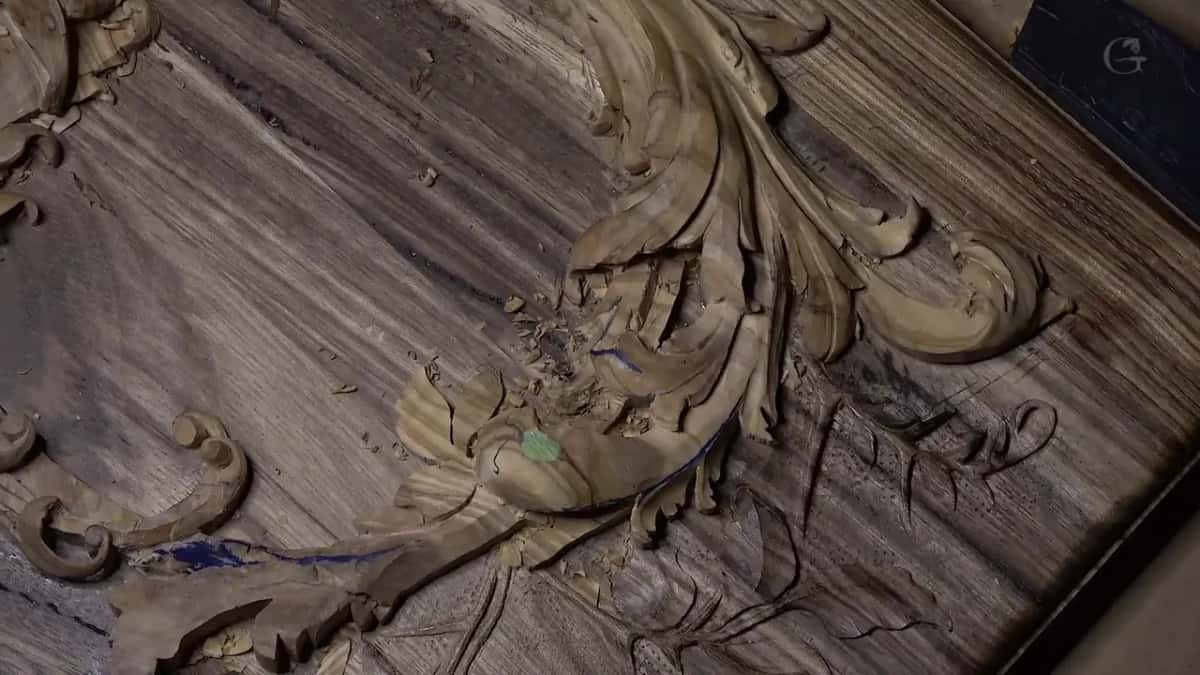
Heavily figured olive, a flower blocked out, blue and green marks left by the paper pattern.
Caught by the physics? How Wood Shrinks and Swells from 1957 is still the clearest thing written on it, Chapter 4 of the same handbook holds the tables, and our what wood shrinkage means does a carver's version.
Does the room matter more than the calendar?
My shop is held near 35 percent humidity with a dehumidifier, and I live in Florida. One sentence, and it is the only hard number on this page that is mine. Air, though. Not wood.
Chapter 13 lists Miami month by month, and outdoor air there holds wood between 12.3 and 14.5 percent, all year, never getting near dry. The same handbook wants interior woodwork and furniture at 8 percent across most of America, and 11 percent in the damp warm coastal band.
So the air outside my door pushes every board toward 13 while the work wants 8. Only a room can win that argument. The Wood Database reaches the same 8 percent by holding a store room around 40 to 45 percent relative humidity. Mine sits at 35. Drier than the book, deliberately, and I do wood carving every day and I have to deal with that problem.
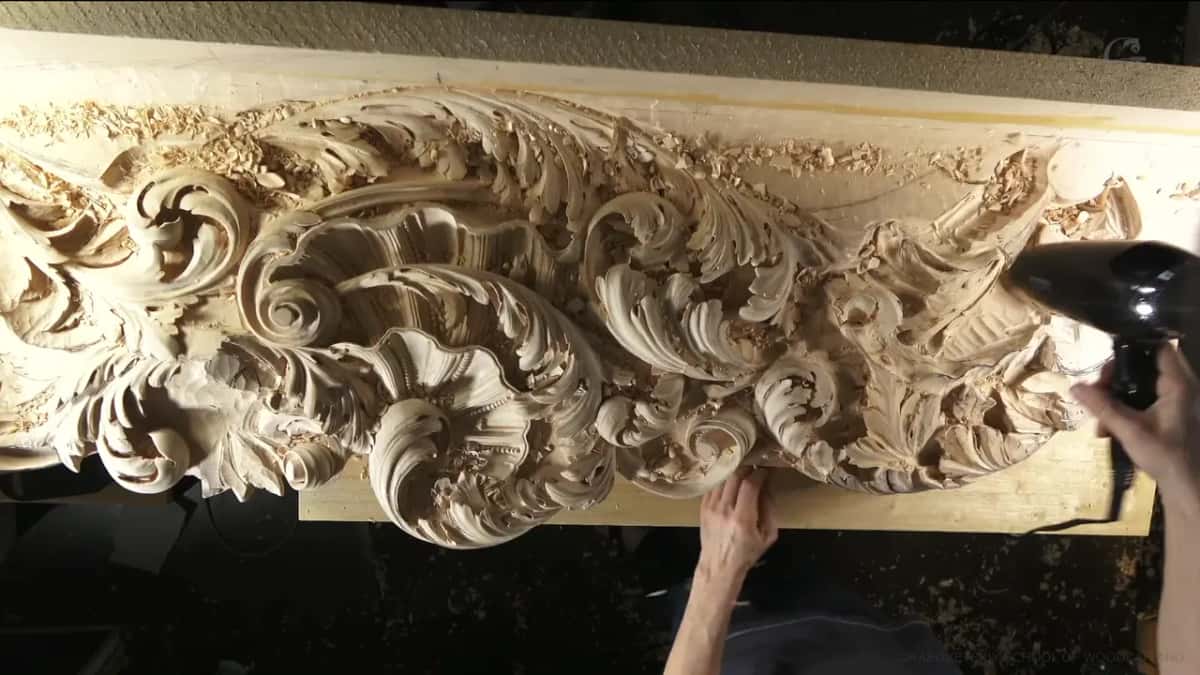
A hand held hair dryer turned toward the long acanthus frieze, the other hand steadying it.
Penn State supplies the exchange rate: a room at 70 degrees Fahrenheit and 40 percent humidity settles wood at 7.7 percent. Hold the temperature, push humidity to 77, and wood settles at 14.9 instead. Double the water, and nothing changed except the air the board was breathing. Chapter 13 even blesses my machine in one line: dehumidifiers can be used in small, well enclosed spaces.
Wagner puts Seattle between 12.2 and 16.5 percent and Las Vegas between 4.0 and 8.5. Where you live outranks anything you buy.
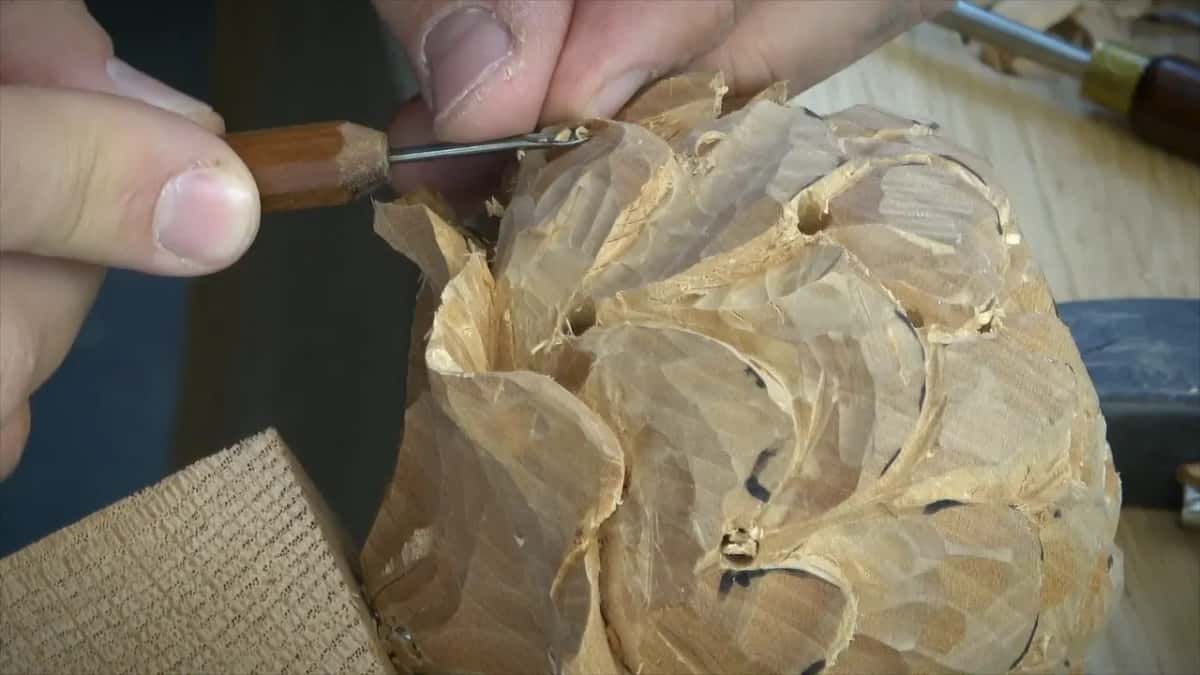
Petals part carved, pencil layout showing, a few small bored holes left.
Anybody who works wood knows the ending already. It is going to move, it is going to shrink, it is going to swell, it is going to cup, it is going to warp, all kind of crazy movements. Our long piece on what causes warping and cupping walks through each, and drying green wood at home covers the case where the log is already yours.
How do I bring a blank to the state where I will carve it?
Six checks, and no date among them. Eyes, hands and real boards, inside a room whose air I set myself.
Step 1, ask which way the log was cut into boards
Turn the board and study its end. Quarter sawn is the best of the best. Rift cut is okay. Plain sawn will argue with you all project long. A board grown close to the log's center holds a tighter ring.
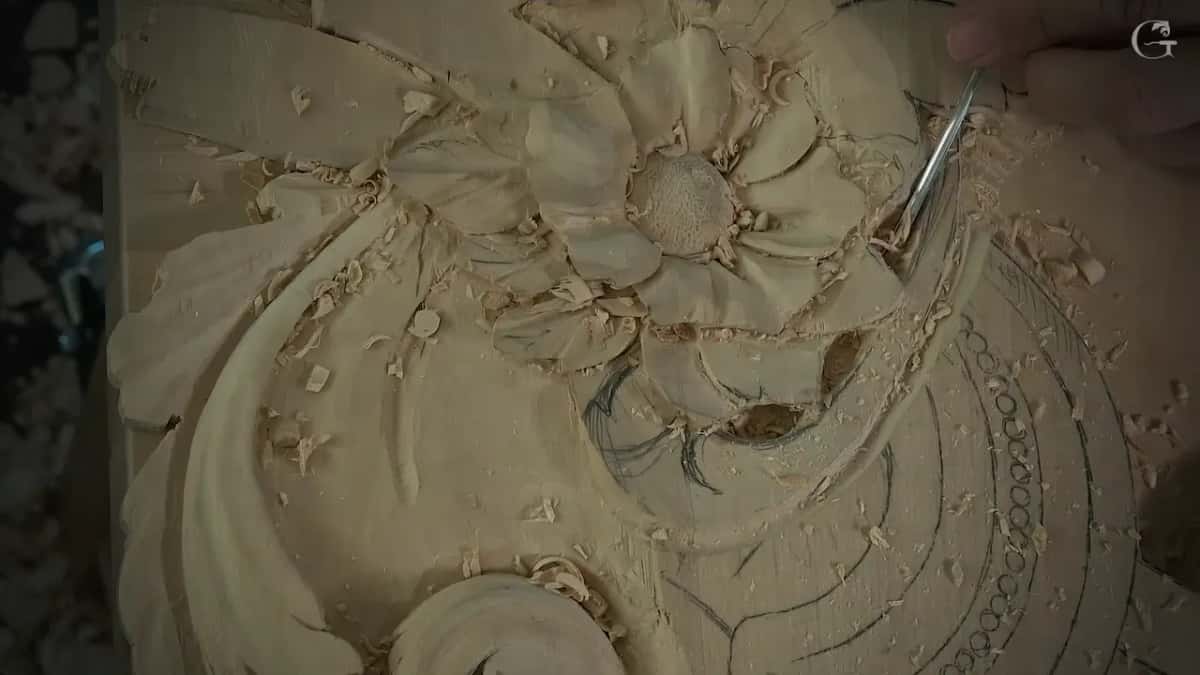
Petals up, the flower centre punched, bead border already scribed, and chips over everything.
Step 2, find out where the board has been living
Kiln dried stock off this morning's truck is dry and fresh at once, and it keeps adapting to wherever you set it down. When I buy wood I place it in my shop and do not touch it.
Step 3, set the room instead of the calendar
Get the air right and a board follows without being asked. Mine runs a dehumidifier at about 35 percent. Read your own climate before copying my number, because a Las Vegas shop and a Seattle shop are not the same building.
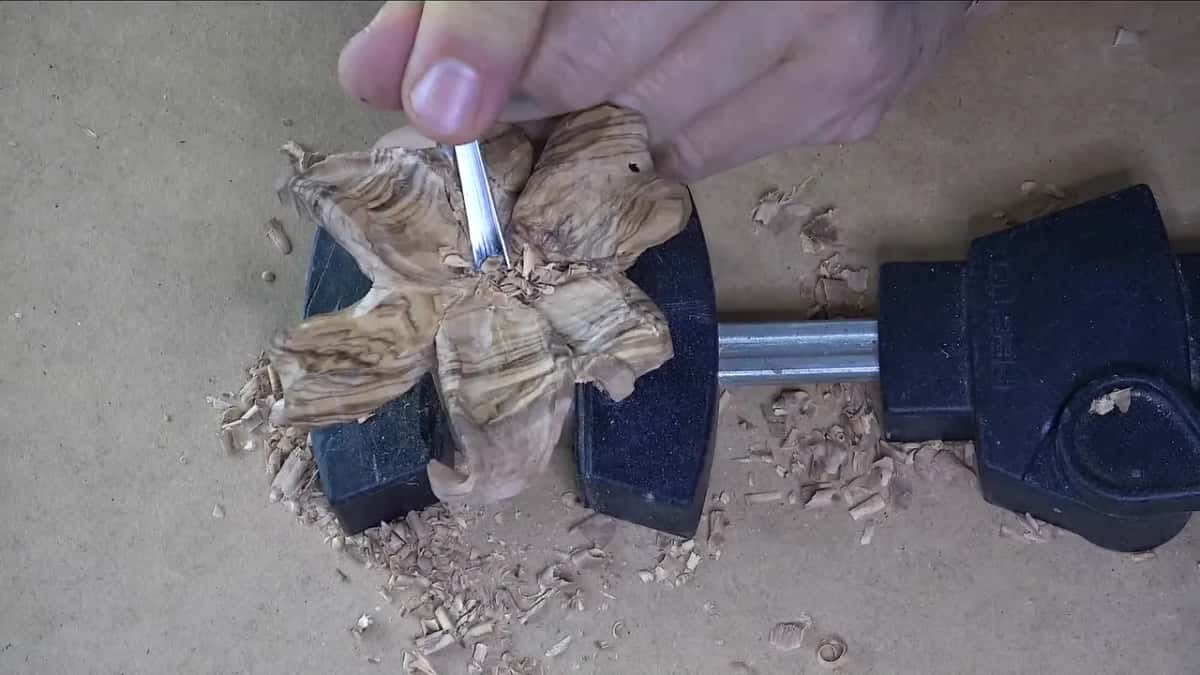
Small enough for a black bench clamp.
Step 4, read the face of the board before you draw on it
Look the board over before you draw on it. Cracks turn up inside my own stock on camera, and here is one of my sentences from a class: I do see there is a crack inside of the wood, so I have to be even more careful now. Early is the point.
Step 5, glue up when one board will not do the job
One thing is just when you are gluing the boards together, you are preventing that movement. So it is a lot better. A lot better. Look closely at my panels and glue lines run through them, and the work stays right there with no movement whatsoever, just because I altered my direction of the grain.
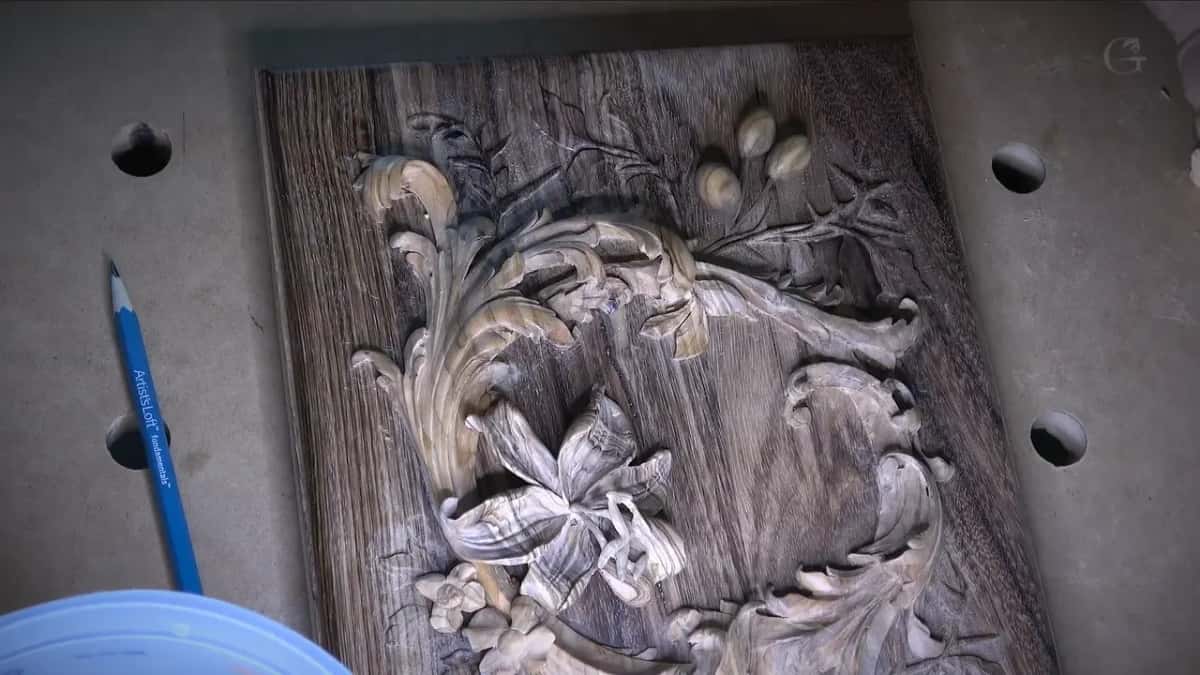
Straight vertical joint lines cross the flat ground, so this lily panel was glued up.
Step 6, carve deep enough that the tension leaves
In my case I do a lot of deep excavation, and when you are doing a deep excavation you are preventing movement. Less excavation, more movement. I am breaking those fibers by excavating, and that already prevents me from cracking and the expansion, I mean, contractions, just because it is not a solid board any more.
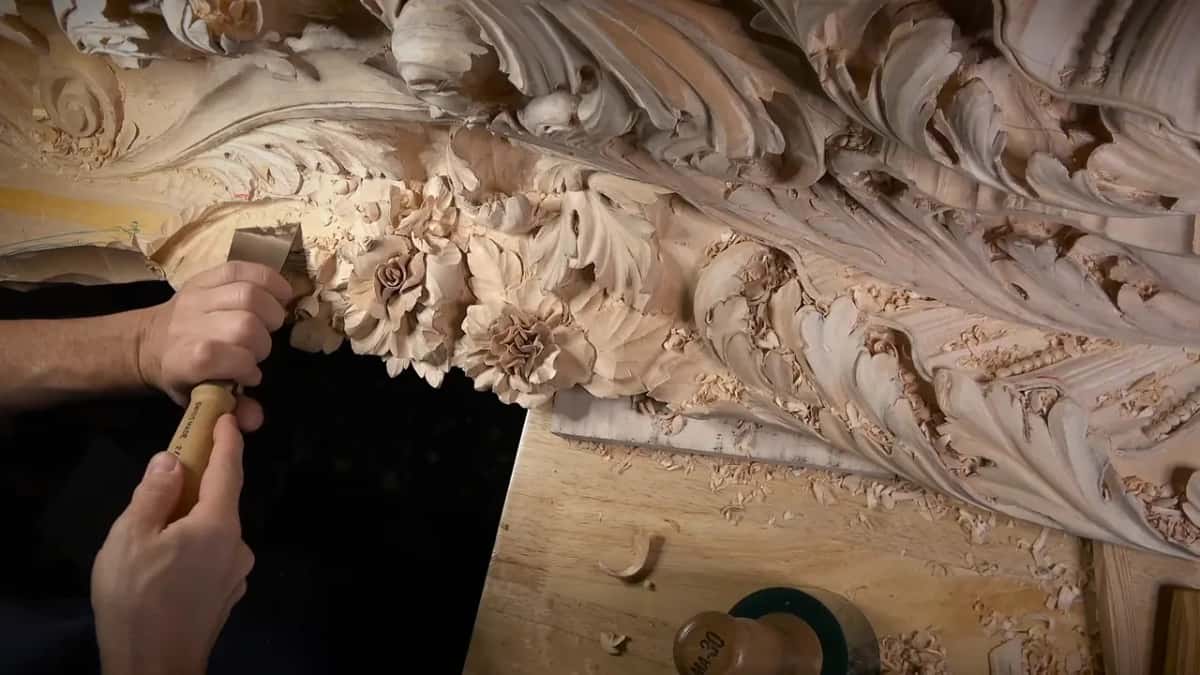
Acanthus and roses standing well off the ground, with two hands driving a gouge in from the left.
What does a crack look like when you find one?
Dark, ragged, granular along both edges, and very often already inside a board before your first cut. Below is the one honest crack in this whole article.
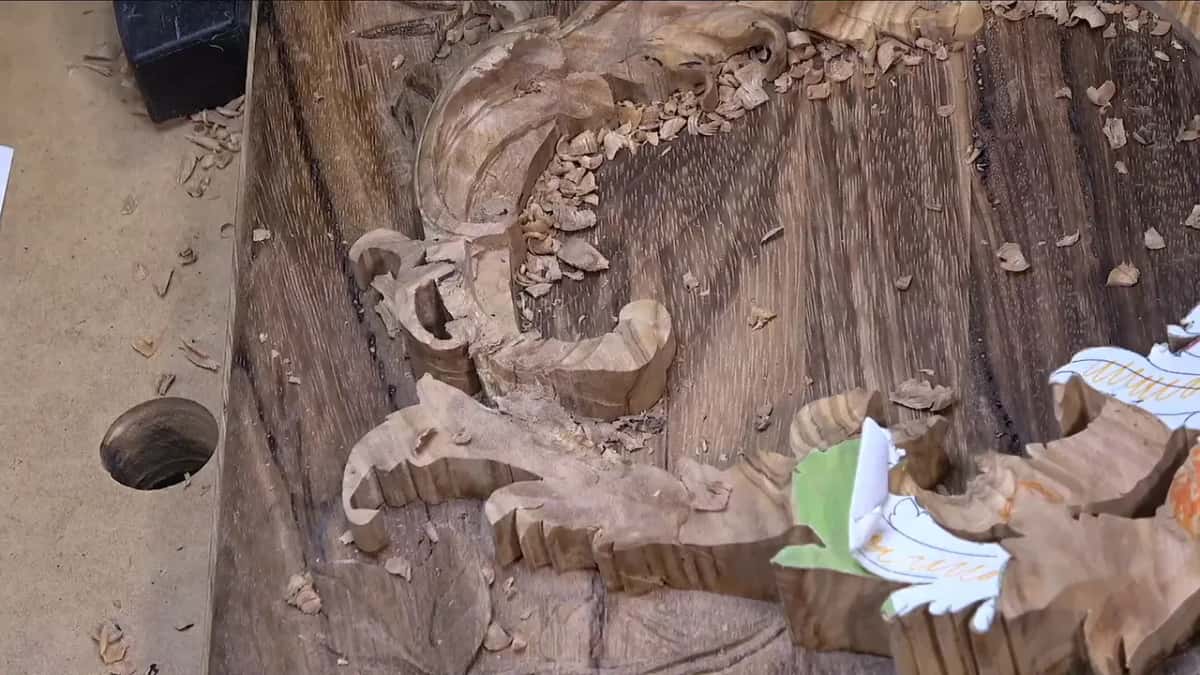
An open fissure, granular along both edges, running the full length of the board. Not a grain streak.
Now the part where I argue with myself in public. One recording has me saying I do not have any cracks, I do not have any expansions, and I have zero cracks on that piece. Four other recordings catch me finding a crack on camera and saying so out loud. Venice Room, the Lily box, a furniture panel twice.
Both halves are true. Finished deep carved work of mine has not cracked in service, and one piece has hung about ten years with zero cracks. Blanks are another matter. Blanks arrive with cracks already inside them and I work around those, on camera, in front of paying students. Anybody promising you a master carver gets clean wood is selling something.
Chapter 13 backs the shape of it. Surface checks happen early in drying, when the shell of a board is pulled hard enough in tension to fracture, and they show up most often on the face of flat sawn boards. Face, not end. Which matches the olive board above.
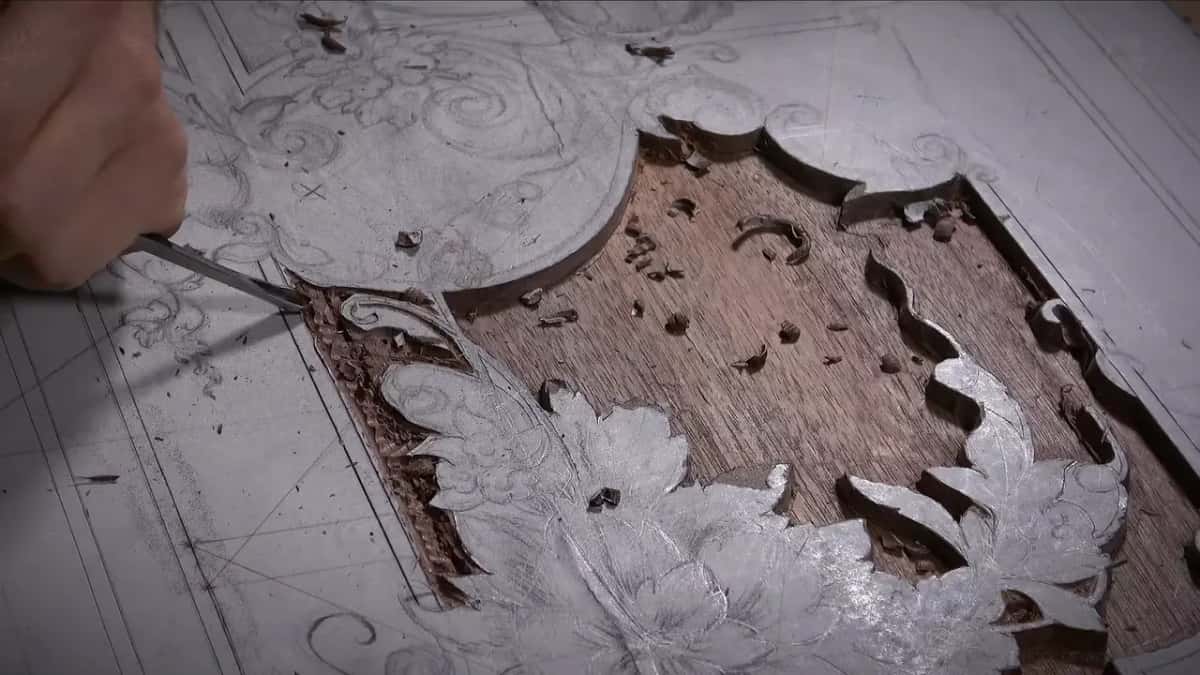
Design still under white chalk, background taken to bare mahogany.
One warning about pictures, mine included. Half the dark squiggles on a carved leaf in a video frame are pencil lines. A real crack has an open granular edge you can see at magnification. Sixteen of my own on camera crack moments were chased for this page and exactly one showed a crack a reader could see.
Why does carving deep beat waiting longer?
Deep excavation snaps the long fibers, and a broken fiber has nothing left to pull with. My whole insurance policy, and it costs no time at all.
Take two ridges in a piece of foliage. Between them sits a cavity, a cut, air. That area can expand and shrink and I am fine, because the detail is small with nowhere to travel. Just because you are carving out, you are relieving that stress. A solid board runs one long argument end to end, while a deep carved panel has a hundred short ones that cancel each other out.
Am I afraid of movement on a huge finished panel? Oh, no. Not at all. Even if it moves a little bit, that is okay, and I have not had a problem in years with movement. Huge movement, I mean. Of course it still moves, it still puffs, it still shrinks. Micro movement, maybe, but it will not shift an eighth of an inch, a 3 mm line, the way a solid board will.
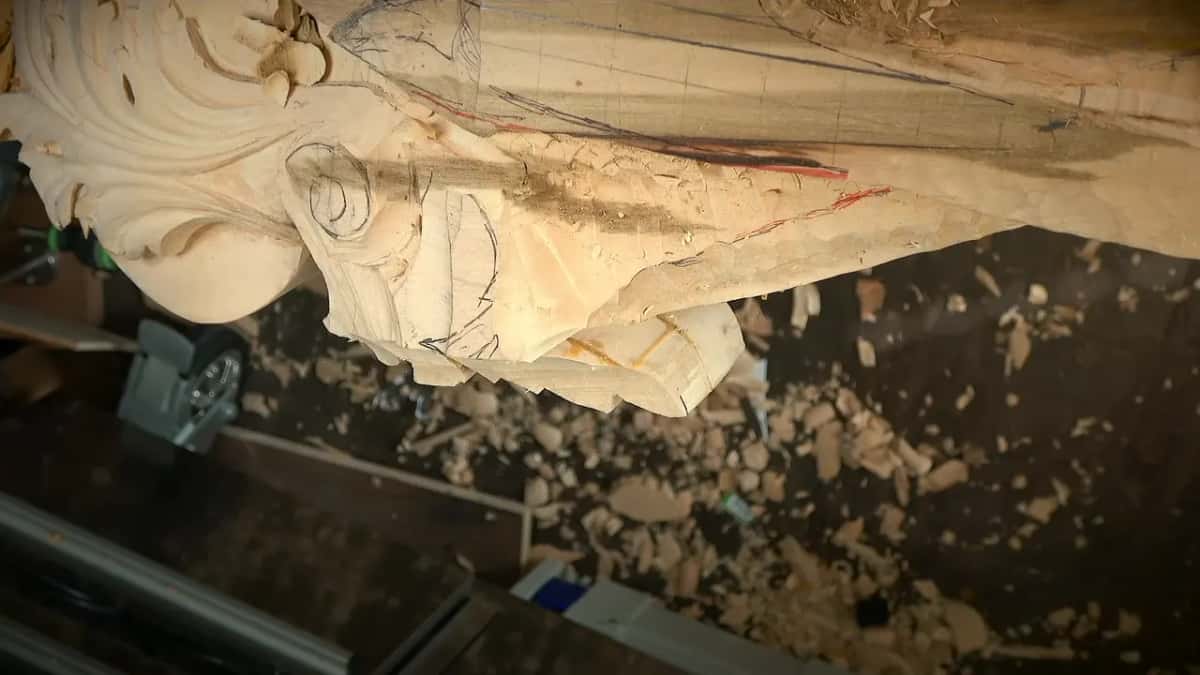
Seen edge on, a yellow orange glue joint running along the sawn bottom. Laminated.
What do I do with a blank I do not trust?
Work around it rather than throw it out. Glue in the split, a sharpened pick to clean the seam, a let in piece of walnut later on when I feel like doing it.
Here are my own words over a furniture panel, and they are not tidy. Yes, I do have couple cracks which we could take care of. Later I got big crack right here and glued up in it, and it kind of does not look nice. With the scraper I can scrape that out, with the dentist I should say, and glue in some kind of piece of walnut later on. Not now.
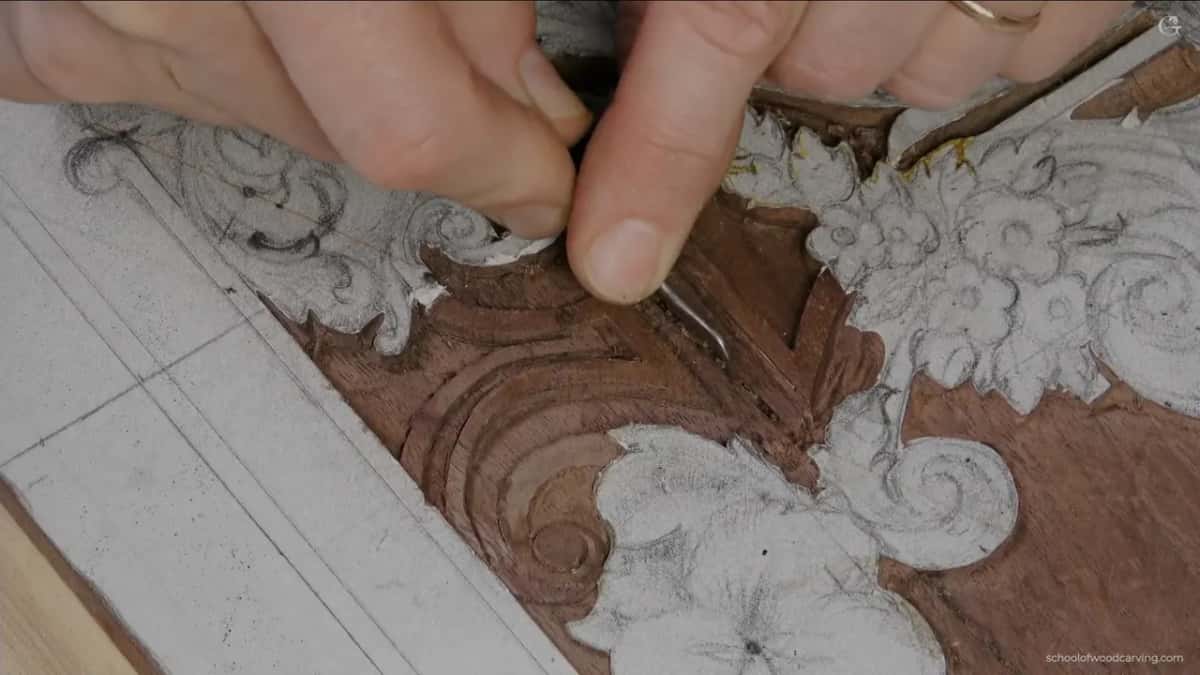
Yellow glue sitting in the seam under a leaf, a small tool working the edge.
For a part that is thin rather than wet the fix changes. Fragile short grain gets penetrating epoxy, the TotalBoat one, because it goes all the way through and does not yellow with time. Some of my oak leaves are a sixteenth of an inch thick and a thumb can break them. Strength, not dryness, and stabilizing thin carvings stays on that subject.
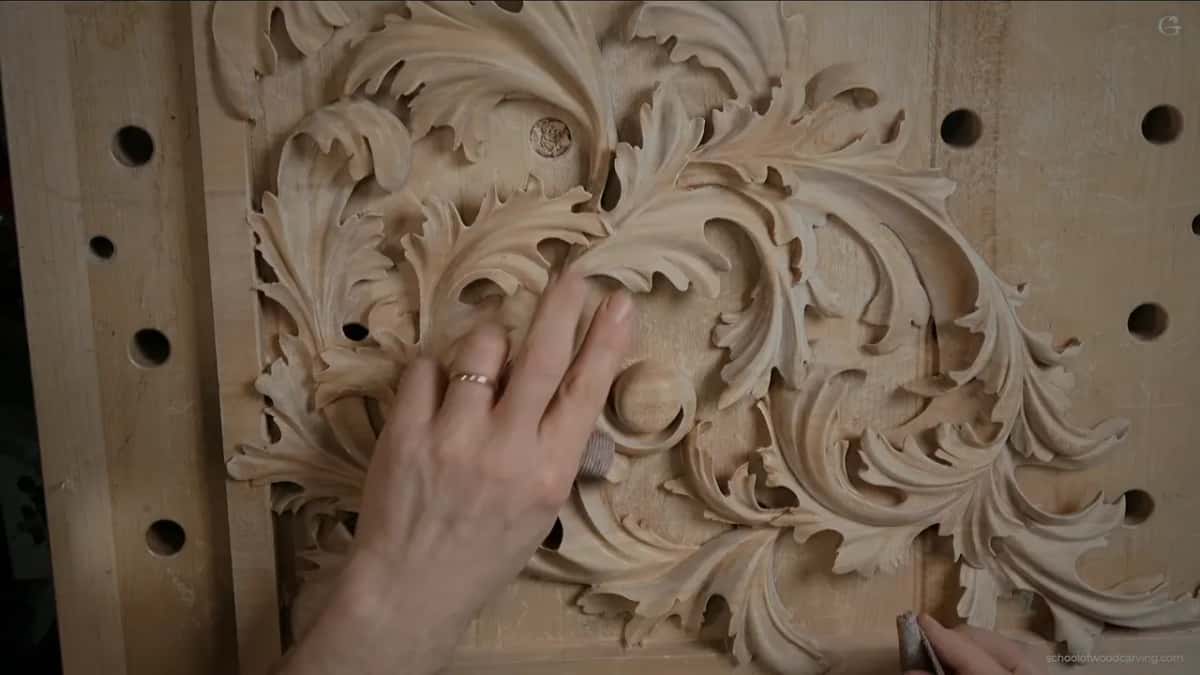
A round plug set flush into the flat ground, its end face rough and darker than the wood round it.
Those olive boards came out of the olive wood Lily box class, cracks and all, because I film what wood does rather than what I wish it did.
Species changes the arithmetic and never the method. Basswood is my truckload wood, so read Purdue Extension's basswood sheet or the Forest Service tech sheet for Tilia americana beside our basswood entry in the wood guide. Its European cousin, European lime, is what the V&A keeps a Grinling Gibbons cravat in.
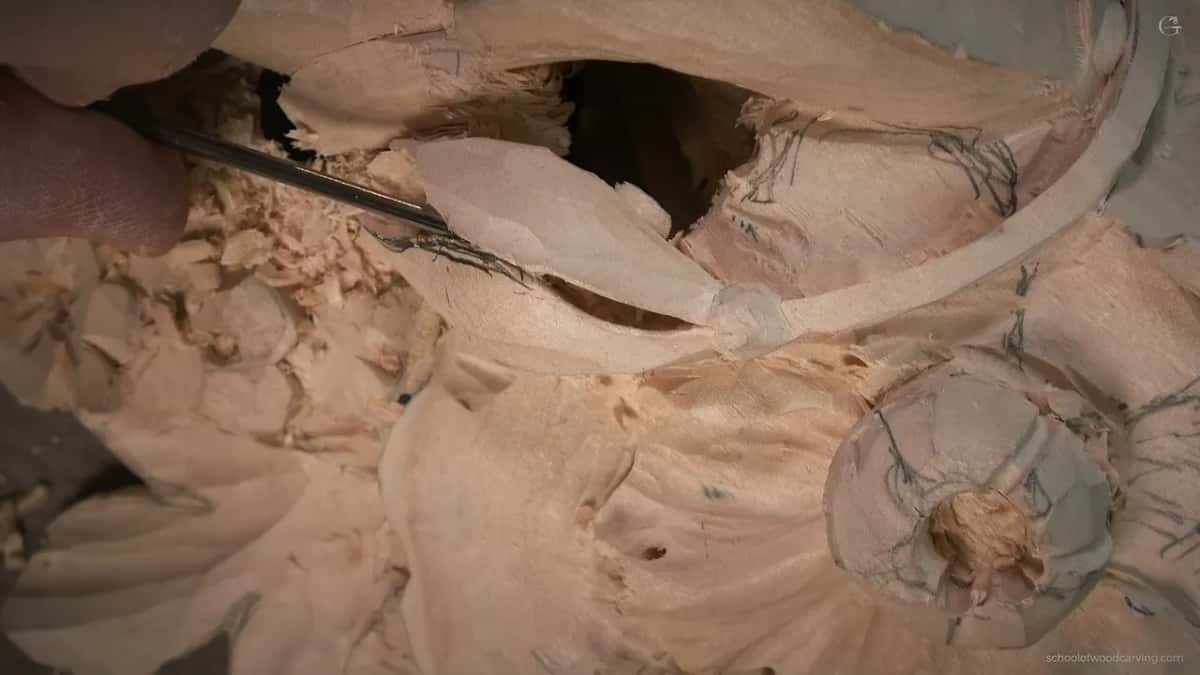
Pierced clean through. The black behind those leaves is open air, and the squiggles are pencil.
Begin with the best softwoods for a beginner, or the best carving woods in Australia if that is your continent, then how to tell whether wood is good for carving and which woods are hard to carve.
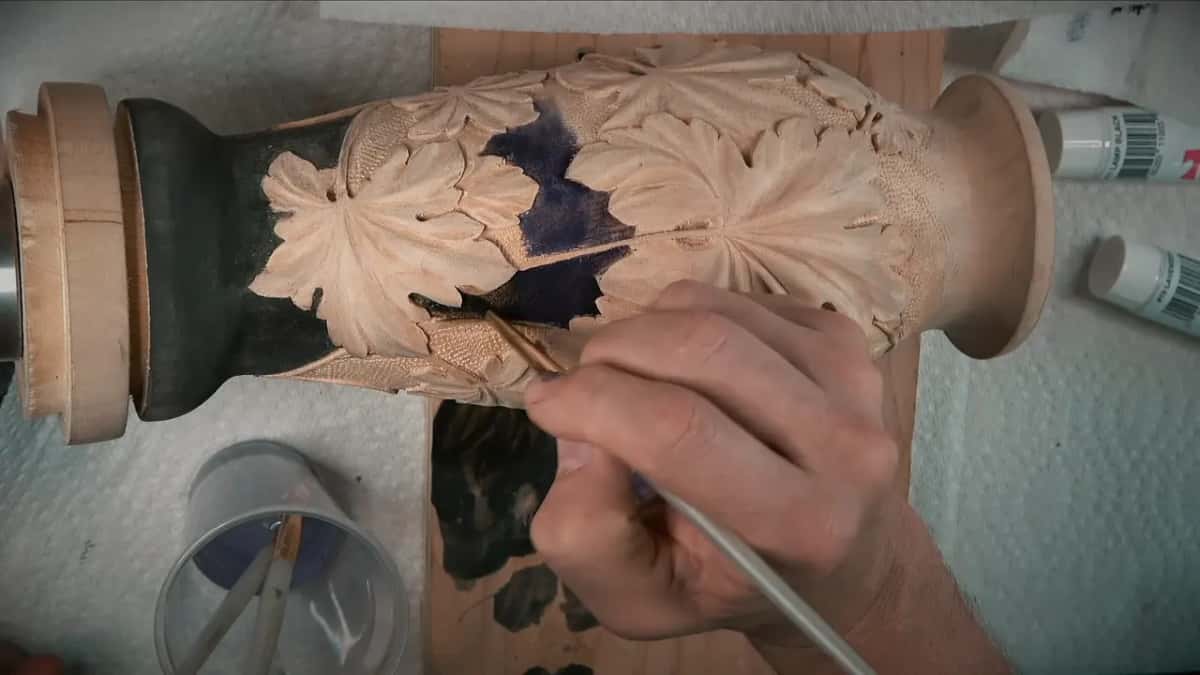
Dark pigment going into carved grape leaves on a turned vase.
Sister pages carry properties I left alone: what wood density means, the crushing strength of wood, rot resistant wood, low density wood. Moisture keeps working after a carving is finished, so sealing wood after carving and how long wood carvings last both exist.
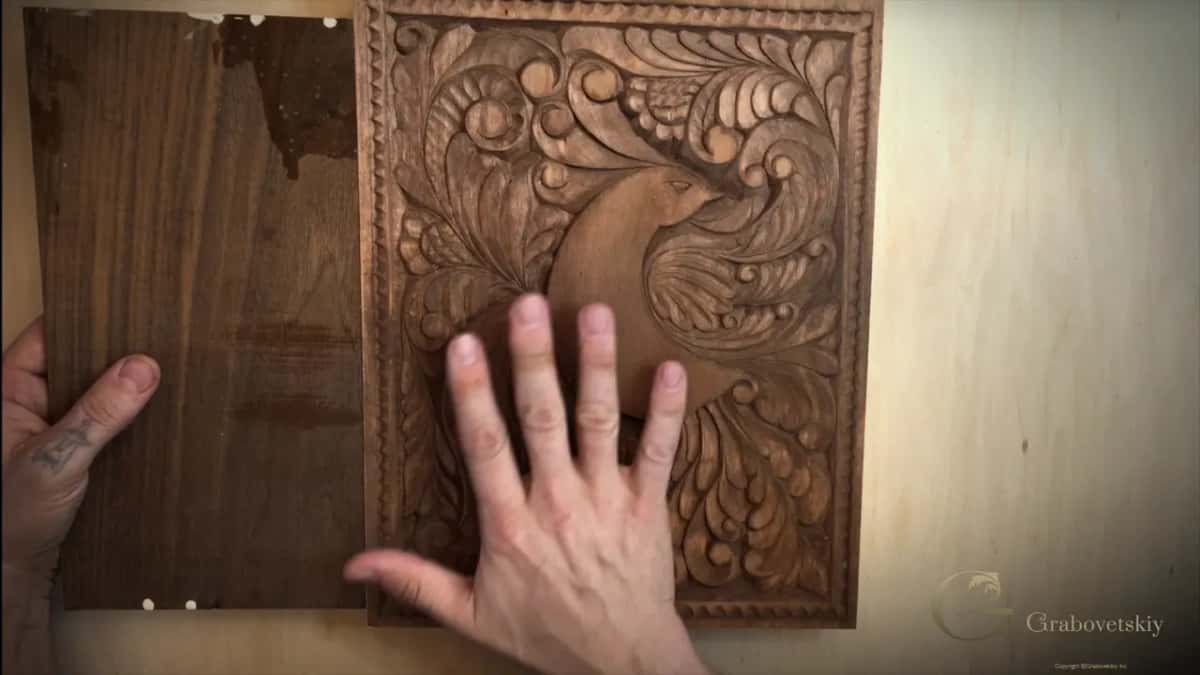
It came out whole. A bird among acanthus inside a beaded border, the plain back board beside it.
More reading: preparing raw wood for carving, whether thicker wood is better, the whole drying section of the articles. For an industrial view, try the University of Missouri Extension, Oregon State University Extension on yard drying, and Drying Hardwood Lumber.
Want a meter anyway? Buy one, then learn to read it properly. Wagner's guide to reading a meter and Delmhorst both explain the pin against pinless argument.
Watching a board get chosen, stored, cracked and carved anyway teaches this in an afternoon, and reading cannot do it. That is what the school is for, and the tuition feeds orphans and widows too. Join School of Wood Carving.
Frequently asked questions
Is one year per inch a real rule?
Treat it as folklore with a grain of truth inside. Chapter 13 of the Wood Handbook takes one inch of a light species down to 20 percent in 15 to 30 days, and a slow drier in a rough northern yard in 200 to 300 days. Neither is a year.
How dry should a carving blank be before I start?
Match the room where the finished work will live. Federal guidance puts interior woodwork and furniture at 8 percent moisture across most of America, 11 percent along the damp warm coast, 6 percent in the dry southwest. Cabinet makers generally aim between 6 and 8.
Can I carve a fresh log straight off the saw?
People do, and green carving is its own tradition with its own rules. Fresh cut wood carries 40 to 200 percent moisture by the meter, so it shrinks hard afterwards and splits where you least want it. My own wood is all seasoned, so that is not where I start.
Will a dehumidifier in the shop do the job?
Mine does, and the Wood Handbook agrees in one flat sentence about small, well enclosed spaces. Hold the air and the wood follows the air. Mind the temperature as well, since the two together set where a board finally rests.
What should I do about a crack I find after starting?
Keep going and grow more careful in that area. Glue the split, scrape the seam clean with a sharpened pick, let in a walnut patch whenever you feel like it. I have done exactly that on a furniture panel and admitted on camera that it did not look nice yet.
Does basswood dry faster than oak?
Lighter species do dry faster, and the Wood Handbook explains why: light wood holds more openings per unit of volume, so moisture travels out through air rather than through cell wall. Oak turns up in the slow examples beside birch and hemlock.
Filed under
- age of wood and drying time
- basswood drying time
- best type of wood for carving blocks
- best wood for carving
- differences in drying times for hardwoods
- drying hardwood vs softwood
- drying time for basswood
- drying wood for woodcarving
- effects of density on drying wood
- environmental effects on wood drying
- fastest drying wood for carving
- how long does wood take to dry for carving
- how to dry wood for carving
- moisture content for carving wood
- moisture levels for carving wood
- tree species and drying speed
- Understanding Wood for Carving
- wood carving blanks drying time
- wood carving tips
- wood drying methods
- wood grains and drying